Chapter 3
6.Select the appropriate options.
•On Layout tab select Portrait or Landscape orientation.
•On Paper/Quality tab select the appropriate paper size and paper type from the Paper Size and Media
•Click Advanced to select the appropriate output quality from the Printer Features list.
7.Click OK to close the Properties dialog box.
8.Click Print or OK to begin printing.
![]() NOTE: You can print your document on both sides of the paper, instead of just one side. Click on the Advanced button on the Paper/Quality or Layout tab. From the Pages to Print
NOTE: You can print your document on both sides of the paper, instead of just one side. Click on the Advanced button on the Paper/Quality or Layout tab. From the Pages to Print
Print photos
To print a photo on photo paper
1.Make sure the output tray is open.
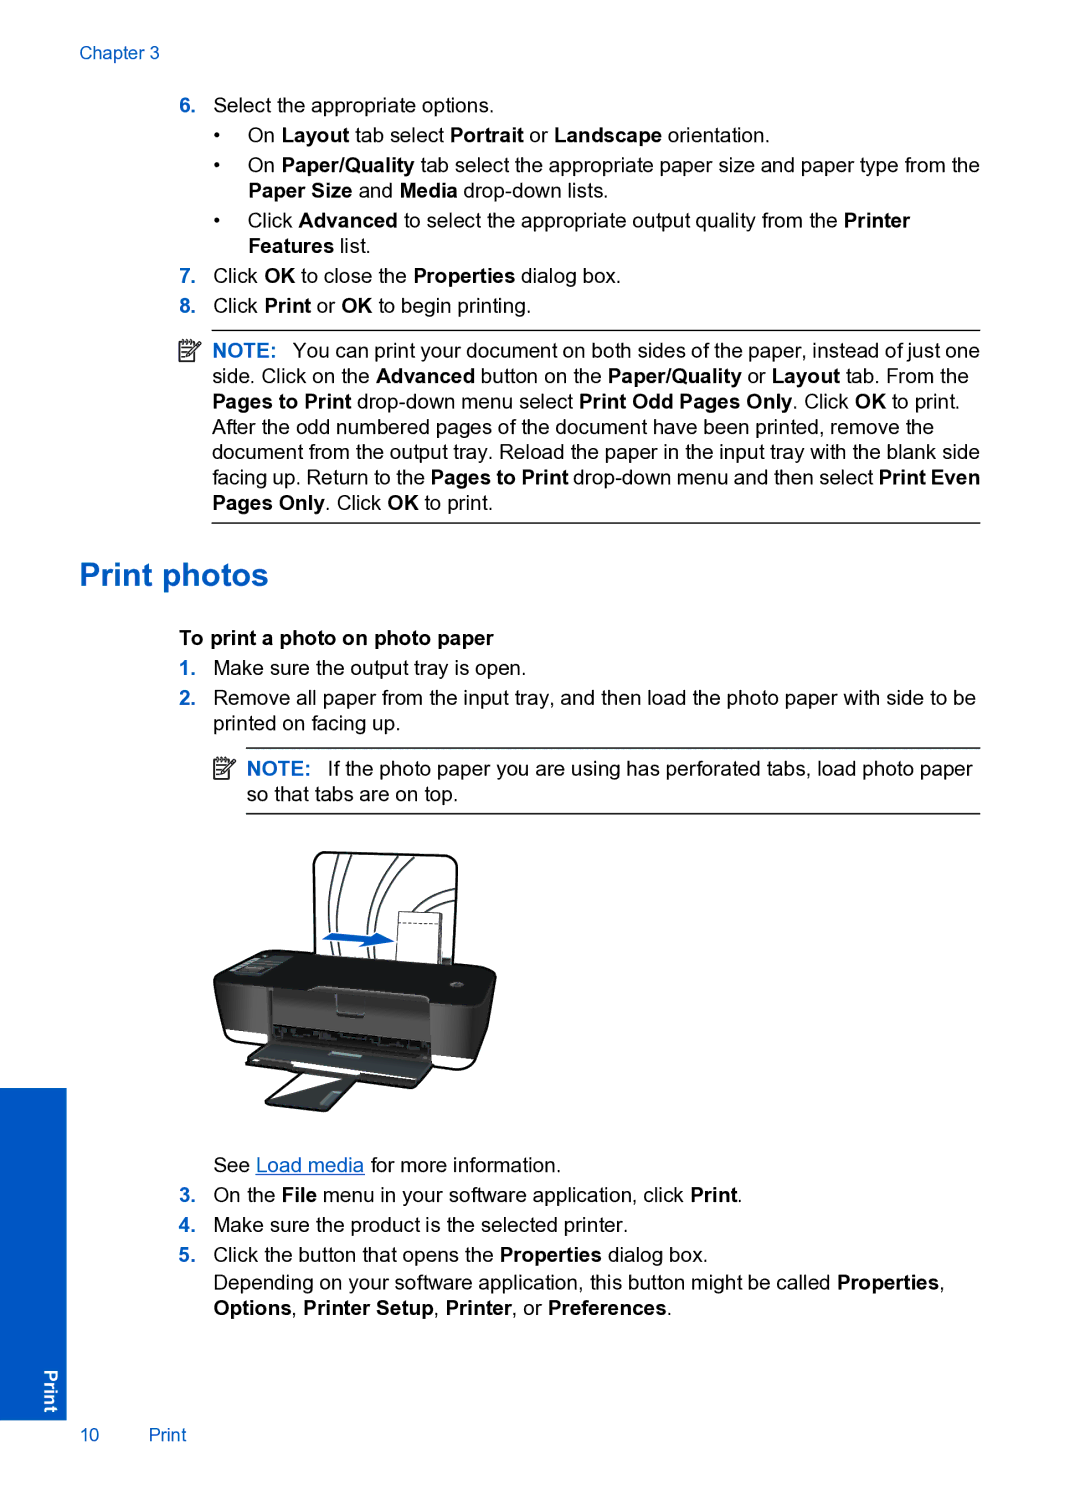
2.Remove all paper from the input tray, and then load the photo paper with side to be printed on facing up.
![]() NOTE: If the photo paper you are using has perforated tabs, load photo paper so that tabs are on top.
NOTE: If the photo paper you are using has perforated tabs, load photo paper so that tabs are on top.
See Load media for more information.
3.On the File menu in your software application, click Print.
4.Make sure the product is the selected printer.
5.Click the button that opens the Properties dialog box.
Depending on your software application, this button might be called Properties, Options, Printer Setup, Printer, or Preferences.
10 Print
