Chapter 3
![]() NOTE: For maximum dpi resolution, go to the Paper/Quality tab and select Photo Paper, Best Quality from the Media
NOTE: For maximum dpi resolution, go to the Paper/Quality tab and select Photo Paper, Best Quality from the Media
7.Click OK to return to the Properties dialog box.
8.Click OK, and then click Print or OK in the Print dialog box.
![]() NOTE: Do not leave unused photo paper in the input tray. The paper might start to curl, which could reduce the quality of your printout. Photo paper should be flat before printing.
NOTE: Do not leave unused photo paper in the input tray. The paper might start to curl, which could reduce the quality of your printout. Photo paper should be flat before printing.
Print documents
To print a document
1.Make sure the paper output tray is open.
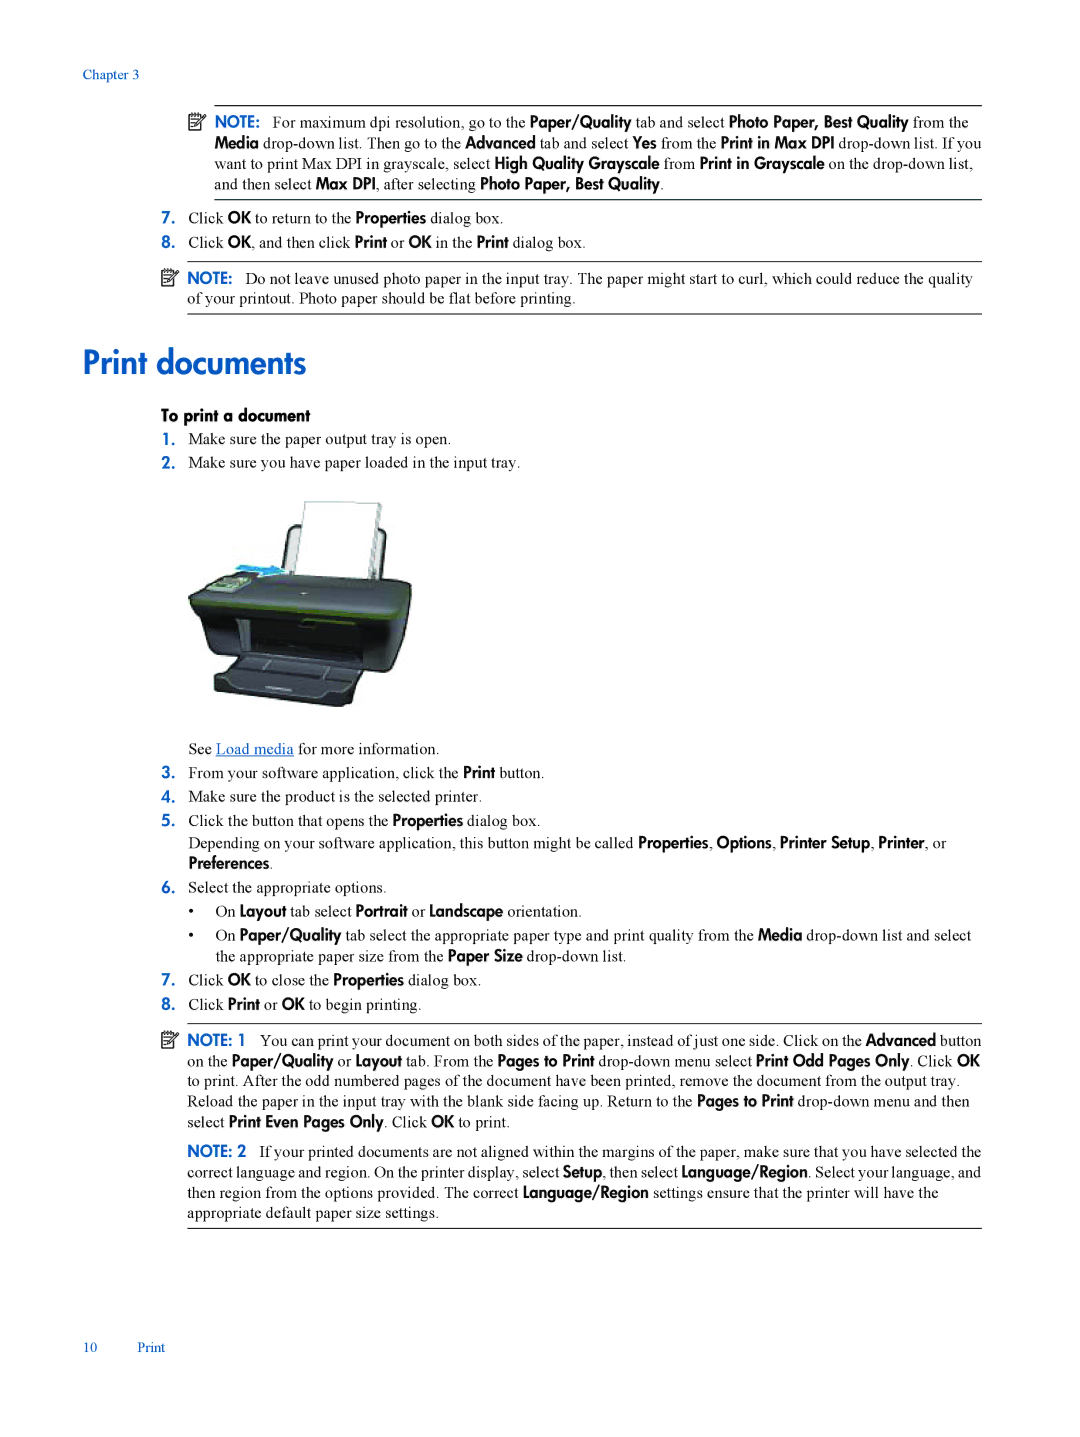
2.Make sure you have paper loaded in the input tray.
See Load media for more information.
3.From your software application, click the Print button.
4.Make sure the product is the selected printer.
5.Click the button that opens the Properties dialog box.
Depending on your software application, this button might be called Properties, Options, Printer Setup, Printer, or
Preferences.
6.Select the appropriate options.
•On Layout tab select Portrait or Landscape orientation.
•On Paper/Quality tab select the appropriate paper type and print quality from the Media
7.Click OK to close the Properties dialog box.
8.Click Print or OK to begin printing.
![]() NOTE: 1 You can print your document on both sides of the paper, instead of just one side. Click on the Advanced button on the Paper/Quality or Layout tab. From the Pages to Print
NOTE: 1 You can print your document on both sides of the paper, instead of just one side. Click on the Advanced button on the Paper/Quality or Layout tab. From the Pages to Print
Reload the paper in the input tray with the blank side facing up. Return to the Pages to Print
NOTE: 2 If your printed documents are not aligned within the margins of the paper, make sure that you have selected the correct language and region. On the printer display, select Setup, then select Language/Region. Select your language, and then region from the options provided. The correct Language/Region settings ensure that the printer will have the appropriate default paper size settings.
10 Print
