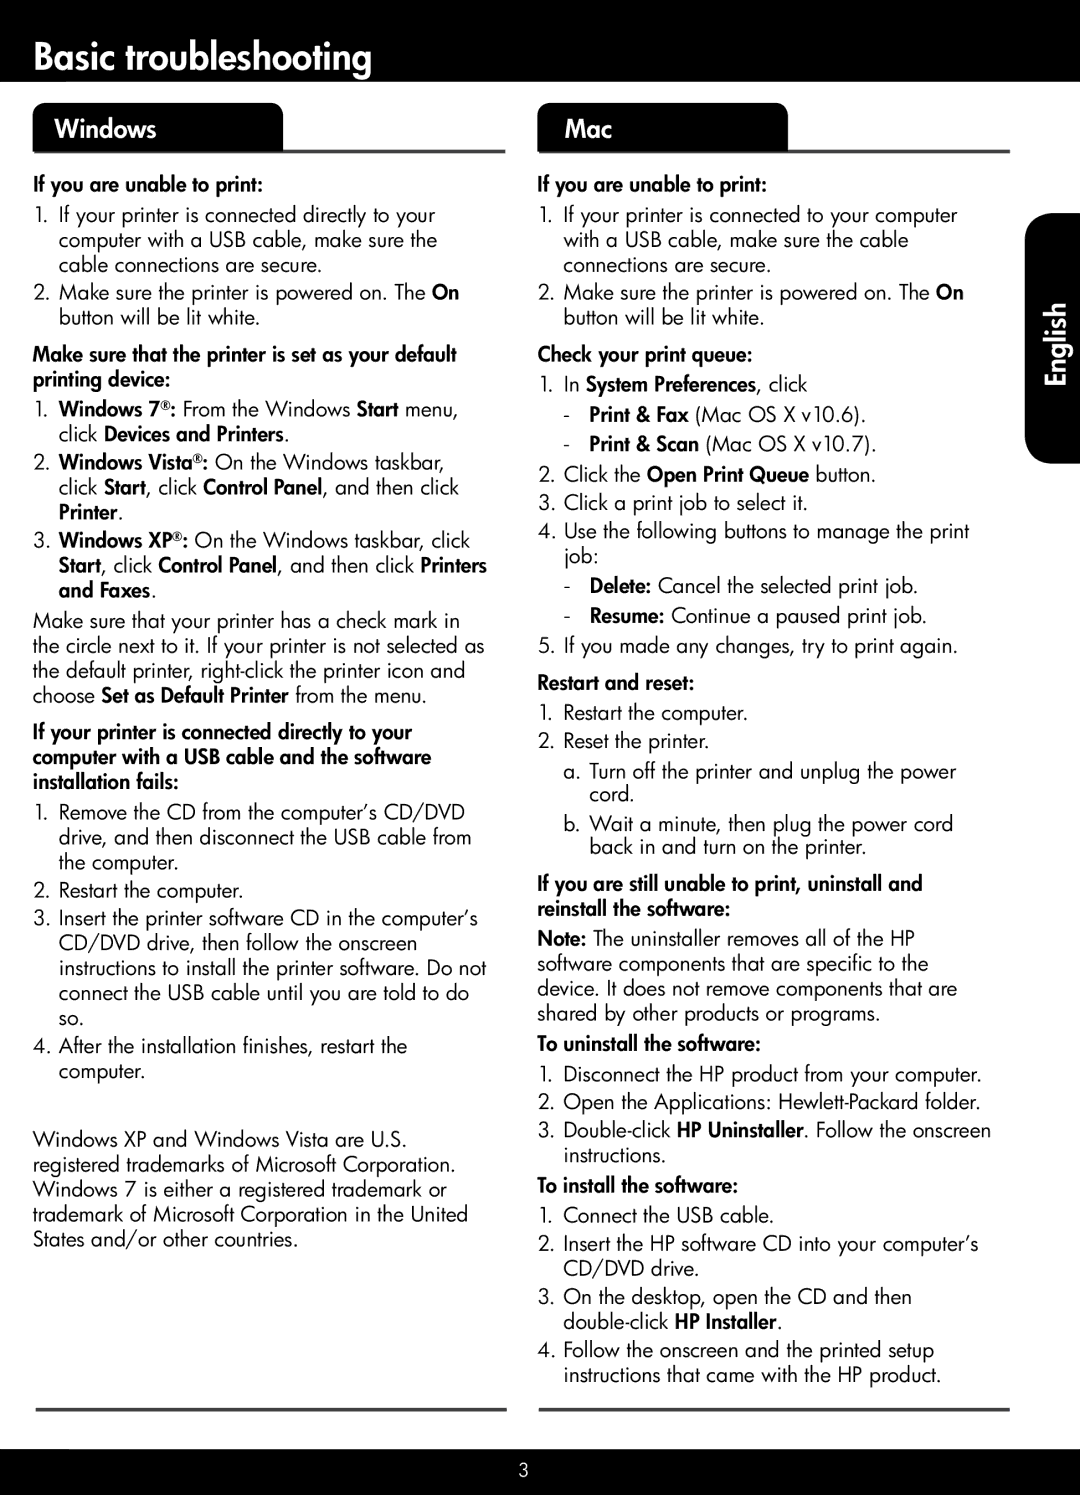
Basic troubleshooting

Windows

If you are unable to print:

1.If your printer is connected directly to your computer with a USB cable, make sure the cable connections are secure.

2.Make sure the printer is powered on. The On button will be lit white.

Make sure that the printer is set as your default printing device:

1.Windows 7®: From the Windows Start menu, click Devices and Printers.

2.Windows Vista®: On the Windows taskbar, click Start, click Control Panel, and then click Printer.

3.Windows XP®: On the Windows taskbar, click Start, click Control Panel, and then click Printers and Faxes.

Make sure that your printer has a check mark in the circle next to it. If your printer is not selected as the default printer, right-click the printer icon and choose Set as Default Printer from the menu.

If your printer is connected directly to your computer with a USB cable and the software installation fails:

1.Remove the CD from the computer’s CD/DVD drive, and then disconnect the USB cable from the computer.

2.Restart the computer.

3.Insert the printer software CD in the computer’s CD/DVD drive, then follow the onscreen instructions to install the printer software. Do not connect the USB cable until you are told to do so.

4.After the installation finishes, restart the computer.

Windows XP and Windows Vista are U.S. registered trademarks of Microsoft Corporation. Windows 7 is either a registered trademark or trademark of Microsoft Corporation in the United States and/or other countries.

Mac

If you are unable to print:

1.If your printer is connected to your computer with a USB cable, make sure the cable connections are secure.

2.Make sure the printer is powered on. The On button will be lit white.

Check your print queue:

1.In System Preferences, click

-- Print & Fax (Mac OS X v10.6). -- Print & Scan (Mac OS X v10.7).

2.Click the Open Print Queue button.

3.Click a print job to select it.

4.Use the following buttons to manage the print job:

-- Delete: Cancel the selected print job.

-- Resume: Continue a paused print job.

5.If you made any changes, try to print again.

Restart and reset:

1.Restart the computer.

2.Reset the printer.

a.Turn off the printer and unplug the power cord.

b.Wait a minute, then plug the power cord back in and turn on the printer.

If you are still unable to print, uninstall and reinstall the software:

Note: The uninstaller removes all of the HP software components that are specific to the device. It does not remove components that are shared by other products or programs.

To uninstall the software:

1.Disconnect the HP product from your computer.

2.Open the Applications: Hewlett-Packard folder.

3.Double-click HP Uninstaller. Follow the onscreen instructions.

To install the software:

1.Connect the USB cable.

2.Insert the HP software CD into your computer’s CD/DVD drive.

3.On the desktop, open the CD and then double-click HP Installer.

4.Follow the onscreen and the printed setup instructions that came with the HP product.

English

3

Page 3
Image 3
HP 3511, 3512 manual Basic troubleshooting, Windows

3512, 3511 specifications

The HP 3511, 3512, and 3510 series printers have established themselves as reliable options in the realm of home and office printing. These models are particularly noted for their all-in-one capabilities, combining printing, scanning, and copying in a compact design, making them valuable assets for a variety of users.

One of the standout features of the HP 3511, 3512, and 3510 is their user-friendly interface. With an intuitive control panel and easy-to-navigate menus, users can quickly access the functions they need without extensive training. The printers are designed with ease of use in mind, enabling seamless operation for both novice and experienced users.

In terms of printing technology, these models utilize HP's thermal inkjet technology, which ensures high-quality output for both text and images. They produce vibrant colors and sharp details, making them ideal for printing everything from documents to photos. The print resolution can reach up to 4800 x 1200 optimized dpi, providing professional-grade results suitable for presentations and creative projects.

The HP 3511 and 3512 models are particularly highlighted for their connectivity options. They support wired and wireless connections, allowing users to print from various devices, including smartphones, tablets, and laptops. The inclusion of Wi-Fi Direct technology means that users can connect their devices without needing a traditional network, which adds convenience during setups and print jobs.

Additionally, these printers come equipped with automatic duplex printing features, enabling double-sided printing to help save paper and reduce waste – a characteristic increasingly valued in today’s environmentally-conscious landscape. The HP 3510 model also includes a built-in flatbed scanner and copier, reinforcing its versatility. Users can scan documents or photos directly to their computers, or make quick copies without needing additional equipment.

Moreover, the series is compatible with HP's Instant Ink program, which helps users manage ink levels proactively. This subscription service automatically orders replacement cartridges when supplies run low, ensuring uninterrupted printing and reducing the hassle of running out of ink unexpectedly.

Overall, the HP 3511, 3512, and 3510 printers are characterized by their reliability, ease of use, and versatile functionality. They serve a diverse user base, from students needing efficient printing solutions to small business owners looking to manage everyday office tasks with minimal effort. With solid performance, innovative features, and a commitment to quality, these models represent a strong choice in the competitive printer market.