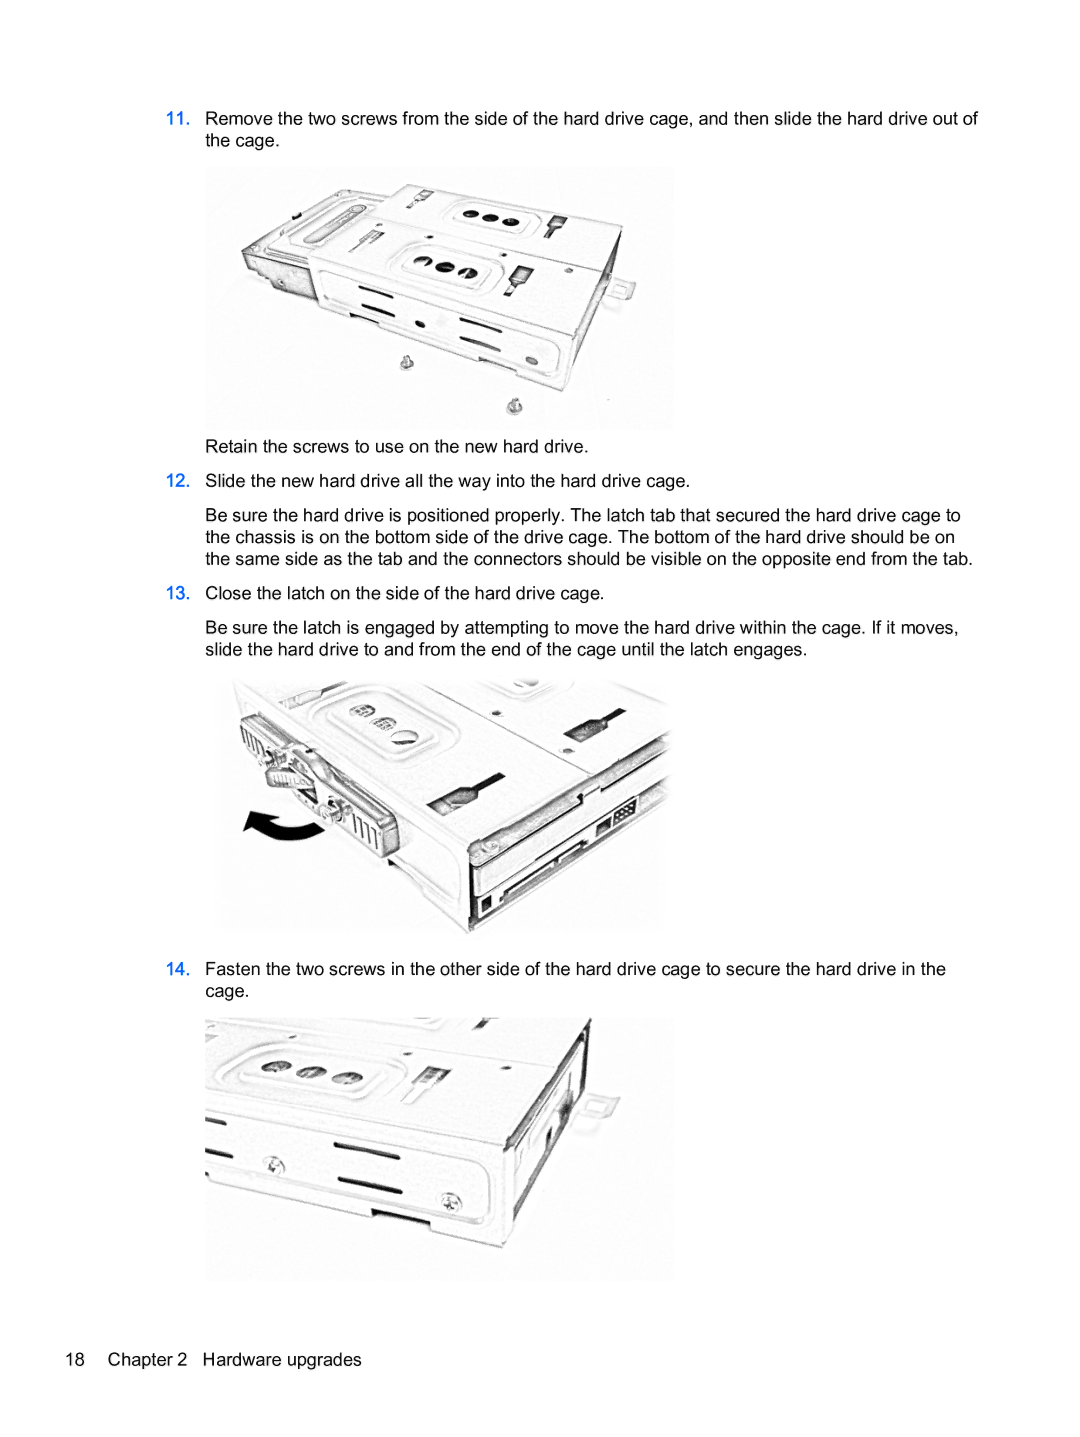
11.Remove the two screws from the side of the hard drive cage, and then slide the hard drive out of the cage.
Retain the screws to use on the new hard drive.
12.Slide the new hard drive all the way into the hard drive cage.
Be sure the hard drive is positioned properly. The latch tab that secured the hard drive cage to the chassis is on the bottom side of the drive cage. The bottom of the hard drive should be on the same side as the tab and the connectors should be visible on the opposite end from the tab.
13.Close the latch on the side of the hard drive cage.
Be sure the latch is engaged by attempting to move the hard drive within the cage. If it moves, slide the hard drive to and from the end of the cage until the latch engages.
14.Fasten the two screws in the other side of the hard drive cage to secure the hard drive in the cage.
18 Chapter 2 Hardware upgrades
