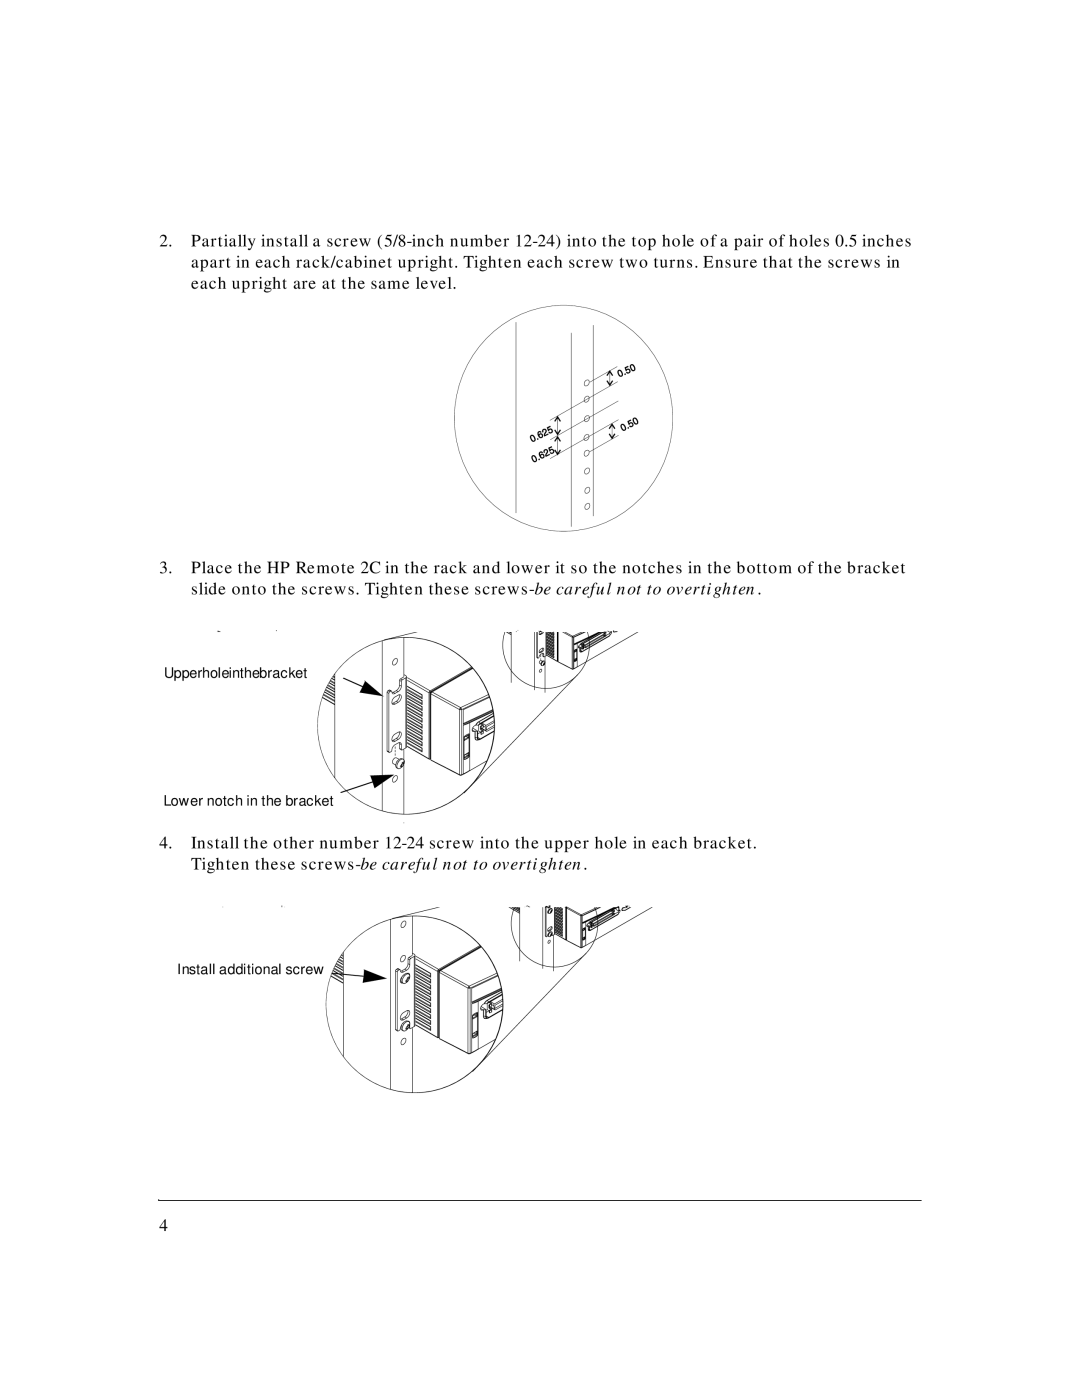
2.Partially install a screw (5/8-inch number 12-24) into the top hole of a pair of holes 0.5 inches apart in each rack/cabinet upright. Tighten each screw two turns. Ensure that the screws in each upright are at the same level.
3.Place the HP Remote 2C in the rack and lower it so the notches in the bottom of the bracket slide onto the screws. Tighten these screws-becareful not to overtighten.
Upperholeinthebracket
Lower notch in the bracket
4.Install the other number 12-24 screw into the upper hole in each bracket. Tighten these screws-be careful not to overtighten.
Install additional screw