3.Remove the front and rear brackets from the
4.Align (1) the top hole of the front brackets with the markings on the front of the rack columns. Secure the front brackets to the rack using M5 x
5.Transfer the markings from the front of the rack columns to the sides of the rack columns, and install the
6.Secure the front of the outer slide assemblies to the rack columns using the nuts from step 3. Secure the rear of the mid- weight outer slide assemblies to the rack columns using M6 flathead screws and the nuts from step 3.
7.Proceed to "Sliding the server into the
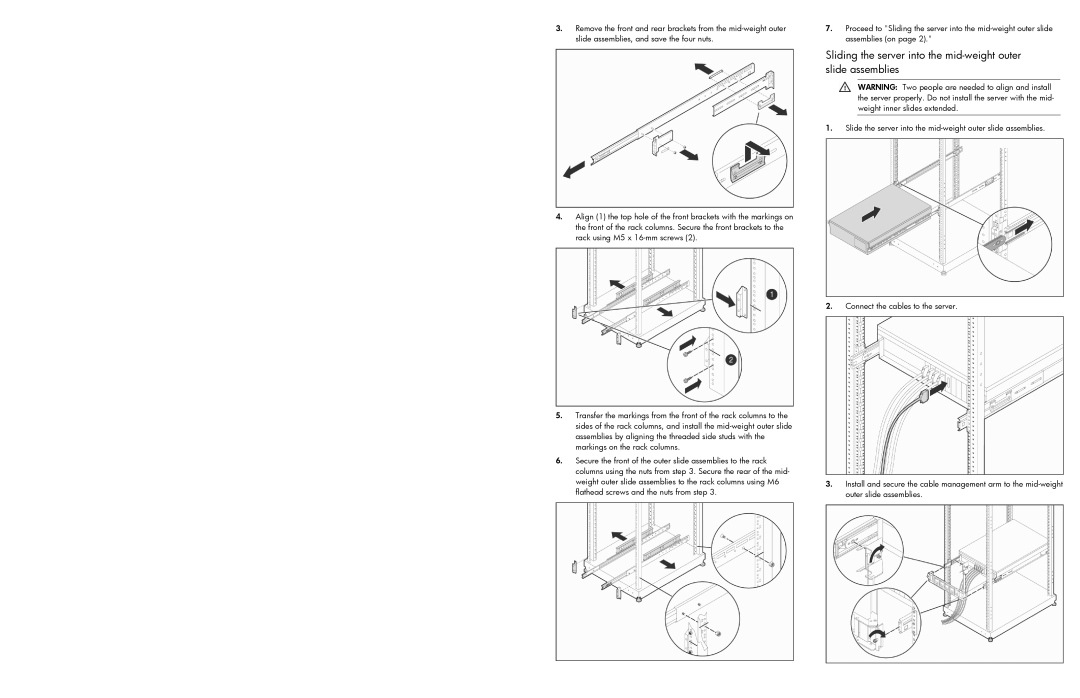
Sliding the server into the
WARNING: Two people are needed to align and install the server properly. Do not install the server with the mid- weight inner slides extended.
1.Slide the server into the
2.Connect the cables to the server.
3.Install and secure the cable management arm to the