Step 6 – Insert Paper in Tray 2
Insert each printhead into its own
Push the printheads down firmly.
4.Close the printhead latch. Be sure that the hook on the ![]() printhead latch catches the carriage lock.
printhead latch catches the carriage lock.
Note: You may have to use some force to close the printhead latch.
![]() 5. Ensure that the Ink Cartridge Door is lifted. Align the tabs of the cover with the tabs on the printer.
5. Ensure that the Ink Cartridge Door is lifted. Align the tabs of the cover with the tabs on the printer.
6.Lower and snap to close the cover.
7.Close the Ink Cartridge Door.
Step 6 – Insert Paper in Tray 2
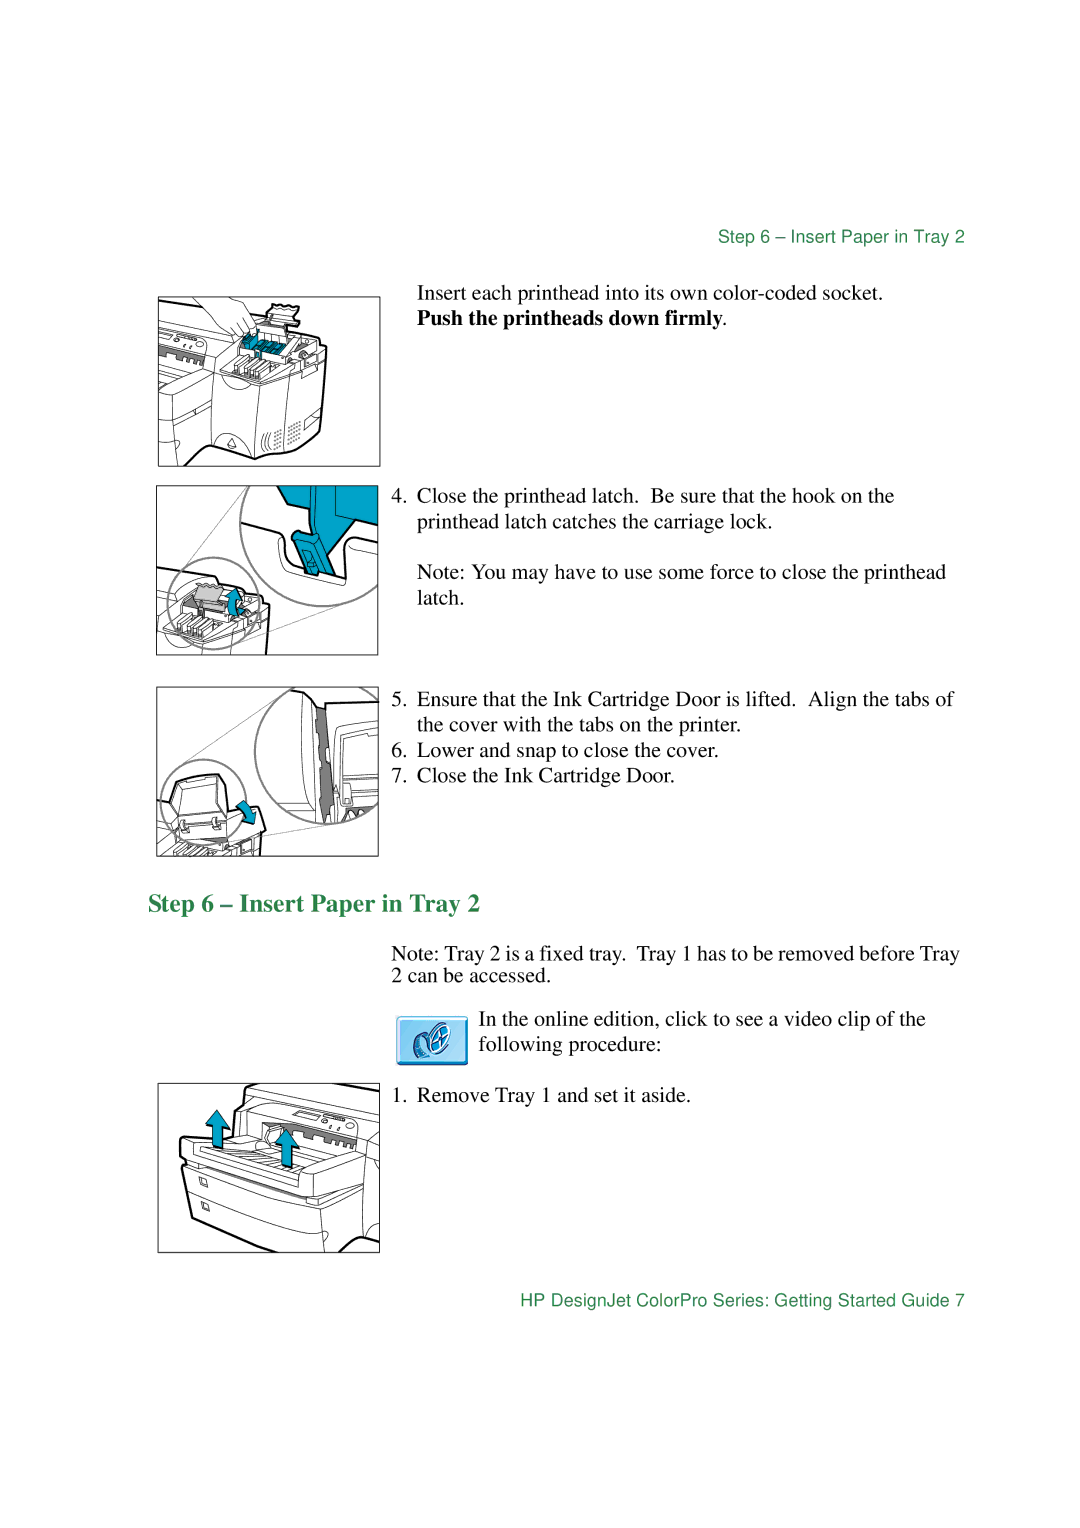
Note: Tray 2 is a fixed tray. Tray 1 has to be removed before Tray 2 can be accessed.
In the online edition, click to see a video clip of the following procedure:
1. Remove Tray 1 and set it aside.
HP DesignJet ColorPro Series: Getting Started Guide 7