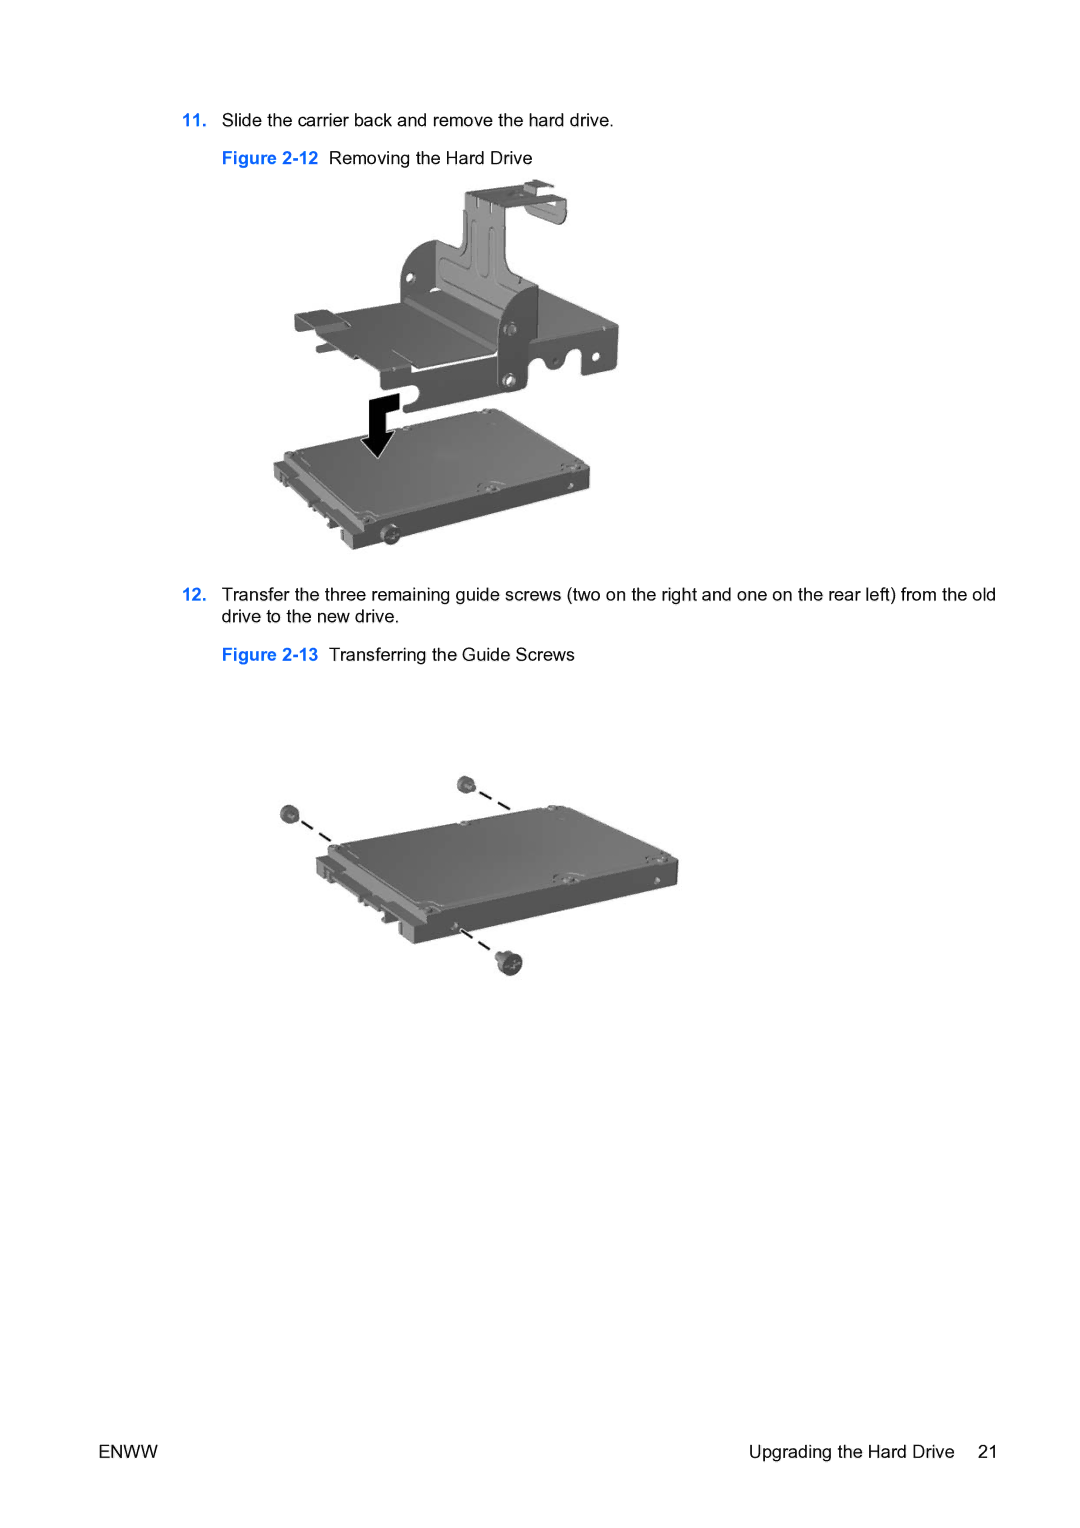
11.Slide the carrier back and remove the hard drive. Figure
12.Transfer the three remaining guide screws (two on the right and one on the rear left) from the old drive to the new drive.
Figure 2-13 Transferring the Guide Screws
ENWW | Upgrading the Hard Drive 21 |
