6.Once the square appears to be neutral, move the slider up and down until the square blends into the background. Some targets will not allow the square to completely vanish into the background. Get as close to blending the foreground square into the background gray as possible. Alternate between removing tint from the square and using the slider to get the optimal results.
7.Click the Next button to move to the next target in the series. Repeat steps 5 and 6 for each target.
8.Once the process is complete, the File tab will be displayed. Enter a name in the Enter Preset name box and click the Save button to save the settings as a preset.
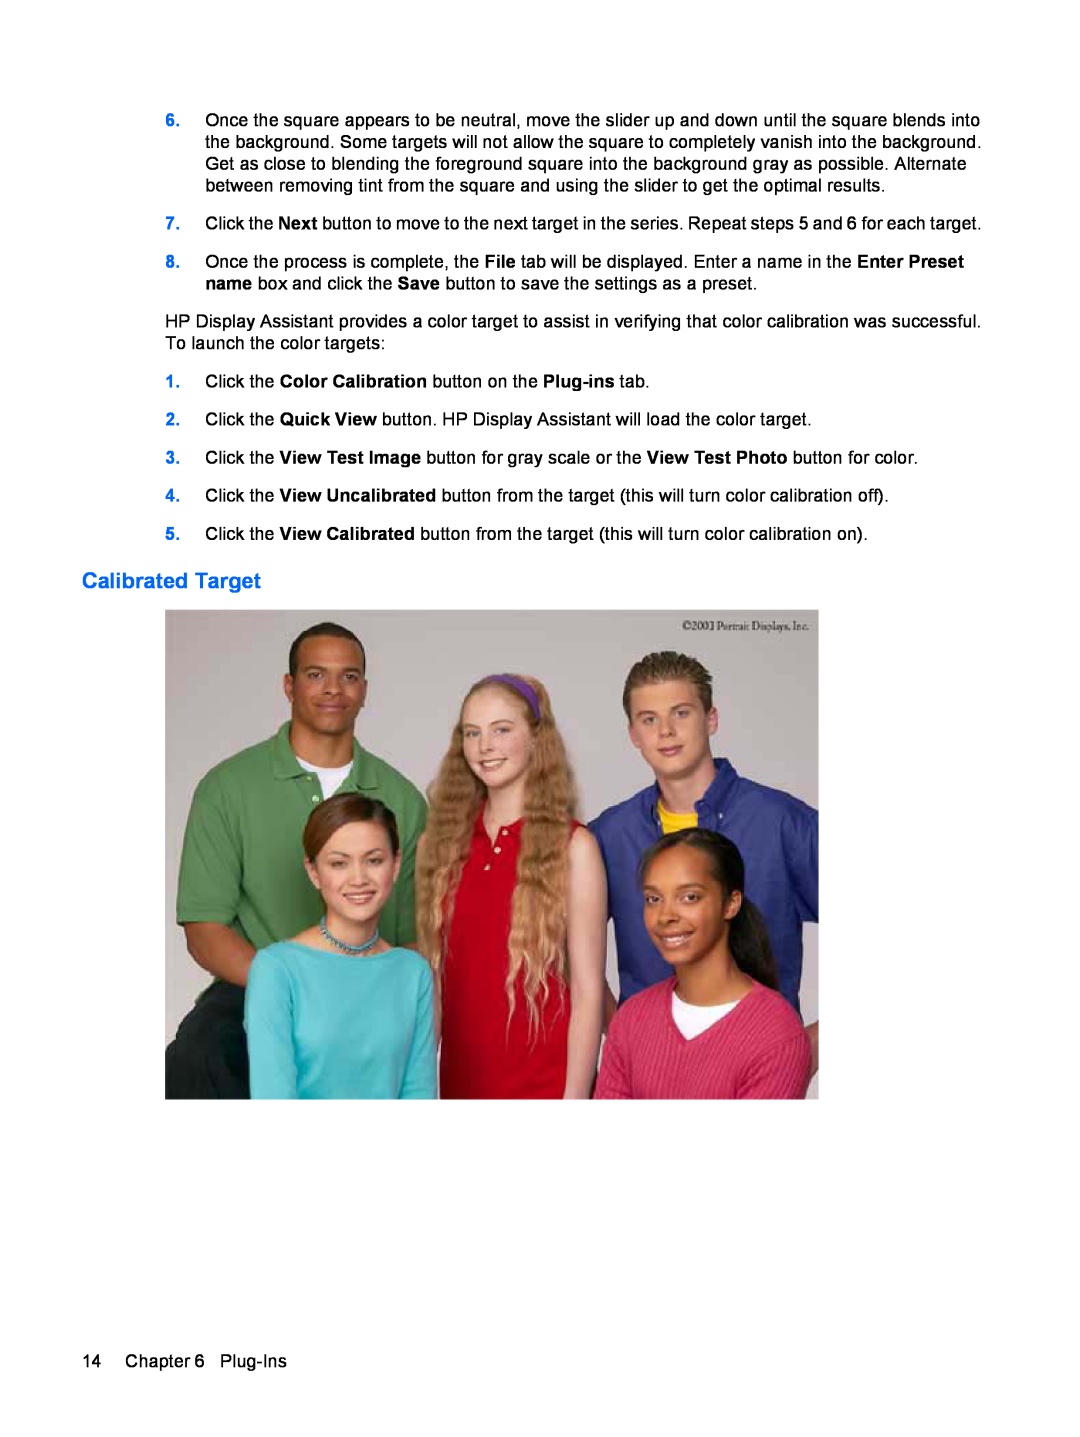
HP Display Assistant provides a color target to assist in verifying that color calibration was successful. To launch the color targets:
1.Click the Color Calibration button on the
2.Click the Quick View button. HP Display Assistant will load the color target.
3.Click the View Test Image button for gray scale or the View Test Photo button for color.
4.Click the View Uncalibrated button from the target (this will turn color calibration off).
5.Click the View Calibrated button from the target (this will turn color calibration on).
Calibrated Target
14 Chapter 6
