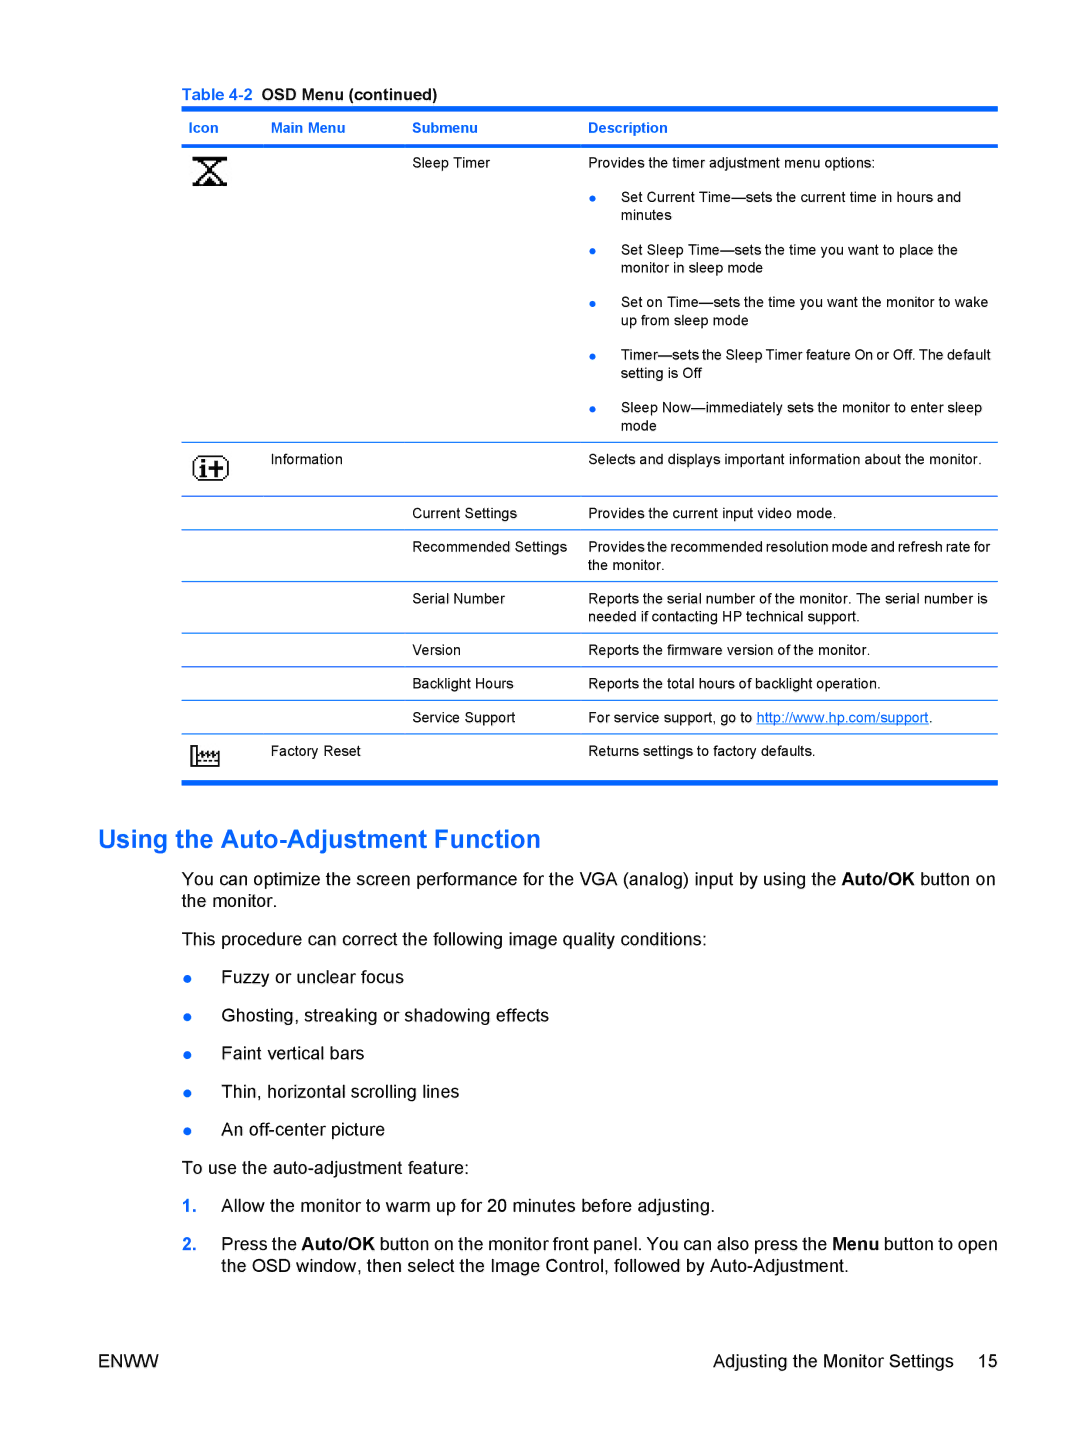
Table 4-2 OSD Menu (continued)
Icon | Main Menu | Submenu | Description |
|
|
|
|
|
| Sleep Timer | Provides the timer adjustment menu options: |
|
|
| ● Set Current |
|
|
| minutes |
|
|
| ● Set Sleep |
|
|
| monitor in sleep mode |
|
|
| ● Set on |
|
|
| up from sleep mode |
|
|
| ● |
|
|
| setting is Off |
|
|
| ● Sleep |
|
|
| mode |
|
|
|
|
| Information |
| Selects and displays important information about the monitor. |
|
|
|
|
|
| Current Settings | Provides the current input video mode. |
|
|
|
|
|
| Recommended Settings | Provides the recommended resolution mode and refresh rate for |
|
|
| the monitor. |
|
|
|
|
|
| Serial Number | Reports the serial number of the monitor. The serial number is |
|
|
| needed if contacting HP technical support. |
|
|
|
|
|
| Version | Reports the firmware version of the monitor. |
|
|
|
|
|
| Backlight Hours | Reports the total hours of backlight operation. |
|
|
|
|
|
| Service Support | For service support, go to http://www.hp.com/support. |
|
|
|
|
| Factory Reset |
| Returns settings to factory defaults. |
|
|
|
|
Using the Auto-Adjustment Function
You can optimize the screen performance for the VGA (analog) input by using the Auto/OK button on the monitor.
This procedure can correct the following image quality conditions:
●Fuzzy or unclear focus
●Ghosting, streaking or shadowing effects
●Faint vertical bars
●Thin, horizontal scrolling lines
●An
To use the
1.Allow the monitor to warm up for 20 minutes before adjusting.
2.Press the Auto/OK button on the monitor front panel. You can also press the Menu button to open the OSD window, then select the Image Control, followed by
ENWW | Adjusting the Monitor Settings 15 |
