|
|
| Operating the Monitor | |
|
| |||
| ||||
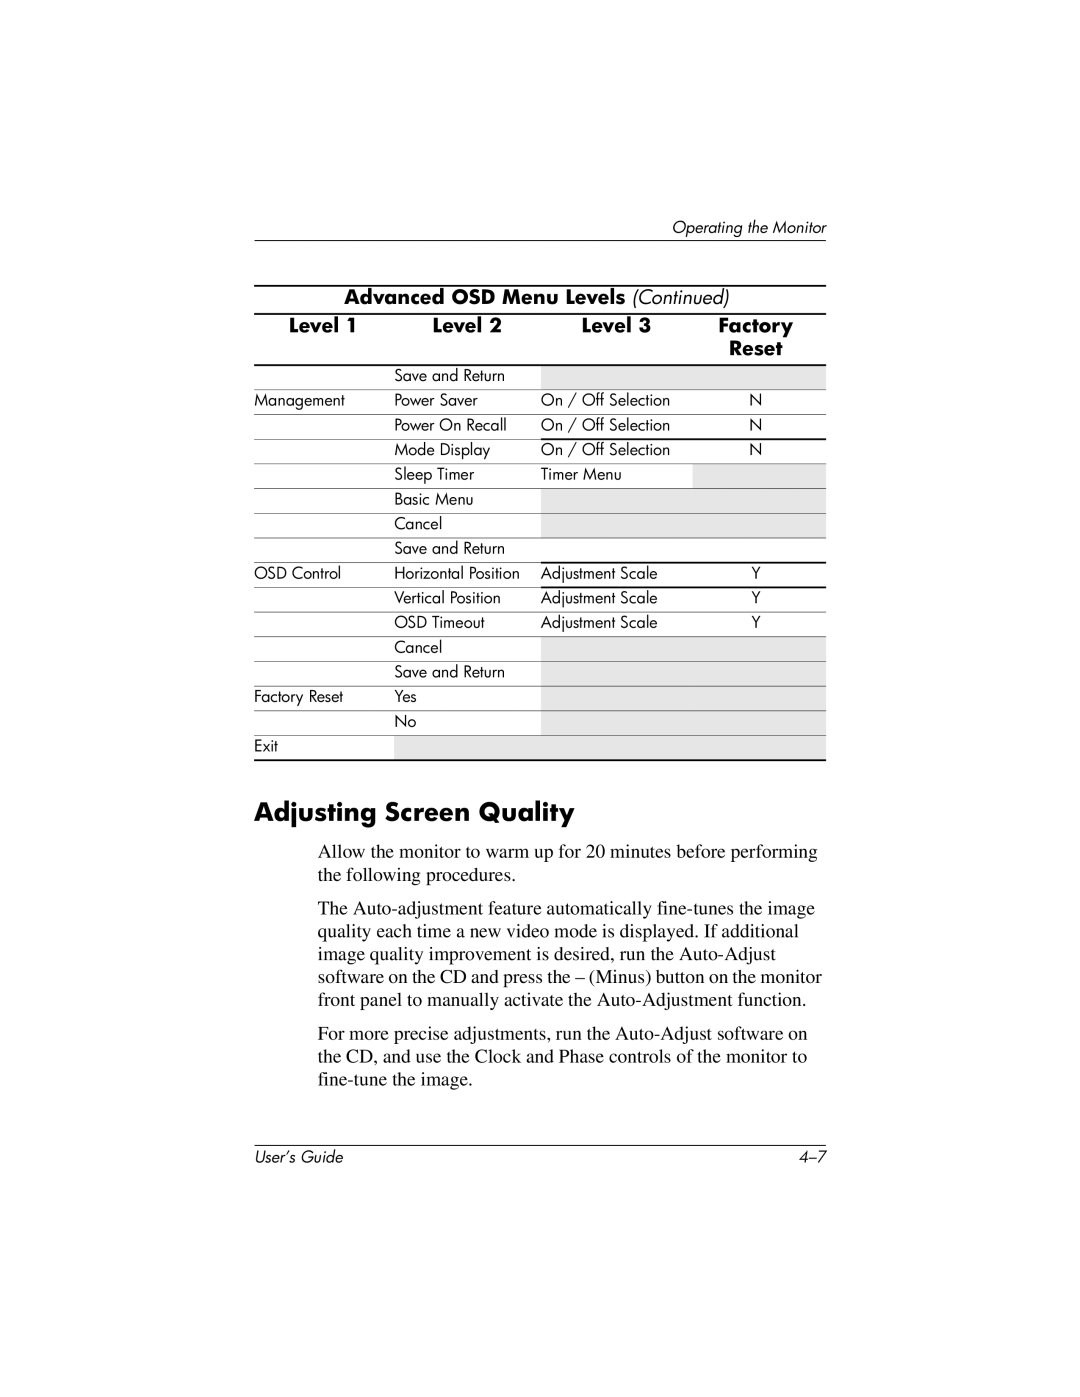
Advanced OSD Menu Levels (Continued) | ||||
|
|
|
|
|
Level 1 | Level 2 | Level 3 |
| Factory |
|
|
|
| Reset |
|
|
|
|
|
| Save and Return |
|
|
|
Management | Power Saver | On / Off Selection |
| N |
|
|
|
|
|
| Power On Recall | On / Off Selection |
| N |
|
|
|
|
|
| Mode Display | On / Off Selection |
| N |
|
|
|
|
|
| Sleep Timer | Timer Menu |
|
|
| Basic Menu |
|
|
|
| Cancel |
|
|
|
| Save and Return |
|
|
|
|
|
|
|
|
OSD Control | Horizontal Position | Adjustment Scale |
| Y |
|
|
|
|
|
| Vertical Position | Adjustment Scale |
| Y |
|
|
|
|
|
| OSD Timeout | Adjustment Scale |
| Y |
|
|
|
|
|
| Cancel |
|
|
|
| Save and Return |
|
|
|
Factory Reset | Yes |
|
|
|
| No |
|
|
|
Exit |
|
|
|
|
|
|
|
|
|
Adjusting Screen Quality
Allow the monitor to warm up for 20 minutes before performing the following procedures.
The
For more precise adjustments, run the
User’s Guide |