1.Open the OSD Main Menu by pressing the Select button.
2.Press the Up (▲) or Down (▼) buttons to move forward or backward to the CLOCK (or PHASE) icon and highlight it.
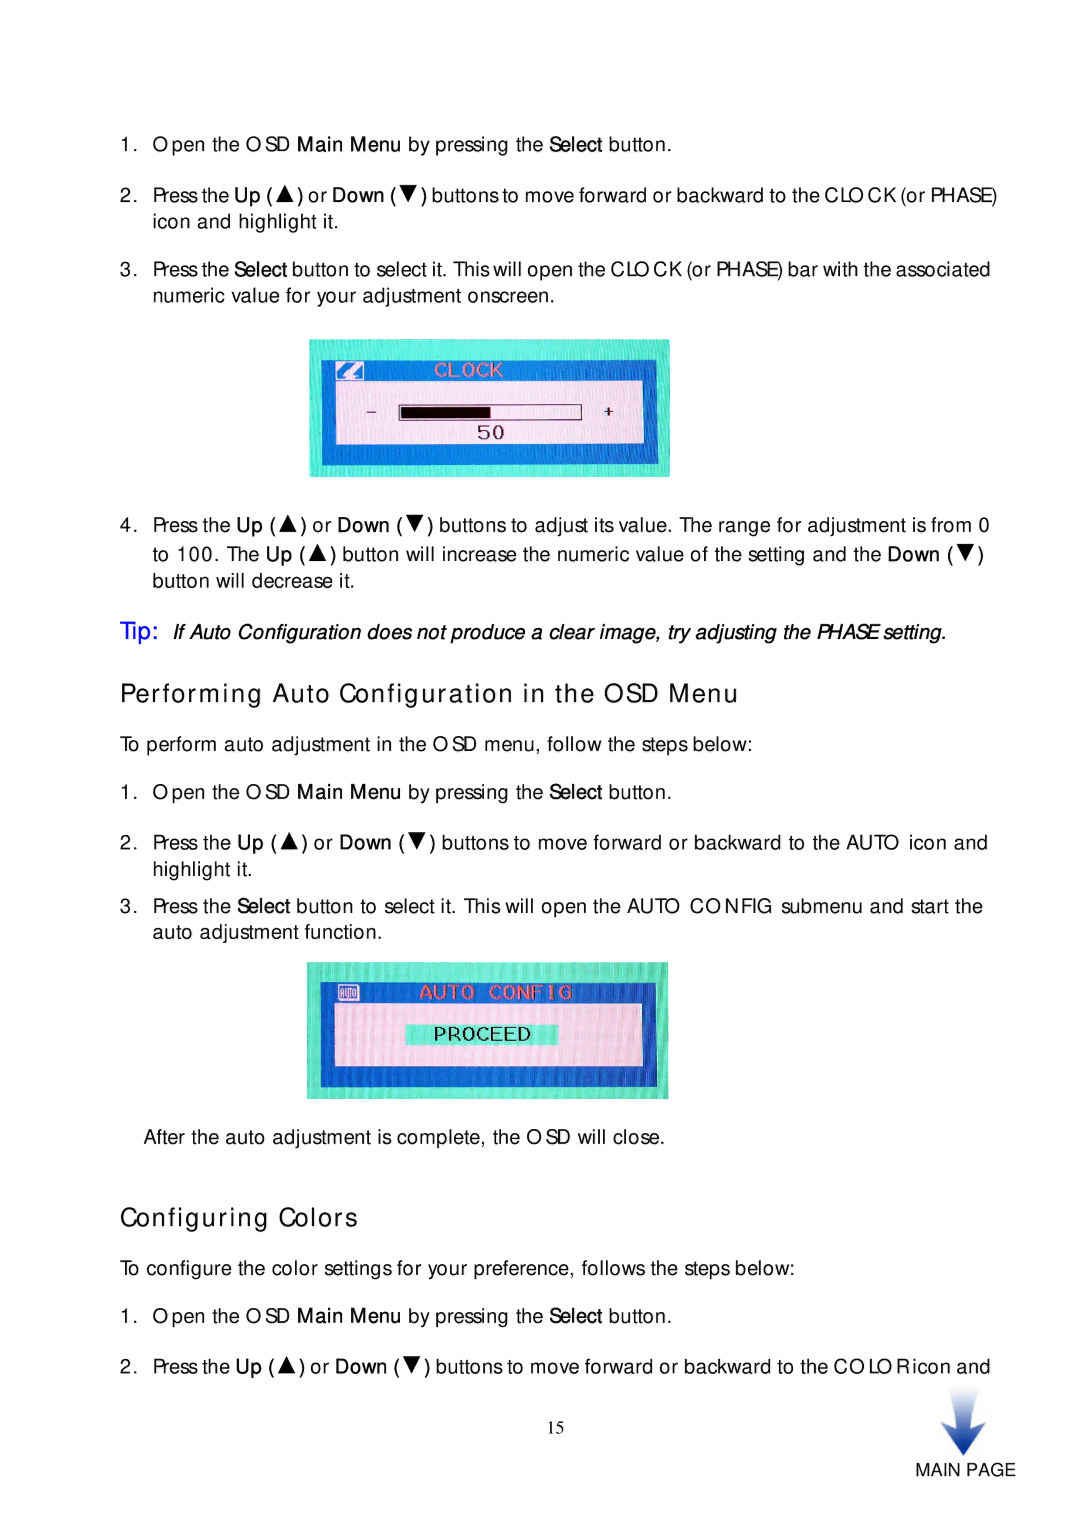
3.Press the Select button to select it. This will open the CLOCK (or PHASE) bar with the associated numeric value for your adjustment onscreen.
4.Press the Up (▲) or Down (▼) buttons to adjust its value. The range for adjustment is from 0 to 100. The Up (▲) button will increase the numeric value of the setting and the Down (▼) button will decrease it.
Tip: If Auto Configuration does not produce a clear image, try adjusting the PHASE setting.
Performing Auto Configuration in the OSD Menu
To perform auto adjustment in the OSD menu, follow the steps below:
1.Open the OSD Main Menu by pressing the Select button.
2.Press the Up (▲) or Down (▼) buttons to move forward or backward to the AUTO icon and highlight it.
3.Press the Select button to select it. This will open the AUTO CONFIG submenu and start the auto adjustment function.
After the auto adjustment is complete, the OSD will close.
Configuring Colors
To configure the color settings for your preference, follows the steps below:
1.Open the OSD Main Menu by pressing the Select button.
2.Press the Up (▲) or Down (▼) buttons to move forward or backward to the COLOR icon and
15