1. Before Using the Product


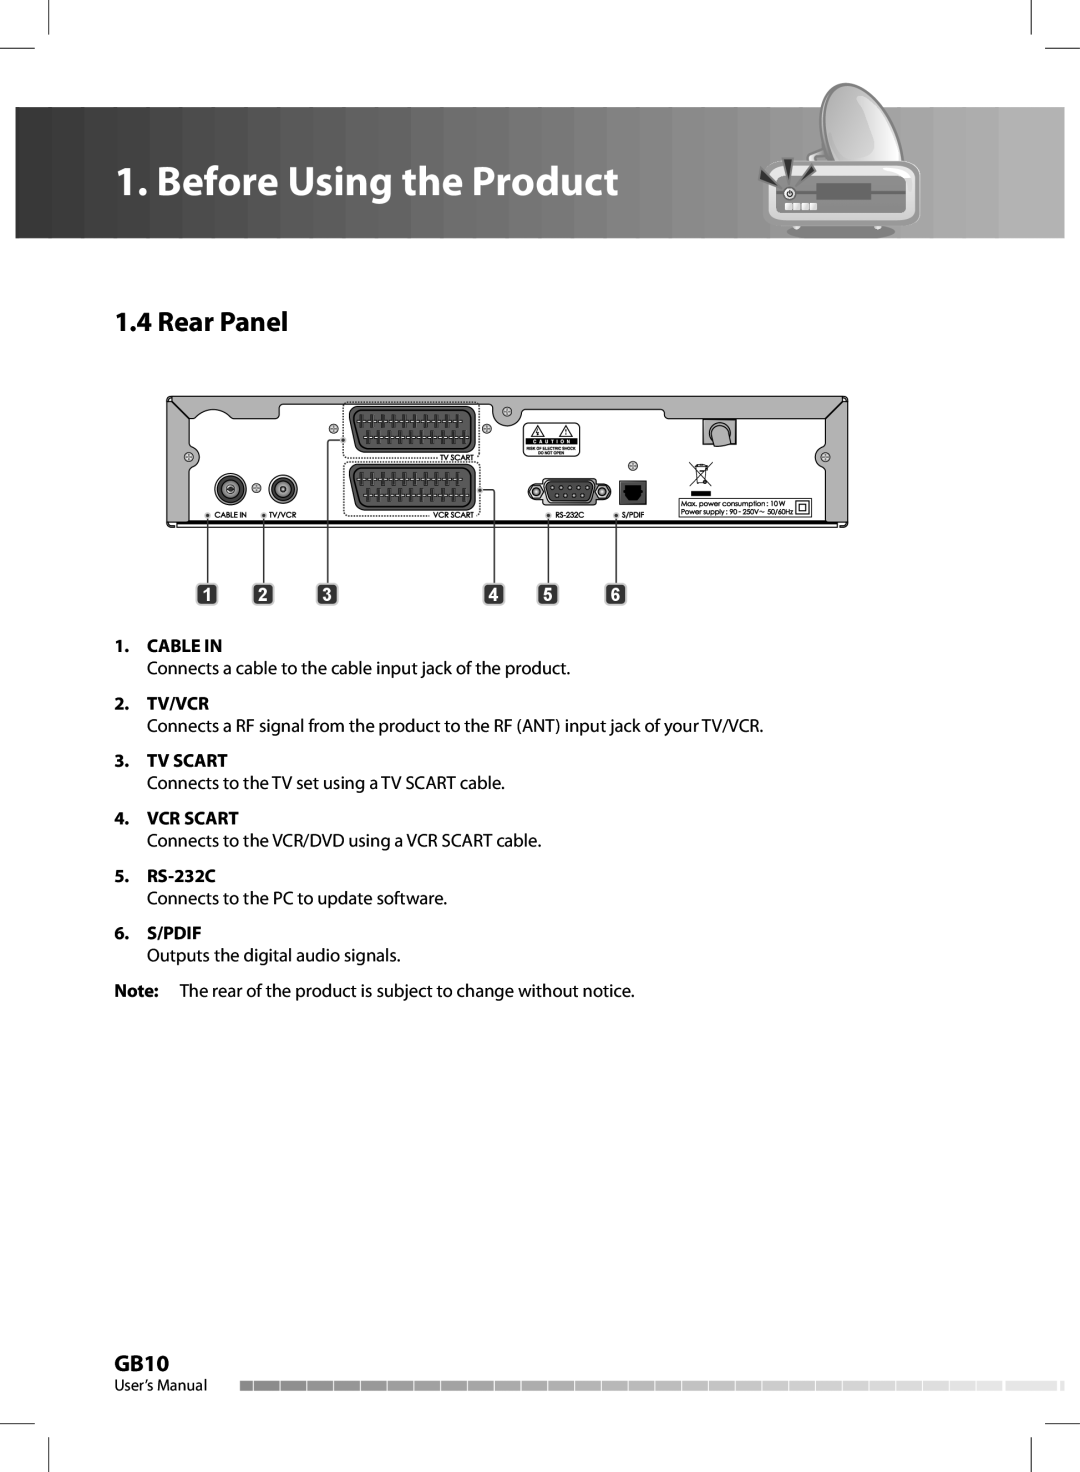
1.4 Rear Panel
1 | 2 | 3 | 4 | 5 | 6 |
1.CABLE IN
Connects a cable to the cable input jack of the product.
2.TV/VCR
Connects a RF signal from the product to the RF (ANT) input jack of your TV/VCR.
3.TV SCART
Connects to the TV set using a TV SCART cable.
4.VCR SCART
Connects to the VCR/DVD using a VCR SCART cable.
5.
Connects to the PC to update software.
6.S/PDIF
Outputs the digital audio signals.
Note: The rear of the product is subject to change without notice.
GB10
User’s Manual