Manuals
/
Humminbird
/
Marine Equipment
/
Fish Finder
Humminbird
ID 600
manual
Models:
ID 600
1
1
2
3
4
5
6
7
8
9
10
11
12
13
14
15
16
17
18
19
20
21
22
23
24
25
26
27
28
28
Download
28 pages
57.24 Kb
1
2
3
4
5
6
7
8
9
Install
Bottom Alarm
Factory setting +0/FEET
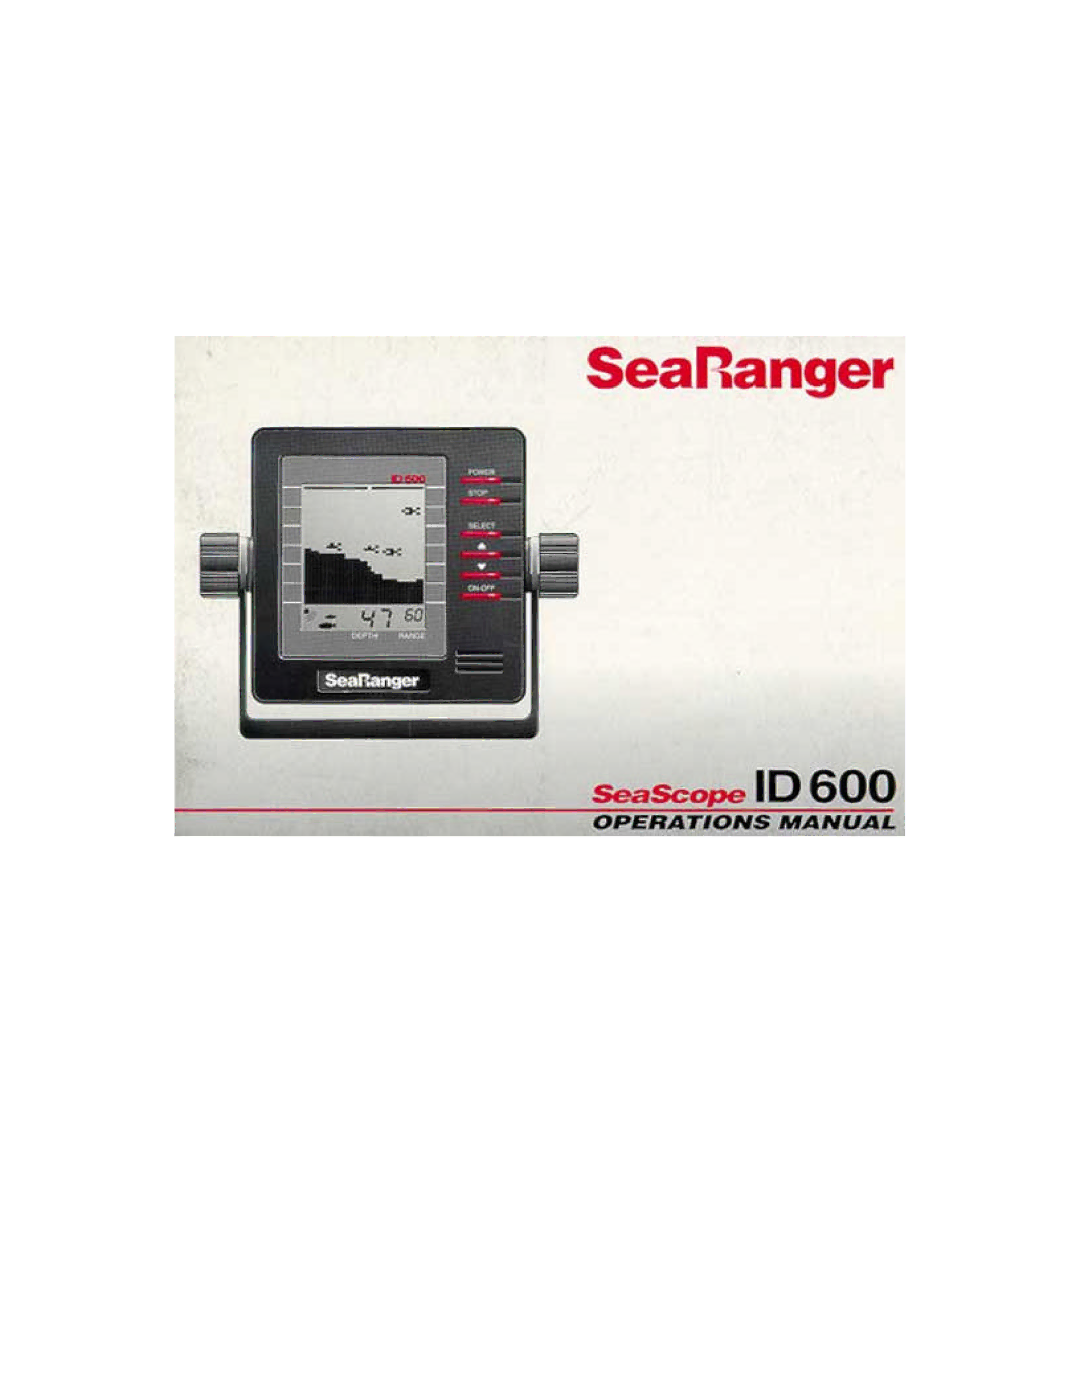
Using the SeaScope ID600
Page 1
Image 1
Page 1
Page 2
Page 1
Image 1
Page 1
Page 2
Contents
Page
Installation Overview
Accessories
Parts Supplied
Determining How to Mount the Transducer
Portable Mounting
Alternate Transducers and Mounting Methods
Trolling Motor Mounting
Thru-Hull Mounting
Transducer Exchange
Beginning Installation
Step One Determine Where to Mount the Transducer
Transom Installation
Step Three Assemble the Transducer
Step Two Drill the Mounting Holes
Step Four Mount the Transducer to the Transom
Step Five Adjust the Running Position of the Transducer
Confirm the pivot angle has not changed
Page
Step Six Route the Cable
Step One Determine the Mounting Location
Inside the Hull Installation
Step Two Test the Mounting Location
Page
Step Three Permanently Mount the Transducer
Step One Determine Where to Mount
Control Head Installation
Step Two Connect the Power Cable to the Boat
Page
Step Four Run the Cables
Step Three Drill the Mounting Holes
Page
Your Humminbird is now ready for operation
Step Five Assembling the Connector Holder
Test the Installation
Gimbal Mount Installation
Installing the SeaScope ID600
Testing the Installation
Using the Built-In Simulator
Using the SeaScope ID600
Operating the SeaScope ID600
Sensitivity
Factory setting +0/FEET
Fish Alarm
Bottom Alarm
Bottom Lock
Zoom
Display Speed
Fish ID
Depth Range
Top
Page
Image
Contents