STOP: Press this to “freeze” the display so you can study it. Press it again to restart the display movement.
SELECT: This button is used to access the following functions for further adjustments:
∙Sensitivity/Units
∙Bottom Alarm
∙Fish Alarm
∙Zoom
∙Bottom Lock
∙Display Speed
∙Depth Range
∙Fish ID
To adjust any of these, press SELECT until the function you want appears. Each function’s display tells you how to use the arrow buttons and
NOTE: The last function you select remains “active”- that is, you can adjust it without having to press SELECT again. You can use this to simplify operations.
For example, if the bottom alarm was the last function used, you can readjust the alarm by pressing one of the arrow buttons.
Or if you often use Zoom, you can select it once, then switch it on and off by simply pressing
The following pages describe each funcion, in order of appearance as you first press SELECT.
Sensitivity
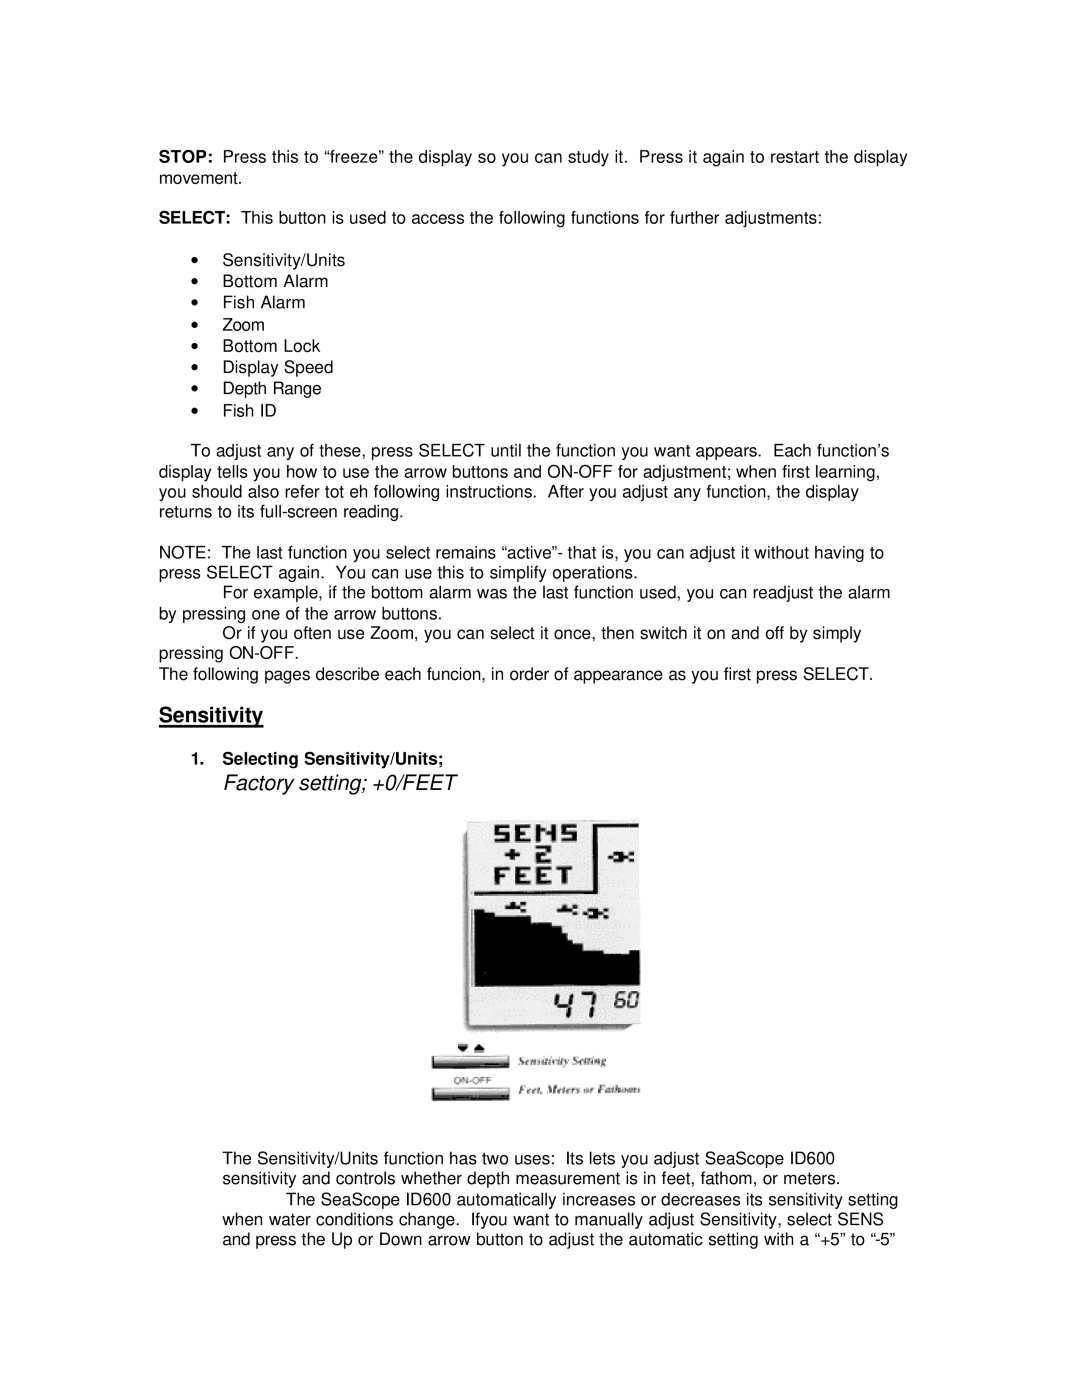
1.Selecting Sensitivity/Units;
Factory setting; +0/FEET
The Sensitivity/Units function has two uses: Its lets you adjust SeaScope ID600 sensitivity and controls whether depth measurement is in feet, fathom, or meters.
The SeaScope ID600 automatically increases or decreases its sensitivity setting when water conditions change. Ifyou want to manually adjust Sensitivity, select SENS and press the Up or Down arrow button to adjust the automatic setting with a “+5” to
