42798-01 specifications
The Hunter Fan 42798-01 is an exceptional ceiling fan that combines both functionality and aesthetic appeal, making it an ideal choice for modern homes. This fan is designed to provide efficient airflow while enhancing the decor of any room. Its contemporary style features a sleek, polished finish, making it a versatile addition to various interior designs.One of the standout features of the Hunter 42798-01 is its powerful motor, which ensures a strong and consistent airflow. The motor operates quietly, allowing for a peaceful environment whether in a bedroom, living room, or office space. This is particularly appealing for those who are sensitive to noise, as it enables comfort without significant distraction.
The fan is equipped with a reversible motor, allowing for year-round use. In the summer, it can be set to spin counter-clockwise to create a cool breeze, while in the winter, reversing the direction helps circulate warm air that tends to rise. This feature contributes to energy efficiency, potentially lowering heating and cooling costs throughout the year.
In terms of energy efficiency, the Hunter Fan 42798-01 is designed with low wattage consumption in mind, making it an eco-friendly choice. The fan is compatible with LED light kits, providing an additional source of illumination without consuming excessive energy. When paired with an appropriate light kit, it can enhance the functionality of a room while maintaining an elegant look.
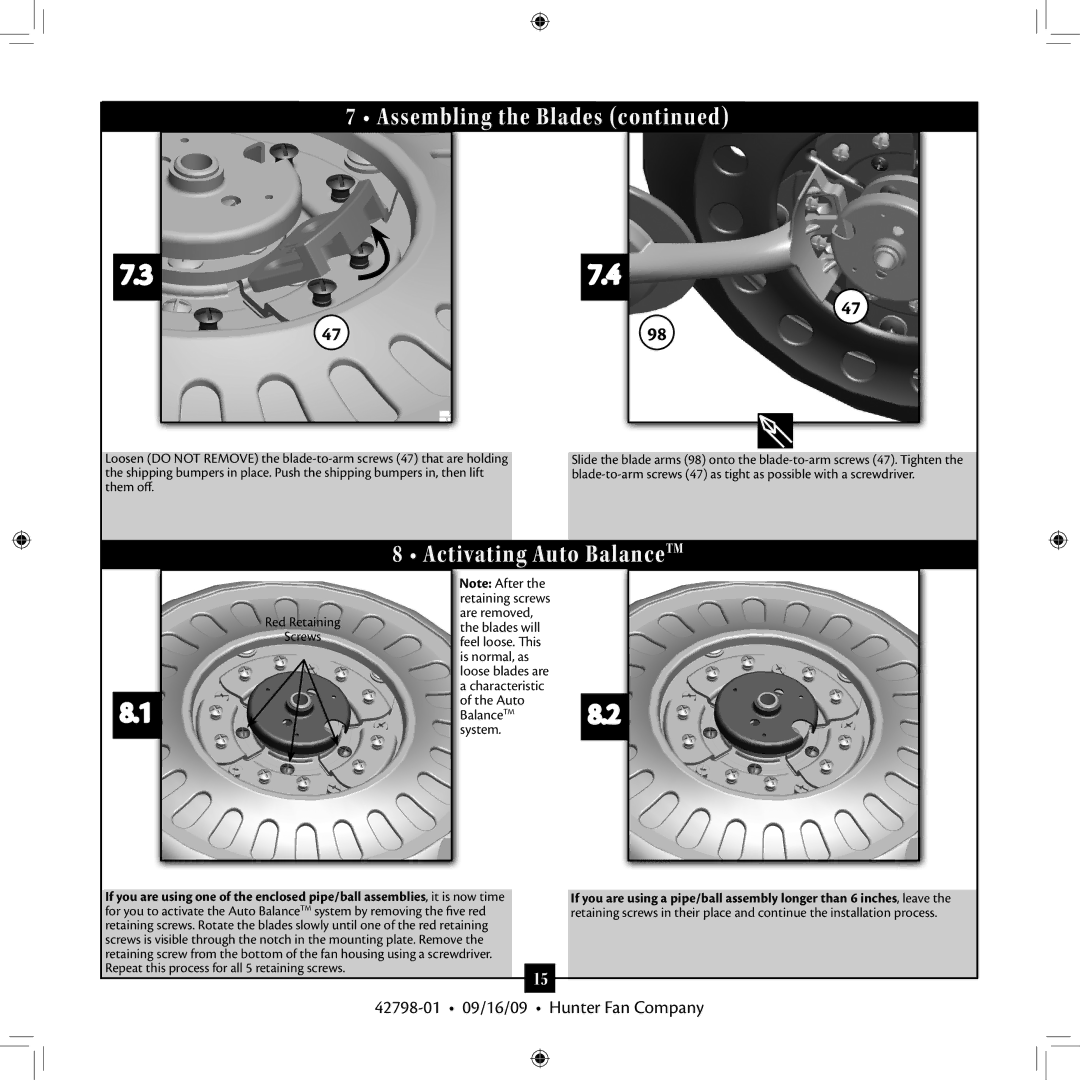
Additionally, installation is streamlined with the fan's easy-to-follow instructions. It comes with an adjustable mounting system that allows for both standard and angled ceilings, making it very adaptable to various settings.
Moreover, the fan includes a range of blade options, with the ability to choose finishes and materials that best suit home decor. The blades are aerodynamically designed for optimal airflow, ensuring efficient performance.
In summary, the Hunter Fan 42798-01 is a perfect blend of modern technology and classic style. Its silent yet powerful motor, energy-efficient design, and versatile installation options make it a top choice for those seeking a functional and stylish ceiling fan. With its various features tailored for comfort and aesthetic appeal, it's no wonder this fan is highly rated by homeowners and interior designers alike.

