Manuals
/
Hunter Fan
/
Household Appliance
/
Fan
Hunter Fan
82043, 43045 manual READ and SAVE THESE INSTRUCTIONS, Energy Star Bath Fan Models
Models:
82043
43045
1
1
18
18
Download
18 pages
43.47 Kb
1
2
3
4
5
6
7
8
<
>
Troubleshooting
Install
Warranty
Loosen the wiring cover screw
Secure the fan assembly by tightening the two fan mounting
Section C - Existing Construction - accessible from above
Mark position of screws by using holes as a template
Page 1
Image 1
I
n
s
t
a
l
l
a
t
i
o
n
G
u
i
d
e
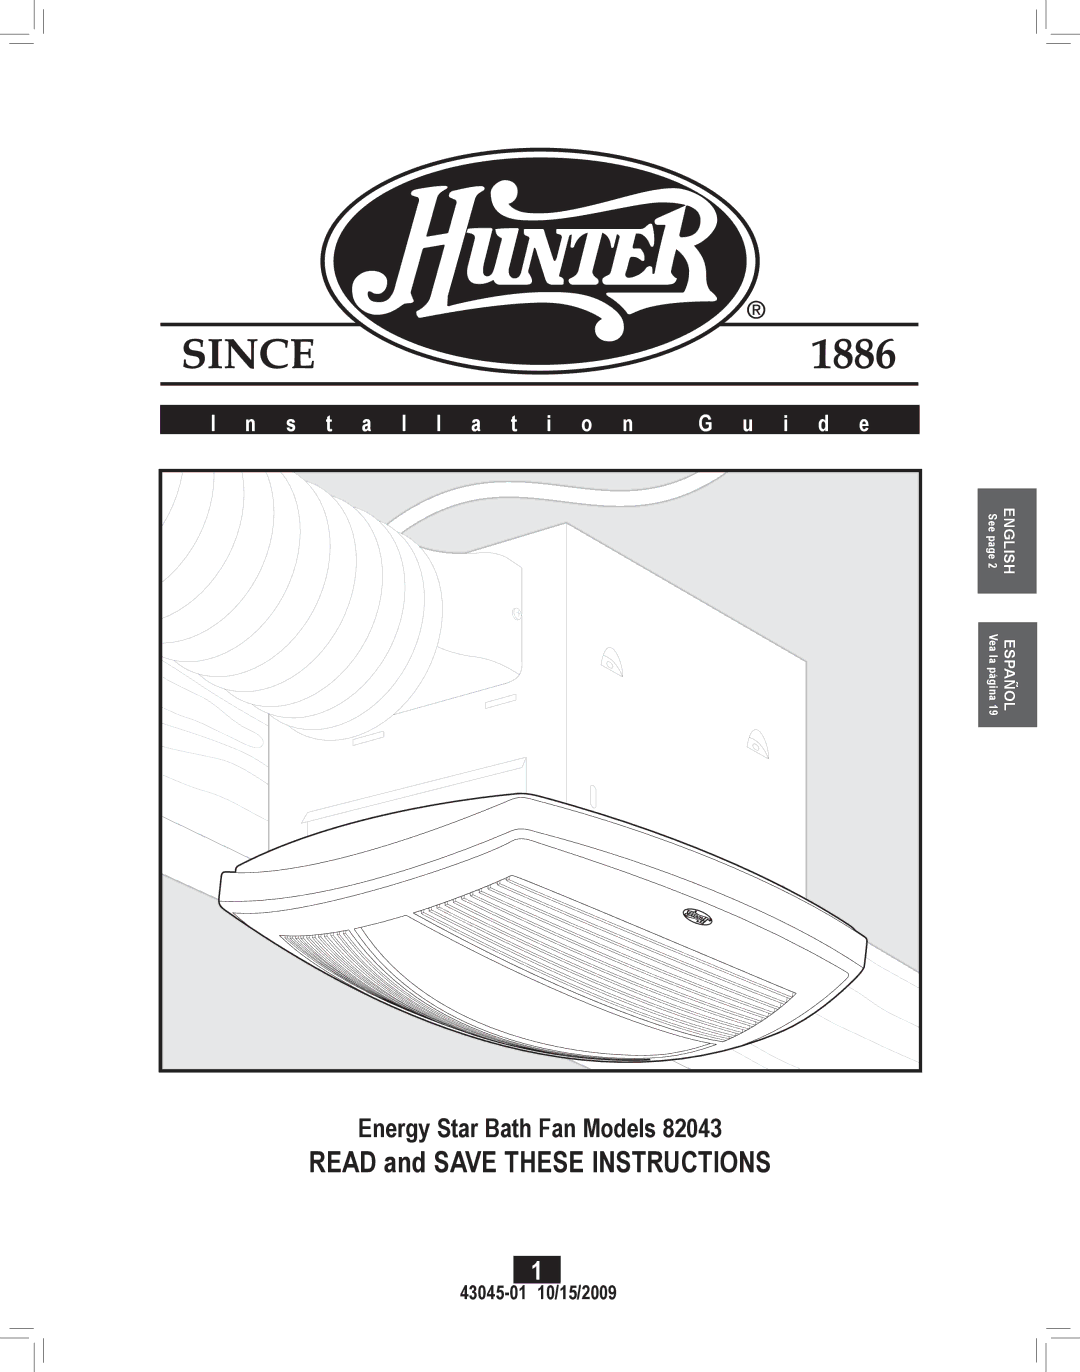
Energy Star Bath Fan Models 82043
READ and SAVE THESE INSTRUCTIONS
ENGLISH Español
See page 2
Vea la página 19
43045-01
1
10/15/2009
Page 2
Page 1
Image 1
Page 2
Contents
Energy Star Bath Fan Models
READ and SAVE THESE INSTRUCTIONS
43045-01 210/15/2009
Figure A
W a r n i n g
TO REDUCE THE RISK OF ELECTRIC SHOCK OR INJURY, OBSERVE THE FOLLOWING
43045-01 310/15/2009
43045-01 410/15/2009
Before Installation
Housing
Wiring Cover
For New Construction - attaching to joist, go to step A1, page
Choose Installation Option
43045-01 510/15/2009
Remove the fan assembly from the housing
Section A - New Construction - attaching to joist
A1 OR
43045
Pop out a wiring access slug
Vaya a la sección E - Instalación Final en la página
B1 OR
Section B - New Construction - suspended between joists
43045-01 710/15/2009
43045
Mark position of screws by using holes as a template
1/16” bit
Drill a pilot hole at the TOP of each outline
NO EXISTING FAN
Section C - Existing Construction - accessible from above
43045-01
Vaya a la sección E - Instalación Final en la página
C5C6
C2 OR
43045-01 10/15/2009
Pop out a wiring access slug
43045
C9C10
10/15/2009
head and the joist. Screws are supplied
D1 D2
Section D - Existing Construction - accessible from below
EXISTING FAN
Vaya a la sección E - Instalación Final en la página
Install the wiring and the strain relief into the wiring access
Move the housing into the ceiling
Vaya a la sección E - Instalación Final en la página
43045-01 10/15/2009
Connect the wiring as shown
Section E - Final Installation
Install the wiring cover box. Make sure all wiring connec
tions are inside the wiring cover box
Plug in wiring harness
Install the strain relief bracket. DO NOT ALLOW THE
43045-01 10/15/2009
screws
Install night light
Install light bulbs
Install light bulb cover
Restore power at the source
Maintenance
Preventative Maintenance
Trouble Shooting
43045-01 10/15/2009
Warranty
Trouble Shooting cont
43045-01 10/15/2009