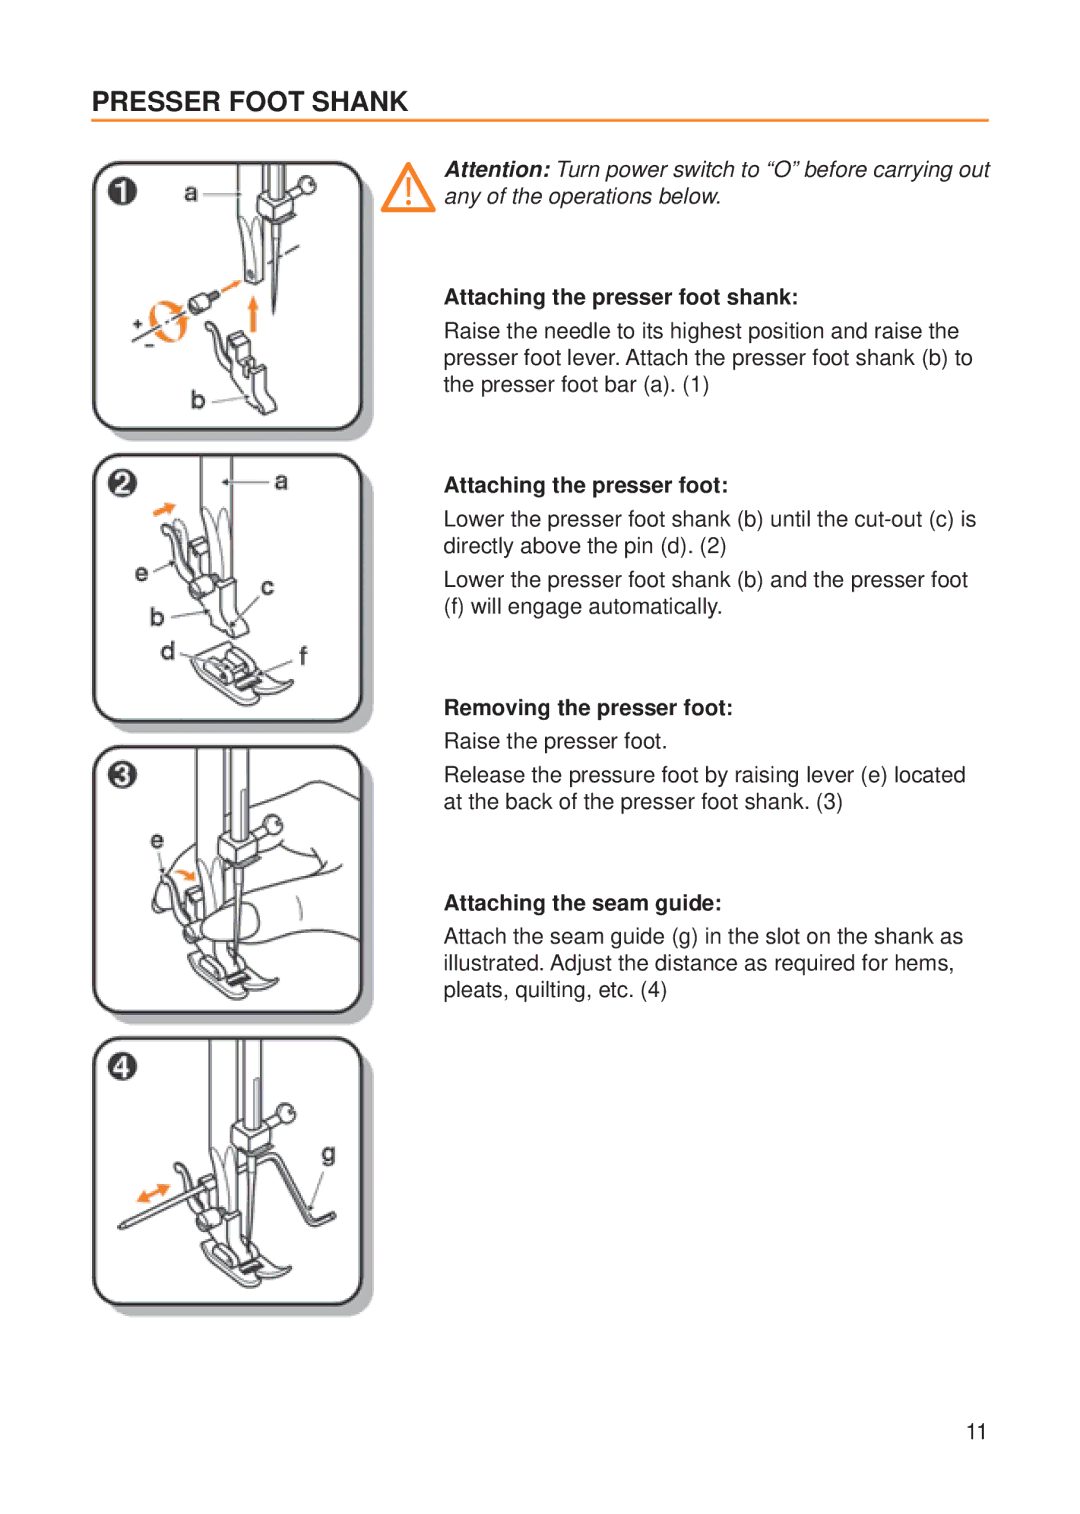
PRESSER FOOT SHANK
Attention: Turn power switch to “O” before carrying out any of the operations below.
Attaching the presser foot shank:
Raise the needle to its highest position and raise the presser foot lever. Attach the presser foot shank (b) to the presser foot bar (a). (1)
Attaching the presser foot:
Lower the presser foot shank (b) until the
Lower the presser foot shank (b) and the presser foot
(f) will engage automatically.
Removing the presser foot:
Raise the presser foot.
Release the pressure foot by raising lever (e) located at the back of the presser foot shank. (3)
Attaching the seam guide:
Attach the seam guide (g) in the slot on the shank as illustrated. Adjust the distance as required for hems, pleats, quilting, etc. (4)
11