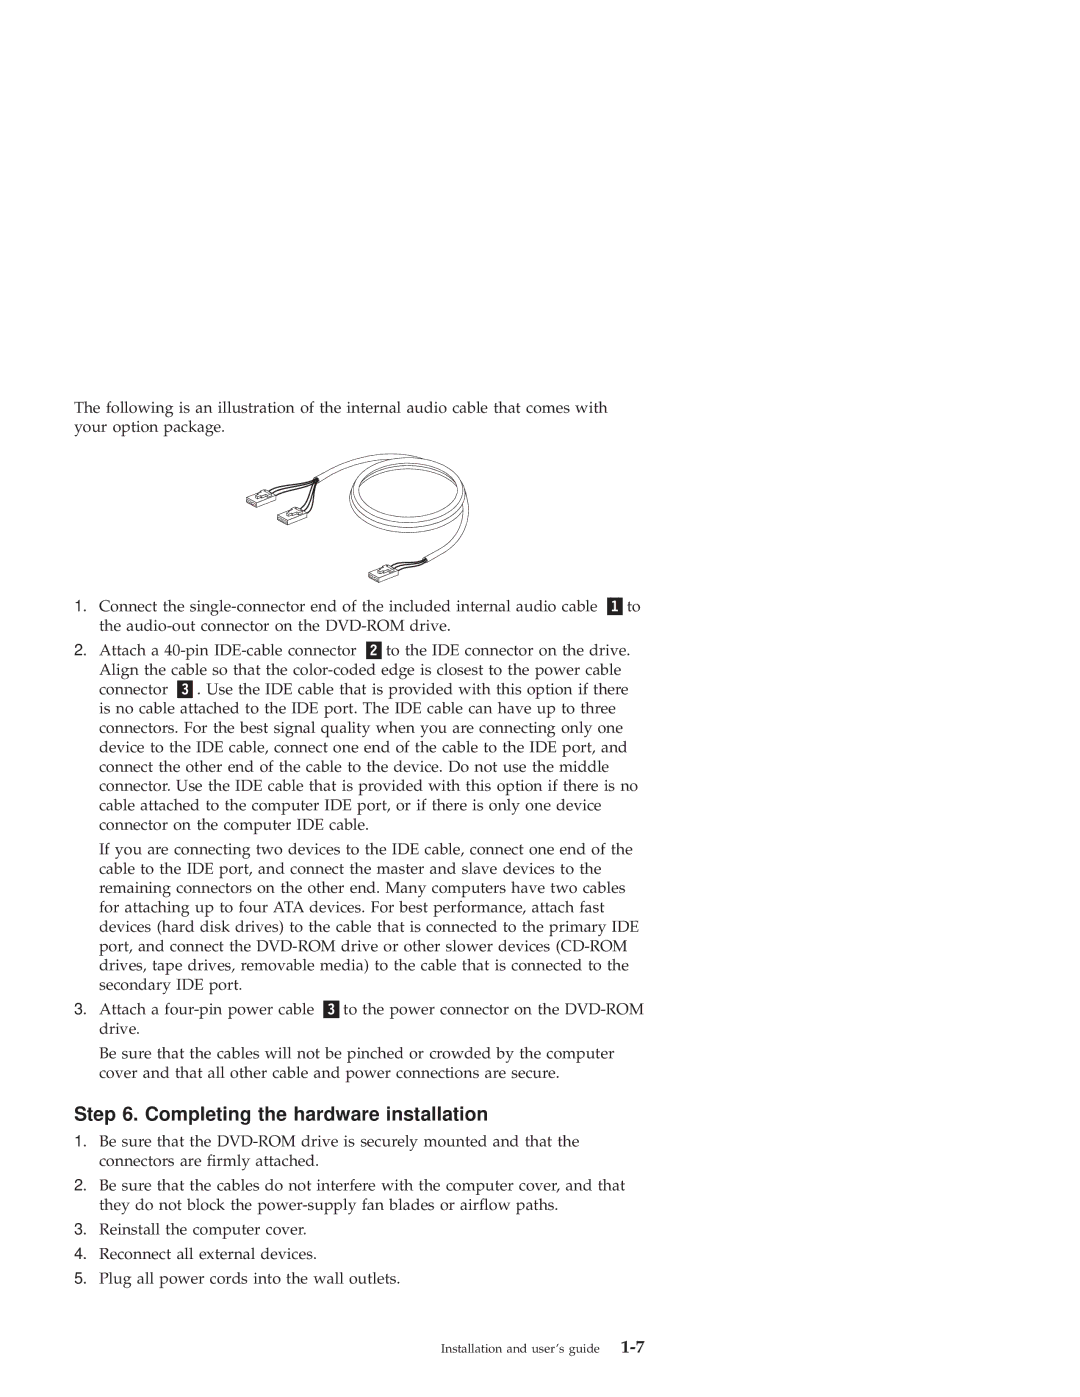
The following is an illustration of the internal audio cable that comes with your option package.
1.Connect the single-connector end of the included internal audio cable «1¬to the audio-out connector on the DVD-ROM drive.
2.Attach a 40-pin IDE-cable connector «2¬to the IDE connector on the drive.
Align the cable so that the color-coded edge is closest to the power cable connector «3¬. Use the IDE cable that is provided with this option if there is no cable attached to the IDE port. The IDE cable can have up to three connectors. For the best signal quality when you are connecting only one device to the IDE cable, connect one end of the cable to the IDE port, and connect the other end of the cable to the device. Do not use the middle connector. Use the IDE cable that is provided with this option if there is no cable attached to the computer IDE port, or if there is only one device connector on the computer IDE cable.
If you are connecting two devices to the IDE cable, connect one end of the cable to the IDE port, and connect the master and slave devices to the remaining connectors on the other end. Many computers have two cables for attaching up to four ATA devices. For best performance, attach fast devices (hard disk drives) to the cable that is connected to the primary IDE port, and connect the DVD-ROM drive or other slower devices (CD-ROM drives, tape drives, removable media) to the cable that is connected to the secondary IDE port.
3.Attach a four-pin power cable «3¬to the power connector on the DVD-ROM drive.
Be sure that the cables will not be pinched or crowded by the computer cover and that all other cable and power connections are secure.
Step 6. Completing the hardware installation
1.Be sure that the DVD-ROM drive is securely mounted and that the connectors are firmly attached.
2.Be sure that the cables do not interfere with the computer cover, and that they do not block the power-supply fan blades or airflow paths.
3.Reinstall the computer cover.
4.Reconnect all external devices.
5.Plug all power cords into the wall outlets.