Chapter 4. Preparing to use the Multi-Burner
Before using the
1.Make sure the
2.Check the locations of the functions on the
3.Insert the IBM USB 2.0 Portable
4.
5.Check that the drive operates normally and keep the enclosed warranty in a safe place after filling it in.
Check that nothing is placed on the top cover when ejecting a CD or DVD. When normal ejection is impossible, an error message may appear on your computer. When ejection is not performed normally, open the top cover manually and close it securely after removing anything that may be on the cover.
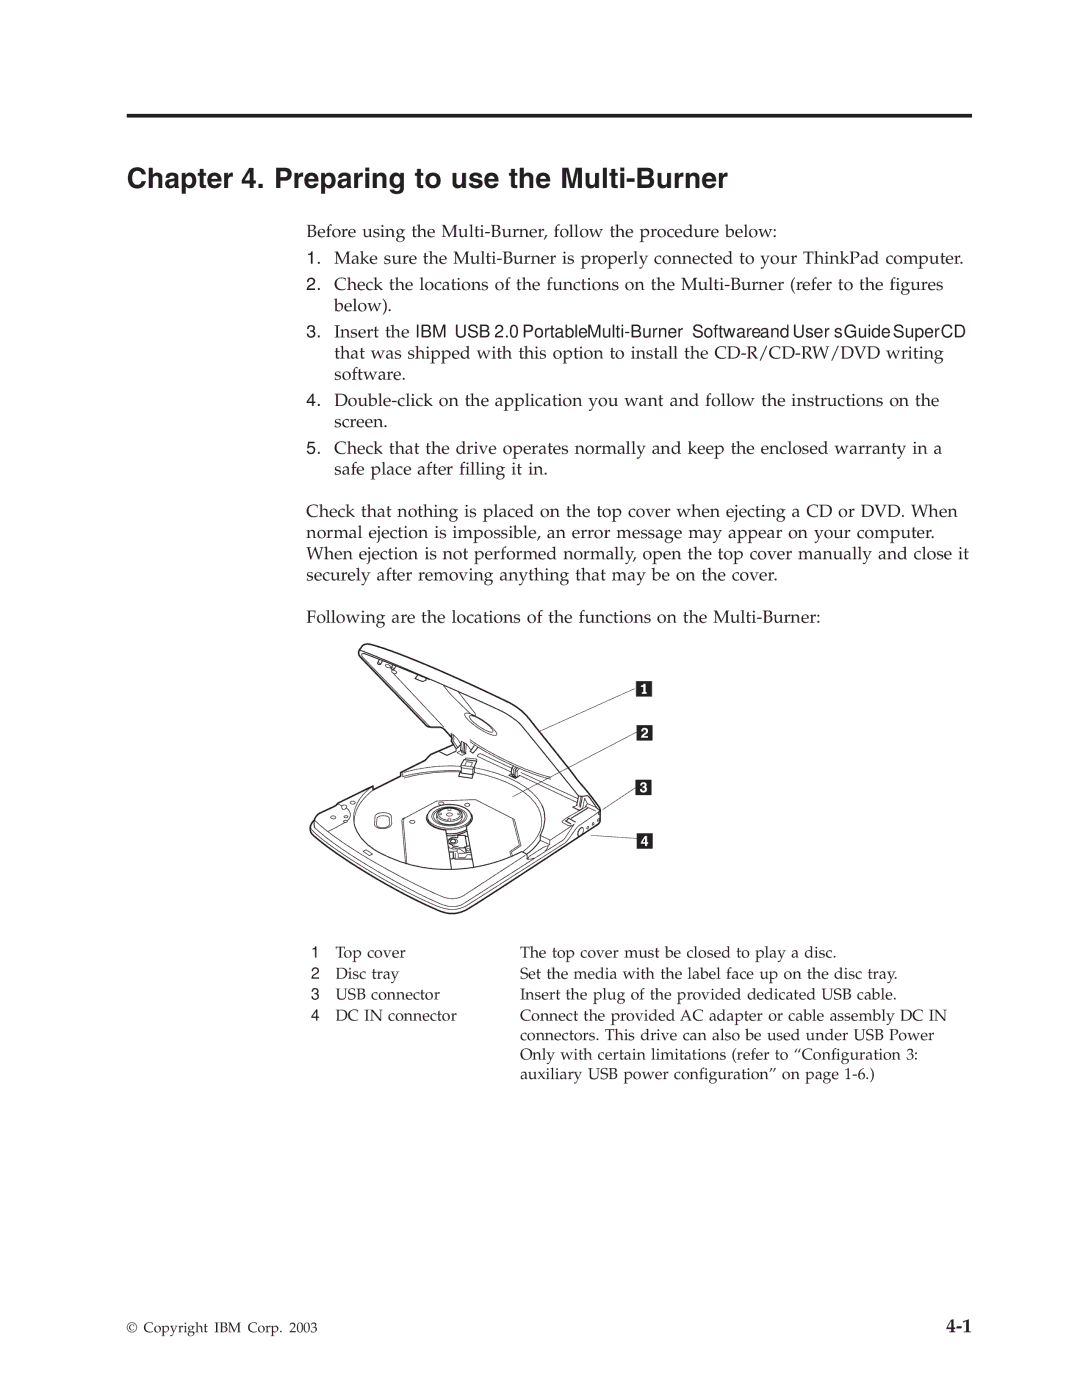
Following are the locations of the functions on the
Top cover | The top cover must be closed to play a disc. |
Disc tray | Set the media with the label face up on the disc tray. |
USB connector | Insert the plug of the provided dedicated USB cable. |
DC IN connector | Connect the provided AC adapter or cable assembly DC IN |
| connectors. This drive can also be used under USB Power |
| Only with certain limitations (refer to “Configuration 3: |
| auxiliary USB power configuration” on page |
© Copyright IBM Corp. 2003 |