3ware Escalade ATA RAID Controller Installation Guide
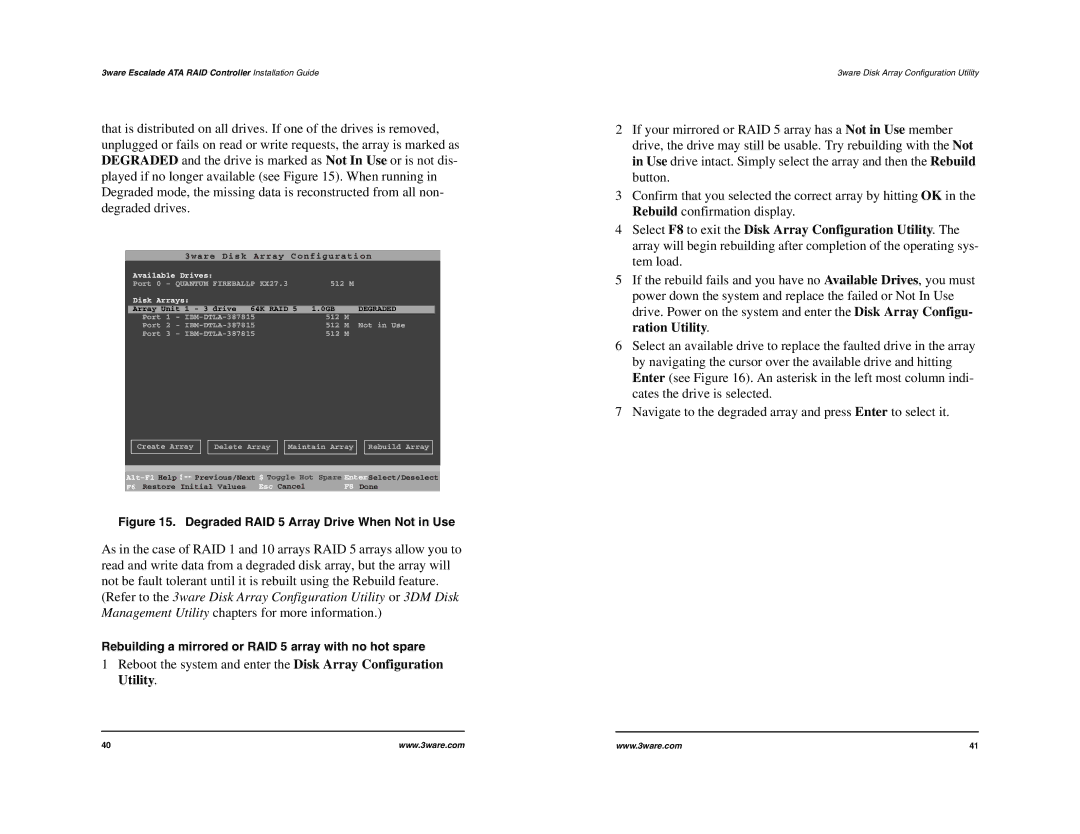
that is distributed on all drives. If one of the drives is removed, unplugged or fails on read or write requests, the array is marked as DEGRADED and the drive is marked as Not In Use or is not dis- played if no longer available (see Figure 15). When running in Degraded mode, the missing data is reconstructed from all non- degraded drives.
|
|
| 3ware Disk | Array Configuration | ||
Available Drives: |
|
|
| |||
Port 0 | - QUANTUM FIREBALLP KX27.3 | 512 M | ||||
Disk Arrays: |
|
|
| |||
Array Unit | 1 - 3 drive | 64K RAID 5 | 1.0GB | DEGRADED | ||
Port | 1 | - | 512 | M | ||
Port | 2 | - | 512 | M Not in Use | ||
Port | 3 | - | 512 | M | ||
Create Array ![]()
![]() Delete Array
Delete Array ![]()
![]() Maintain Array
Maintain Array ![]()
![]() Rebuild Array
Rebuild Array
Previous/Next $ Toggle Hot Spare EnterSelect/Deselect | ||
F6 Restore Initial Values Esc Cancel | F8 Done | |
Figure 15. Degraded RAID 5 Array Drive When Not in Use
As in the case of RAID 1 and 10 arrays RAID 5 arrays allow you to read and write data from a degraded disk array, but the array will not be fault tolerant until it is rebuilt using the Rebuild feature. (Refer to the 3ware Disk Array Configuration Utility or 3DM Disk Management Utility chapters for more information.)
Rebuilding a mirrored or RAID 5 array with no hot spare
1Reboot the system and enter the Disk Array Configuration Utility.
3ware Disk Array Configuration Utility
2If your mirrored or RAID 5 array has a Not in Use member drive, the drive may still be usable. Try rebuilding with the Not in Use drive intact. Simply select the array and then the Rebuild button.
3Confirm that you selected the correct array by hitting OK in the Rebuild confirmation display.
4Select F8 to exit the Disk Array Configuration Utility. The array will begin rebuilding after completion of the operating sys- tem load.
5If the rebuild fails and you have no Available Drives, you must power down the system and replace the failed or Not In Use drive. Power on the system and enter the Disk Array Configu- ration Utility.
6Select an available drive to replace the faulted drive in the array by navigating the cursor over the available drive and hitting Enter (see Figure 16). An asterisk in the left most column indi- cates the drive is selected.
7Navigate to the degraded array and press Enter to select it.
40 | www.3ware.com | www.3ware.com | 41 |
