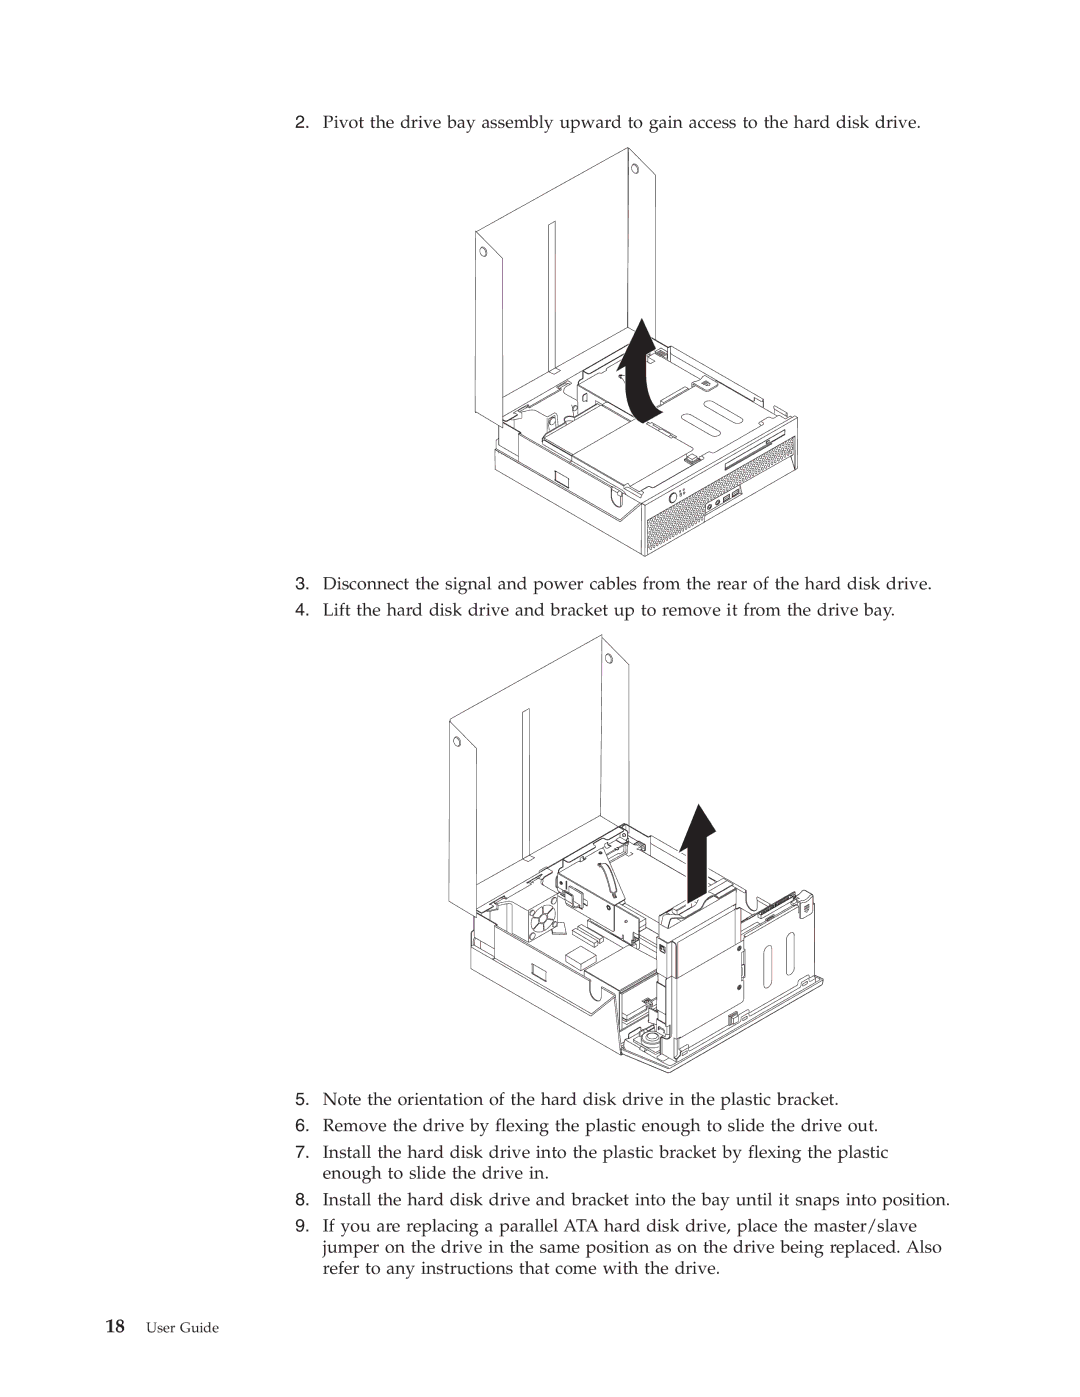
2.Pivot the drive bay assembly upward to gain access to the hard disk drive.
3.Disconnect the signal and power cables from the rear of the hard disk drive.
4.Lift the hard disk drive and bracket up to remove it from the drive bay.
5.Note the orientation of the hard disk drive in the plastic bracket.
6.Remove the drive by flexing the plastic enough to slide the drive out.
7.Install the hard disk drive into the plastic bracket by flexing the plastic enough to slide the drive in.
8.Install the hard disk drive and bracket into the bay until it snaps into position.
9.If you are replacing a parallel ATA hard disk drive, place the master/slave jumper on the drive in the same position as on the drive being replaced. Also refer to any instructions that come with the drive.