6.Locate the Clear CMOS/Recovery jumper on the system board. See “Identifying parts on the system board” on page 11.
7.Move the jumper from the standard position (pins 1 and 2) to the maintenance or configure position (pins 2 and 3).
8.Close the cover and connect the power cord. See “Closing the cover and connecting the cables.”
9.Restart the computer, leave it on for approximately 10 seconds. Turn off the computer by holding the power switch for approximately 5 seconds. The computer will turn off.
10.Repeat steps 2 through 6 on page 22.
11.Move the jumper back to the standard (pins 1 and 2).
12.Replace the fan bracket assembly.
13.Close the cover and connect the power cord. See “Closing the cover and connecting the cables.”
Closing the cover and connecting the cables
After working with options, you need to install any removed parts, close the cover, and reconnect any cables, including telephone lines and power cords. Also, depending on the option that is installed, you might need to confirm the updated information in the IBM Setup Utility program.
To close the cover and connect cables to your computer:
1.Ensure that all components have been reassembled correctly and that no tools or loose screws are left inside your computer.
2.Clear any cables that might impede the replacement of the cover.
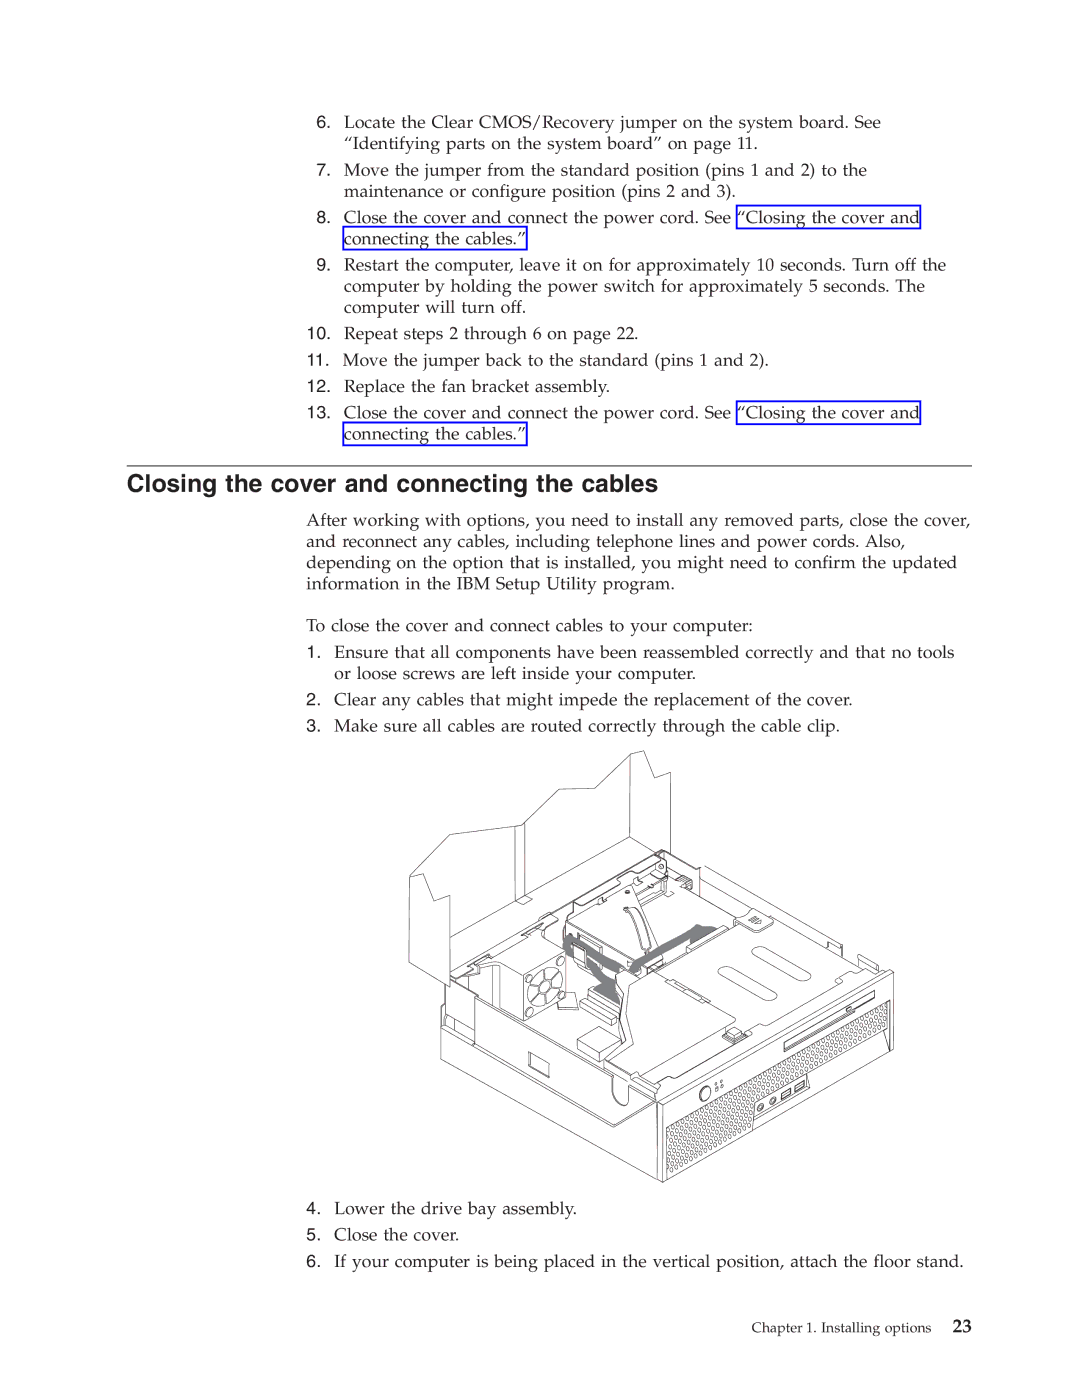
3.Make sure all cables are routed correctly through the cable clip.
4.Lower the drive bay assembly.
5.Close the cover.
6.If your computer is being placed in the vertical position, attach the floor stand.