Fine-tuning the image quality in user modes
According to the detected signal type, there are some
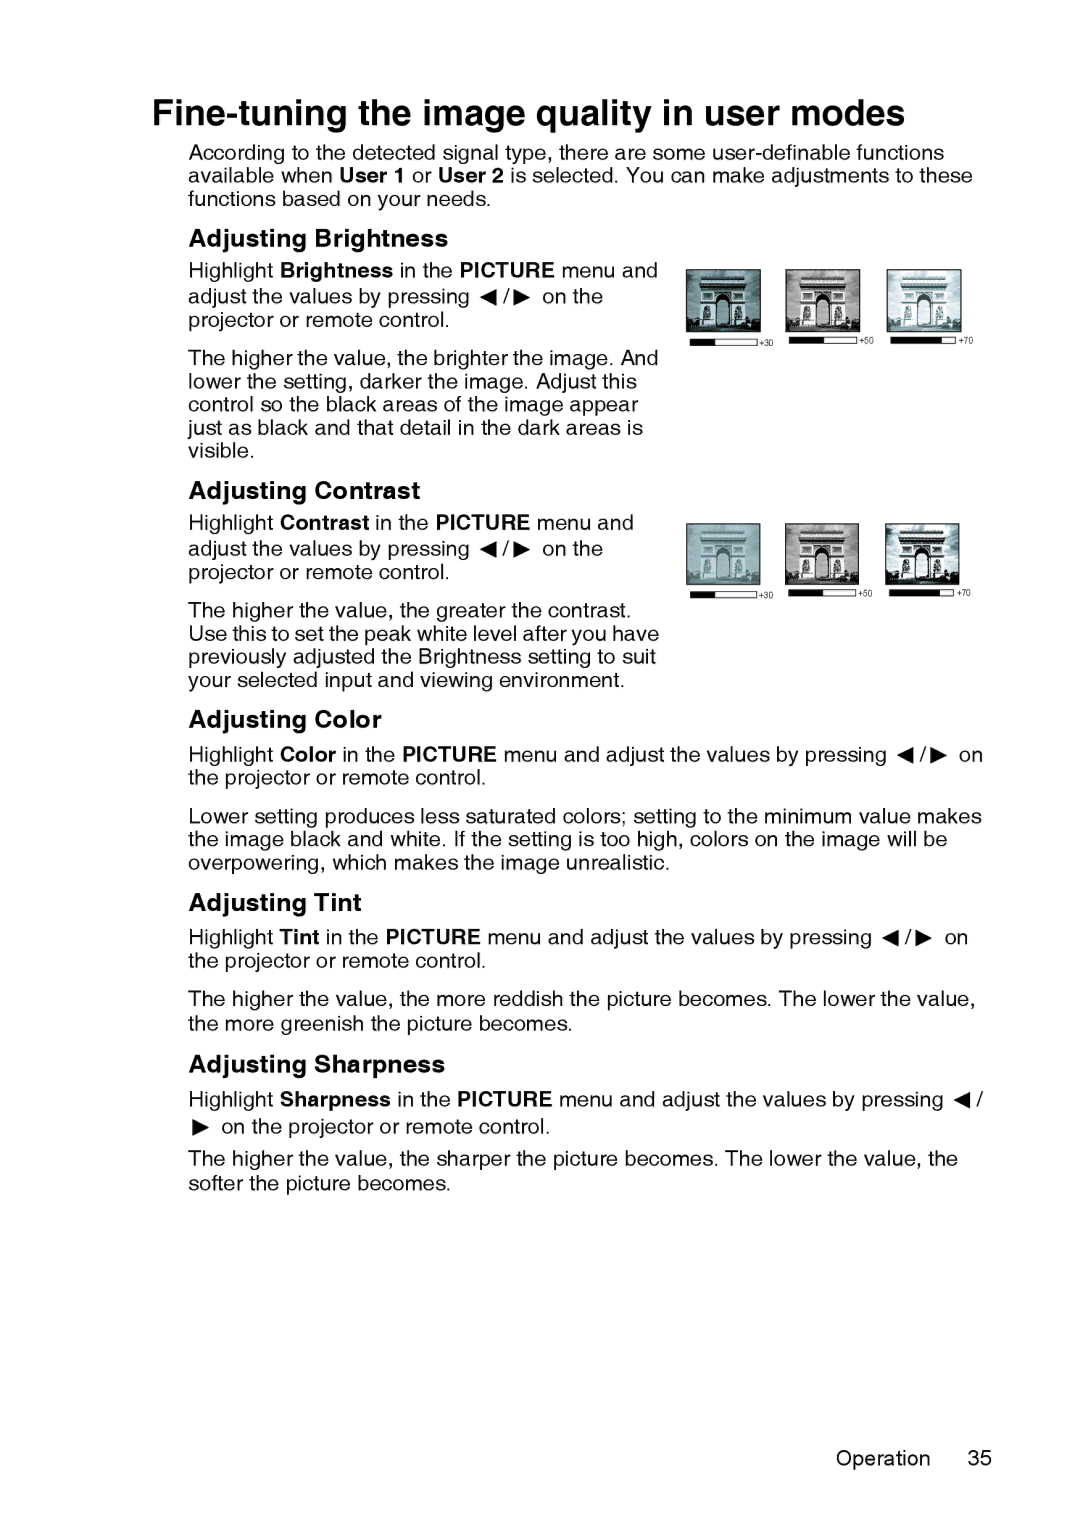
Adjusting Brightness
Highlight Brightness in the PICTURE menu and adjust the values by pressing ![]() /
/ ![]() on the projector or remote control.
on the projector or remote control.
The higher the value, the brighter the image. And lower the setting, darker the image. Adjust this control so the black areas of the image appear just as black and that detail in the dark areas is visible.
+30 |
|
| +50 |
|
| +70 |
|
|
|
|
Adjusting Contrast
Highlight Contrast in the PICTURE menu and adjust the values by pressing ![]() /
/ ![]() on the projector or remote control.
on the projector or remote control.
The higher the value, the greater the contrast. Use this to set the peak white level after you have previously adjusted the Brightness setting to suit your selected input and viewing environment.
+30 |
|
| +50 |
|
| +70 |
Adjusting Color
Highlight Color in the PICTURE menu and adjust the values by pressing ![]() /
/ ![]() on the projector or remote control.
on the projector or remote control.
Lower setting produces less saturated colors; setting to the minimum value makes the image black and white. If the setting is too high, colors on the image will be overpowering, which makes the image unrealistic.
Adjusting Tint
Highlight Tint in the PICTURE menu and adjust the values by pressing ![]() /
/ ![]() on the projector or remote control.
on the projector or remote control.
The higher the value, the more reddish the picture becomes. The lower the value, the more greenish the picture becomes.
Adjusting Sharpness
Highlight Sharpness in the PICTURE menu and adjust the values by pressing ![]() /
/
on the projector or remote control.
The higher the value, the sharper the picture becomes. The lower the value, the softer the picture becomes.
Operation 35