•Film
Note
Film mode is supported in TV, Video, component video (480i/1080i), and HDMI (1080i) modes.
•Screen Burn
•Pixel
•
•Side
•Picture
4Press ![]() or
or ![]() ,
, ![]() or
or ![]() to adjust the setting, then press ENTER to confirm.
to adjust the setting, then press ENTER to confirm.
5Press RETURN to return to the previous menu or EXIT to close the menu.
Adjusting the picture size
To adjust the picture size:
•If you select Zoom1, Zoom2, or Wide Fit, you can adjust the position. Press ![]() or
or ![]() to highlight Position, then press ENTER. Press
to highlight Position, then press ENTER. Press ![]() or
or ![]() to move the picture up or down. To reset the picture to the default setting, press
to move the picture up or down. To reset the picture to the default setting, press ![]() or
or ![]() to highlight Reset, then press ENTER.
to highlight Reset, then press ENTER.
•If you select Screen Fit in HDMI (1080i/1080p) or Component (1080i/1080p) mode, you made need to center the picture. Press ![]() or
or ![]() to highlight Position, then press ENTER. Press
to highlight Position, then press ENTER. Press ![]() or
or ![]() ,
, ![]() or
or ![]() to move the picture. To reset the picture to the default setting, press
to move the picture. To reset the picture to the default setting, press ![]() or
or ![]() to highlight Reset, then press ENTER.
to highlight Reset, then press ENTER.
Picture sizes available for input sources
Input source | Picture size |
ATV, Video, Component (480i, 480p) | 16:9, Zoom1, Zoom2, 4:3 |
|
|
Component (720p), Air | 16:9, Wide Fit, 4:3 |
DTV (1080i), Component (1080i, 1080p), | 16:9, 4:3, Wide Fit, Screen Fit |
HDMI (720p, 1080i, 1080p) |
|
Notes
You can adjust and store settings for each external device you have connected to an input of your TV.
Improving the image from a game console
You can improve the image and sound from a game console by turning the Game Mode feature on or off.
Note
The Game Mode feature is only available if a game console is connected to your TV.
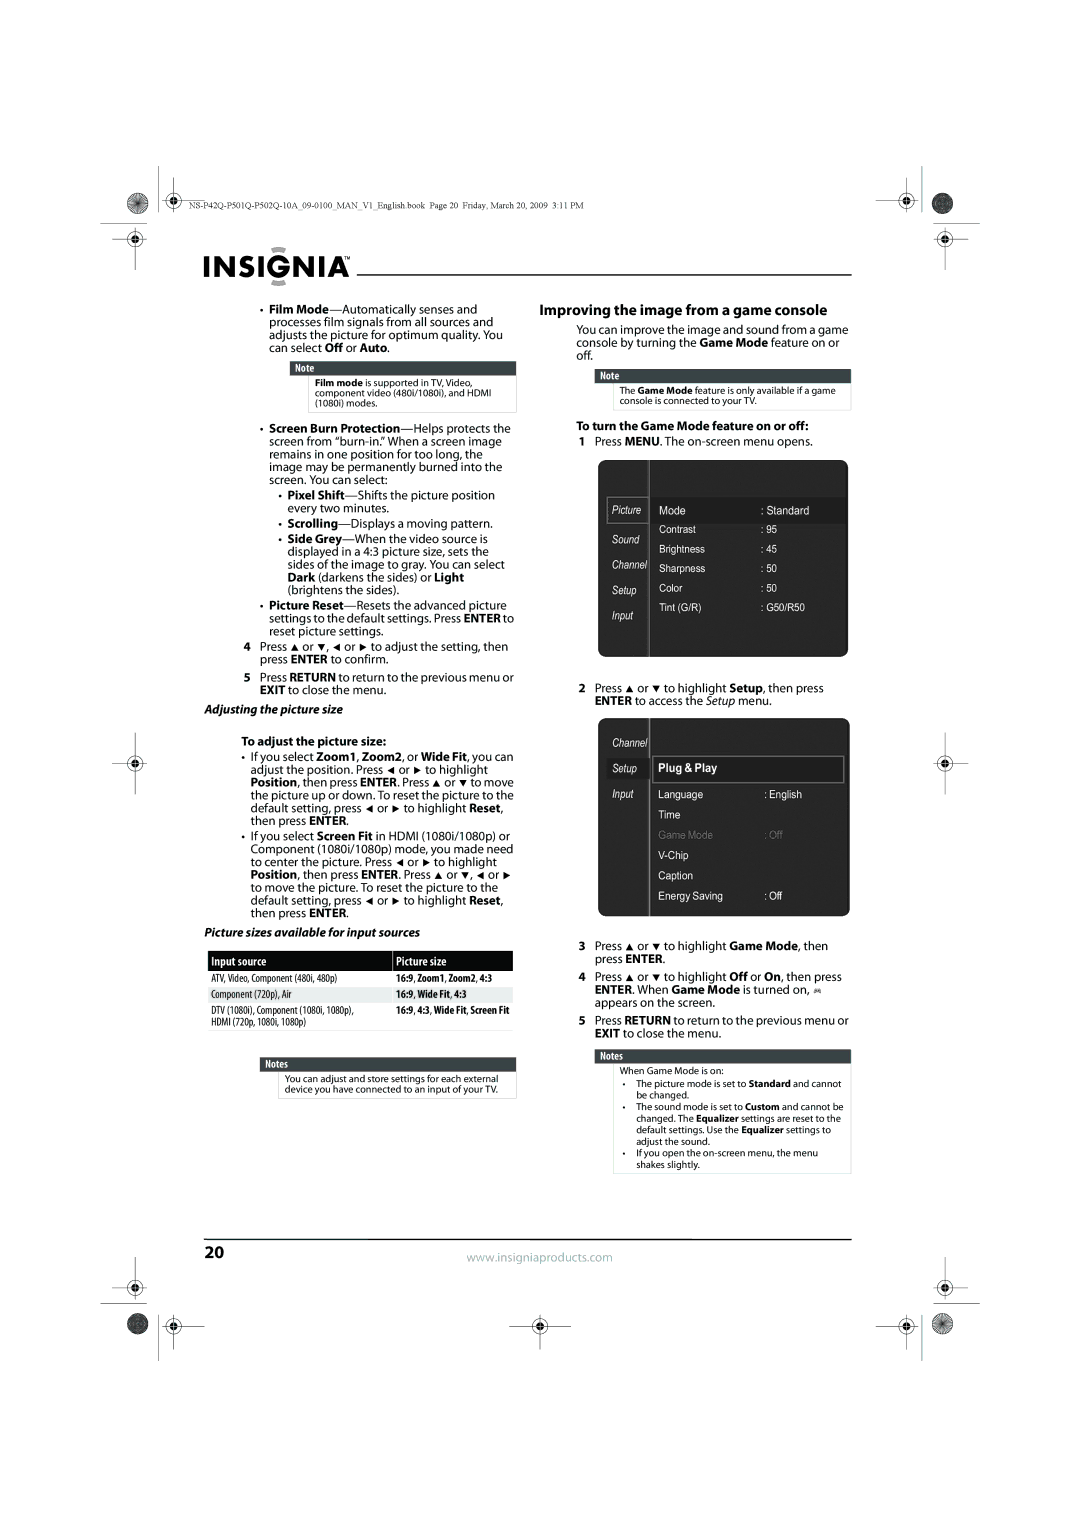
To turn the Game Mode feature on or off:
1Press MENU. The
Picture | Mode | : Standard | |
| Contrast | : 95 | |
Sound | |||
Brightness | : 45 | ||
| |||
Channel | Sharpness | : 50 | |
Setup | Color | : 50 | |
Input | Tint (G/R) | : G50/R50 | |
|
|
2Press ![]() or
or ![]() to highlight Setup, then press ENTER to access the Setup menu.
to highlight Setup, then press ENTER to access the Setup menu.
Channel |
|
|
Setup | Plug & Play |
|
Input |
|
|
Language | : English | |
| Time |
|
| Game Mode | : Off |
|
| |
| Caption |
|
| Energy Saving | : Off |
3Press ![]() or
or ![]() to highlight Game Mode, then press ENTER.
to highlight Game Mode, then press ENTER.
4Press ![]() or
or ![]() to highlight Off or On, then press ENTER. When Game Mode is turned on,
to highlight Off or On, then press ENTER. When Game Mode is turned on, ![]() appears on the screen.
appears on the screen.
5Press RETURN to return to the previous menu or EXIT to close the menu.
Notes
When Game Mode is on:
•The picture mode is set to Standard and cannot be changed.
•The sound mode is set to Custom and cannot be changed. The Equalizer settings are reset to the default settings. Use the Equalizer settings to adjust the sound.
•If you open the
20 | www.insigniaproducts.com | |||||
|
|
|
|
|
|
|
|
|
|
|
|
|
|
|
|
|
|
|
|
|