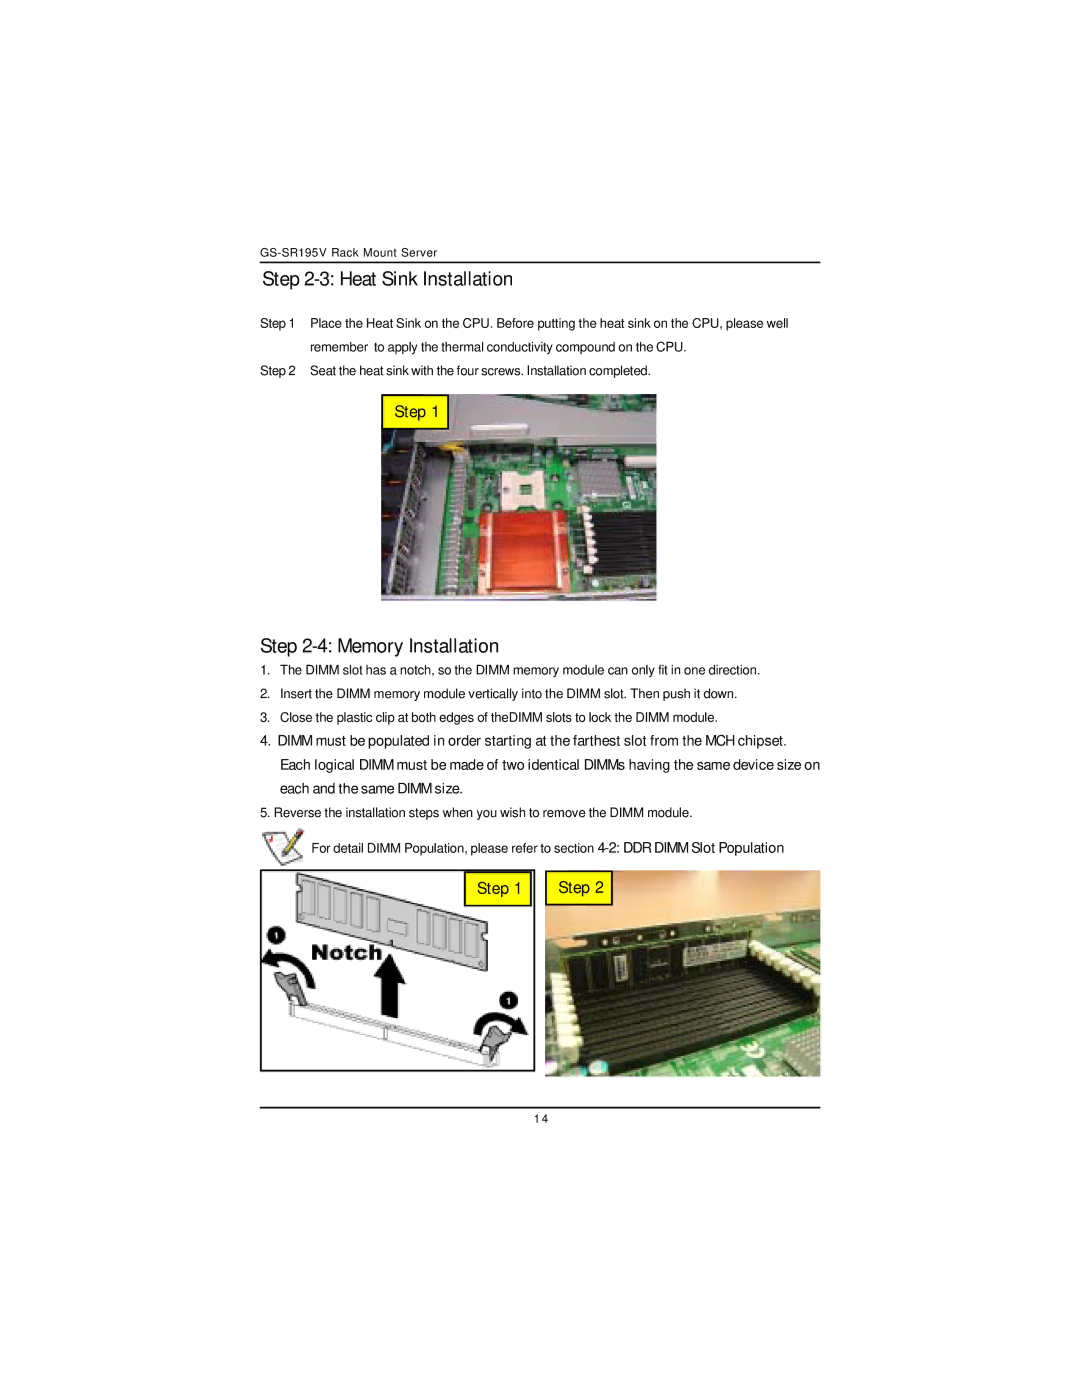
GS-SR195V specifications
The Intel GS-SR195V is a powerful processor designed primarily for embedded systems and industrial applications. It leverages Intel's advanced architecture to deliver high-performance computing in a compact form factor. This processor is notable for its ability to handle complex tasks while maintaining energy efficiency, making it ideal for applications in robotics, IoT devices, and complex machinery.One of the main features of the GS-SR195V is its multi-core architecture. With up to four cores, the processor is capable of executing multiple threads simultaneously, improving overall performance in parallel processing tasks. This makes it particularly beneficial in environments where multitasking is essential, such as in automation and control systems. The cores also support Intel Hyper-Threading technology, allowing for more efficient use of resources by enabling each core to handle two threads at once.
In addition to its robust processing capabilities, the GS-SR195V integrates advanced graphics processing features. Its integrated Intel HD Graphics allows for smooth rendering of visuals without the need for a dedicated graphics card. This is particularly advantageous in applications requiring visual interfaces or monitoring systems, where high-quality graphics output is a necessity.
The processor also includes support for Intel's security technologies, such as Intel Trusted Execution Technology (TXT) and Intel Software Guard Extensions (SGX). These features enhance data protection and help ensure secure operation in sensitive environments, thereby instilling confidence in users regarding data integrity and system security.
Energy efficiency is a cornerstone of the GS-SR195V's design. With a low thermal design power (TDP), it operates effectively in various thermal environments, reducing the need for intensive cooling solutions. This allows for smaller and more compact system designs, leading to cost savings and increased reliability.
The GS-SR195V is equipped with a range of connectivity options, supporting various interfaces such as USB, Ethernet, and serial communication, making it versatile for integration into existing systems. This flexibility enables developers to design solutions that meet specific application needs without extensive modifications.
In conclusion, the Intel GS-SR195V stands out as a highly capable processor for embedded applications, thanks to its robust performance, energy efficiency, and advanced security features. Its combination of multi-core processing, integrated graphics, and versatile connectivity makes it an ideal choice for businesses looking to implement powerful computing solutions in industrial and IoT environments.

