Filter IPX Packet — Select to disallow all IPX packets from passing through. Wireless Isolation — Select to disallow wireless clients associated with this device
from communicating with each other.
Enable Broadcast Filter — Select to filter out broadcast storm. Broadcast Number Allowed — Enter a value from 10 to 200. Enable Multicast Filter — Select to filter out multicast storm. Multicast Number Allowed — Enter a value from 10 to 50.
Enable Bandwidth (QoS) — Select to limit the bandwidth on TCP/IP data based on the number entered in the textbox.
Bandwidth Allowed — Enter a value from 6,144 to 7,077,888 bytes.
Advanced: SNMP Configuration
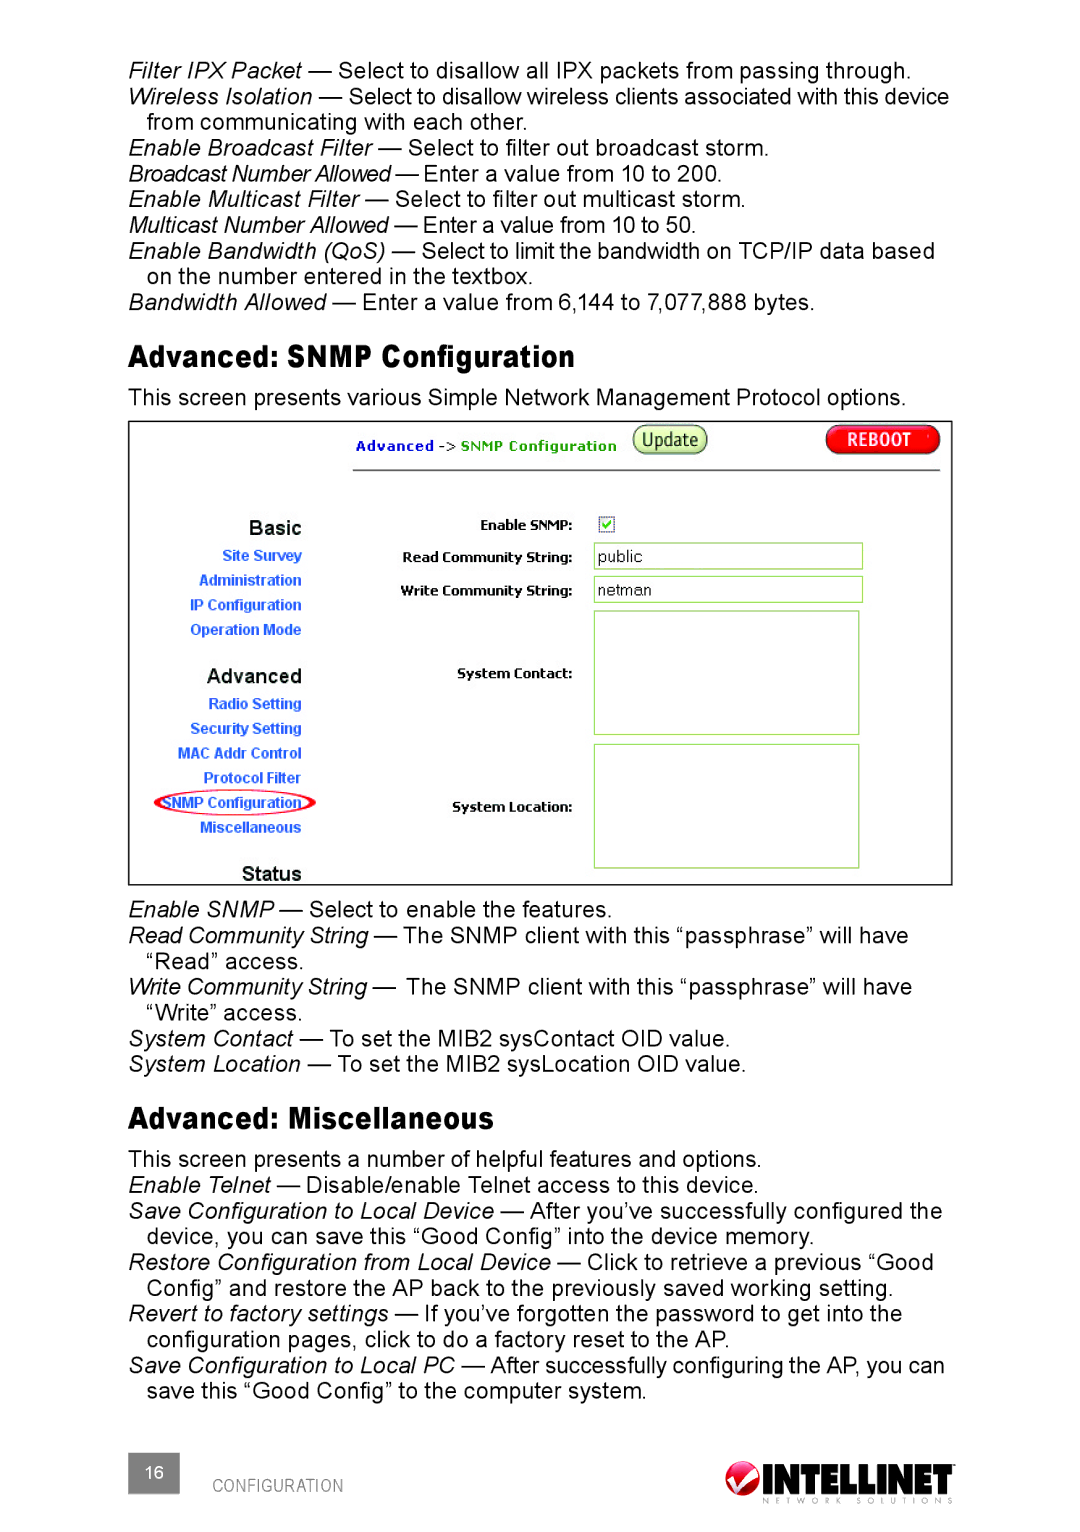
This screen presents various Simple Network Management Protocol options.
Enable SNMP — Select to enable the features.
Read Community String — The SNMP client with this “passphrase” will have “Read” access.
Write Community String — The SNMP client with this “passphrase” will have “Write” access.
System Contact — To set the MIB2 sysContact OID value. System Location — To set the MIB2 sysLocation OID value.
Advanced: Miscellaneous
This screen presents a number of helpful features and options. Enable Telnet — Disable/enable Telnet access to this device.
Save Configuration to Local Device — After you’ve successfully configured the device, you can save this “Good Config” into the device memory.
Restore Configuration from Local Device — Click to retrieve a previous “Good Config” and restore the AP back to the previously saved working setting.
Revert to factory settings — If you’ve forgotten the password to get into the configuration pages, click to do a factory reset to the AP.
Save Configuration to Local PC — After successfully configuring the AP, you can save this “Good Config” to the computer system.
