10.Remove the MACh Speed G3 from its protective package.
•Now that you are grounded, you can remove the MACh Speed from its protective package.
•Inspect the card for any irregularities or possible damage in shipment.
Inspecting the MACh Speed G3
Chapter 2 - Installing the MACh Speed G3 Upgrade Card
Page 26
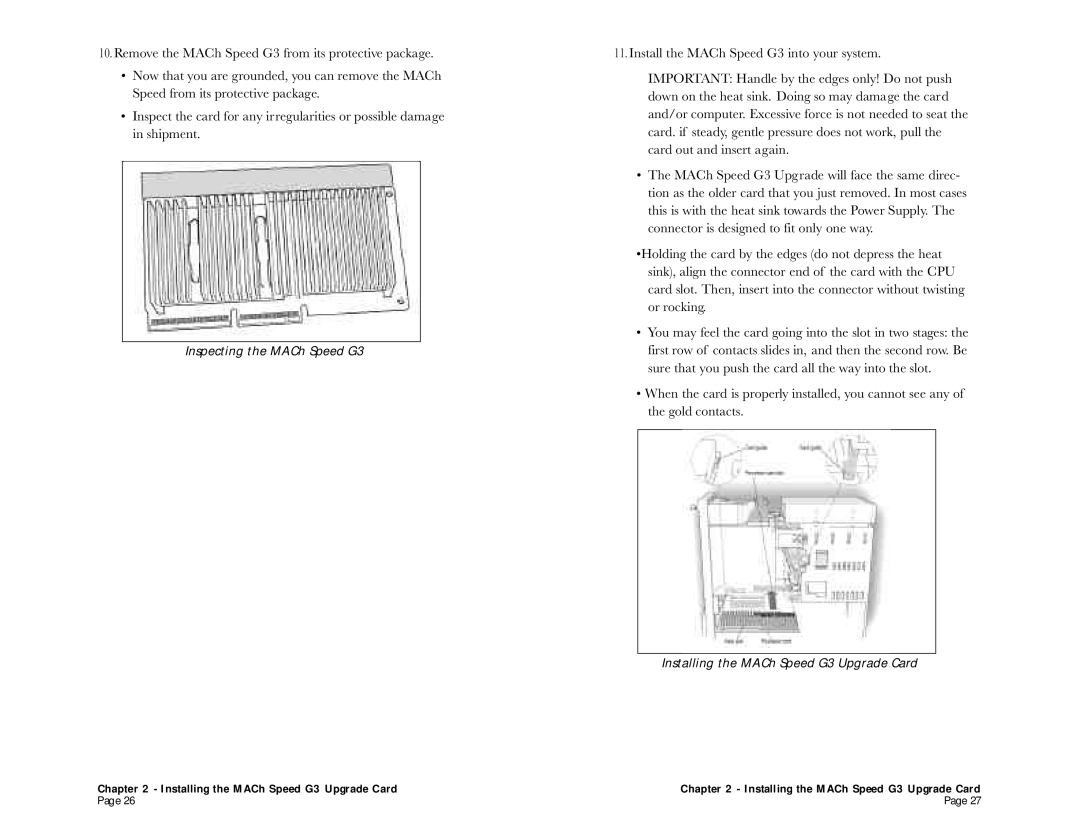
11. Install the MACh Speed G3 into your system.
IMPORTANT: Handle by the edges only! Do not push down on the heat sink. Doing so may damage the card and/or computer. Excessive force is not needed to seat the card. if steady, gentle pressure does not work, pull the card out and insert again.
•The MACh Speed G3 Upgrade will face the same direc- tion as the older card that you just removed. In most cases this is with the heat sink towards the Power Supply. The connector is designed to fit only one way.
•Holding the card by the edges (do not depress the heat sink), align the connector end of the card with the CPU card slot. Then, insert into the connector without twisting or rocking.
•You may feel the card going into the slot in two stages: the first row of contacts slides in, and then the second row. Be sure that you push the card all the way into the slot.
•When the card is properly installed, you cannot see any of the gold contacts.
Installing the MACh Speed G3 Upgrade Card
Chapter 2 - Installing the MACh Speed G3 Upgrade Card
Page 27