HD5212
Menu Operation
Press and hold the rotary encoder (4) to access the system menu. Repeatedly press the rotary encoder button to access menu options in the following order:
BEEP ON/OFF: The beep tone feature allows the selection of an audible beep tone to be heard each time a button is pressed on the face of the radio. "BEEP ON" is the default display. Rotate the rotary encoder to select the "BEEP OFF" option.
PClK ON/OFF: When "ON", the clock and backlight will remain on when the unit is turned off.
PRI ClK/SRC: Select "ClK" to have the clock appear on the display during playback. Select "SRC" to have the current source appear during playback. Press the DISP button (7) to temporarily view the alternate display (clock or source) temporarily.
HOURS 12/24: This option allows selection of a 12 hour or 24 hour clock format. "HOURS 12" is the default setting. Turn the rotary encoder to change to the 24 hour clock format.
Equalizer
Press the EQ button (20) to choose one of the following
Loudness
Press and hold the BAND button (3) toggle loudness on/off. When listening to music at low volumes, this feature will boost the bass and treble ranges to compensate for the characteristics of human hearing.
Auxiliary Input
To access an auxiliary device:
1.Connect the portable audio player to the AUX IN jack on the front panel (12).
2.Press the SRC button (2) to select AUX mode.
3.Press SRC again to cancel AUX mode and go to the next mode.
~
Setting the Clock
If not already showing, press the DISP button (7) to display the clock. With the clock displayed, press and hold the DISP button and the time will flash on the display. Press the TUNE/CH » button (10) to adjust the hours or the TUNEICH « button (11) to adjust the minutes. When in "HOURS 12" mode, "AM" or "PM" will appear on the display to indicate AM or PM. When no adjustment is made for five seconds, the time will become set and normal operation will resume.
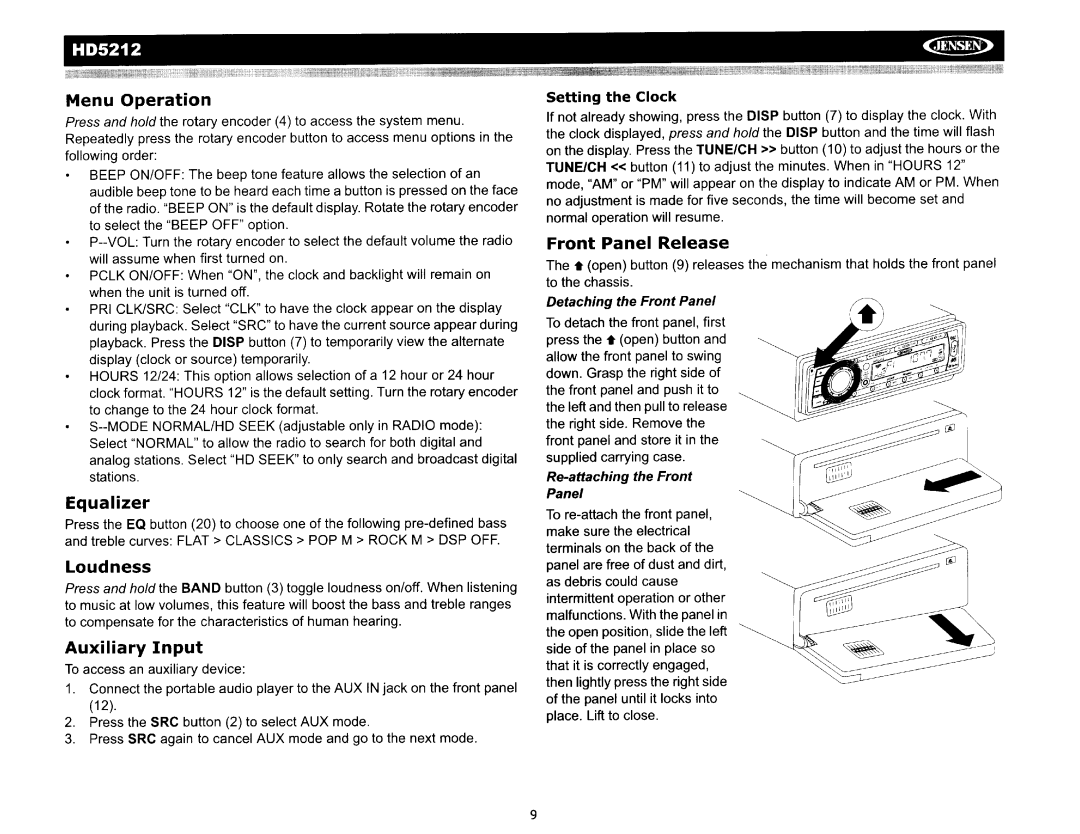
Front Panel Release
The. (open) button (9) releases the mechanism that holds the front panel to the chassis.
Detaching the Front Panel
To detach the front panel, first press the. (open) button and allow the front panel to swing down. Grasp the right side of the front panel and push it to the left and then pull to release the right side. Remove the front panel and store it in the supplied carrying case.
Re-attaching the Front
Panel
To
9