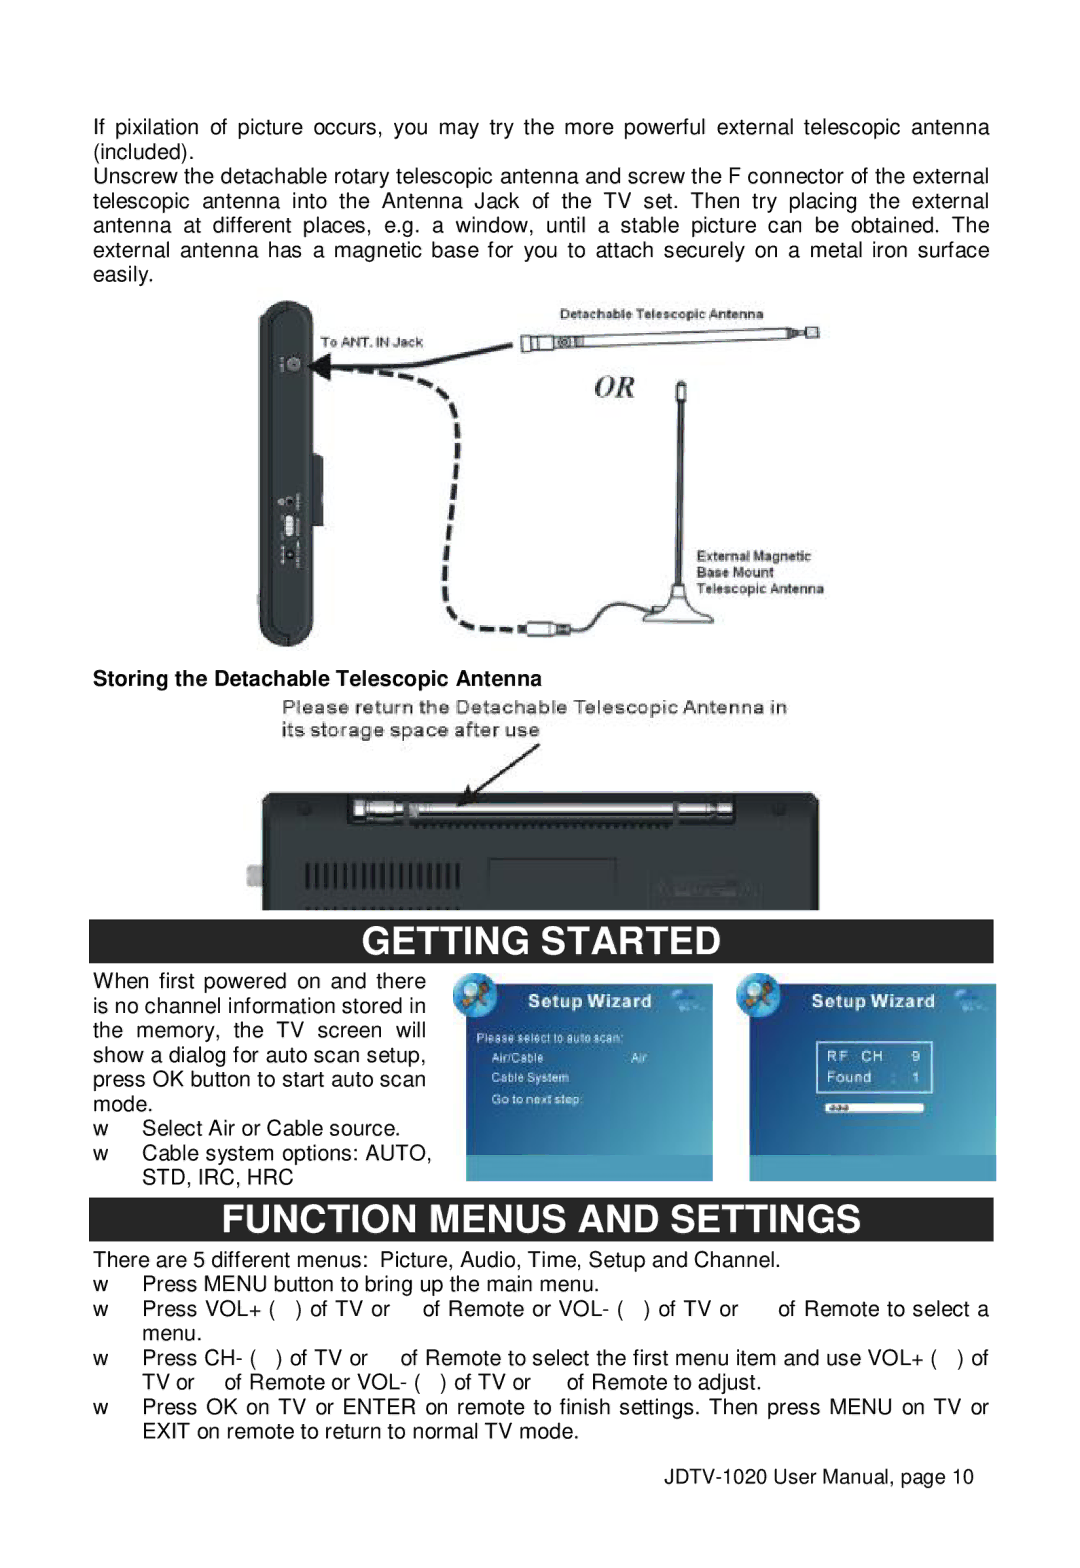
If pixilation of picture occurs, you may try the more powerful external telescopic antenna (included).
Unscrew the detachable rotary telescopic antenna and screw the F connector of the external telescopic antenna into the Antenna Jack of the TV set. Then try placing the external antenna at different places, e.g. a window, until a stable picture can be obtained. The external antenna has a magnetic base for you to attach securely on a metal iron surface easily.
Storing the Detachable Telescopic Antenna
GETTING STARTED
When first powered on and there is no channel information stored in the memory, the TV screen will show a dialog for auto scan setup, press OK button to start auto scan mode.
wSelect Air or Cable source.
wCable system options: AUTO,
STD, IRC, HRC
FUNCTION MENUS AND SETTINGS
There are 5 different menus: Picture, Audio, Time, Setup and Channel.
wPress MENU button to bring up the main menu.
wPress VOL+ („) of TV or † of Remote or VOL- (ƒ) of TV or … of Remote to select a menu.
wPress CH- (‚) of TV or ˆ of Remote to select the first menu item and use VOL+ („) of TV or † of Remote or VOL- (ƒ) of TV or … of Remote to adjust.
wPress OK on TV or ENTER on remote to finish settings. Then press MENU on TV or EXIT on remote to return to normal TV mode.
