Belt Tension
1.Disconnect band saw from power source.
2.Open the pulley cover.
3.Loosen the knob (see A, Figure 3), and push down on the motor to tighten the belt.
4.Tighten the knob (A, Figure 3).
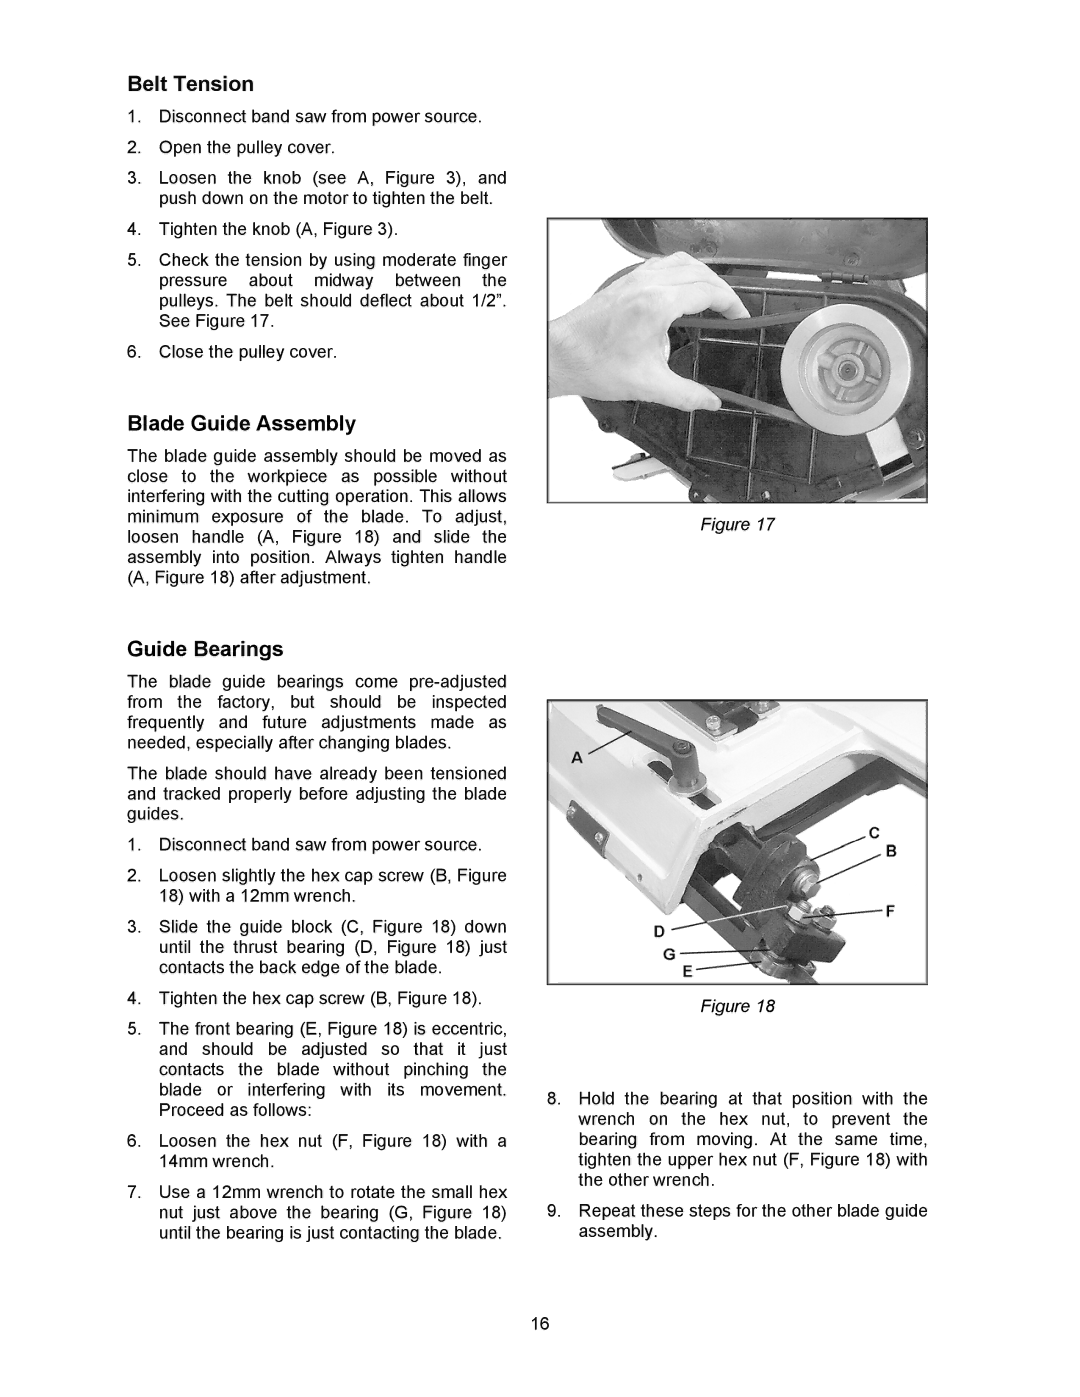
5.Check the tension by using moderate finger pressure about midway between the pulleys. The belt should deflect about 1/2”. See Figure 17.
6.Close the pulley cover.
Blade Guide Assembly
The blade guide assembly should be moved as close to the workpiece as possible without interfering with the cutting operation. This allows
minimum exposure of the blade. To adjust,Figure 17 loosen handle (A, Figure 18) and slide the
assembly into position. Always tighten handle (A, Figure 18) after adjustment.
Guide Bearings
The blade guide bearings come
The blade should have already been tensioned and tracked properly before adjusting the blade guides.
1.Disconnect band saw from power source.
2.Loosen slightly the hex cap screw (B, Figure 18) with a 12mm wrench.
3.Slide the guide block (C, Figure 18) down until the thrust bearing (D, Figure 18) just contacts the back edge of the blade.
4.Tighten the hex cap screw (B, Figure 18).
5.The front bearing (E, Figure 18) is eccentric, and should be adjusted so that it just contacts the blade without pinching the blade or interfering with its movement. Proceed as follows:
6.Loosen the hex nut (F, Figure 18) with a 14mm wrench.
7.Use a 12mm wrench to rotate the small hex nut just above the bearing (G, Figure 18) until the bearing is just contacting the blade.
Figure 18
8.Hold the bearing at that position with the wrench on the hex nut, to prevent the bearing from moving. At the same time, tighten the upper hex nut (F, Figure 18) with the other wrench.
9.Repeat these steps for the other blade guide assembly.
16