Connecting to Computer via the USB Connector

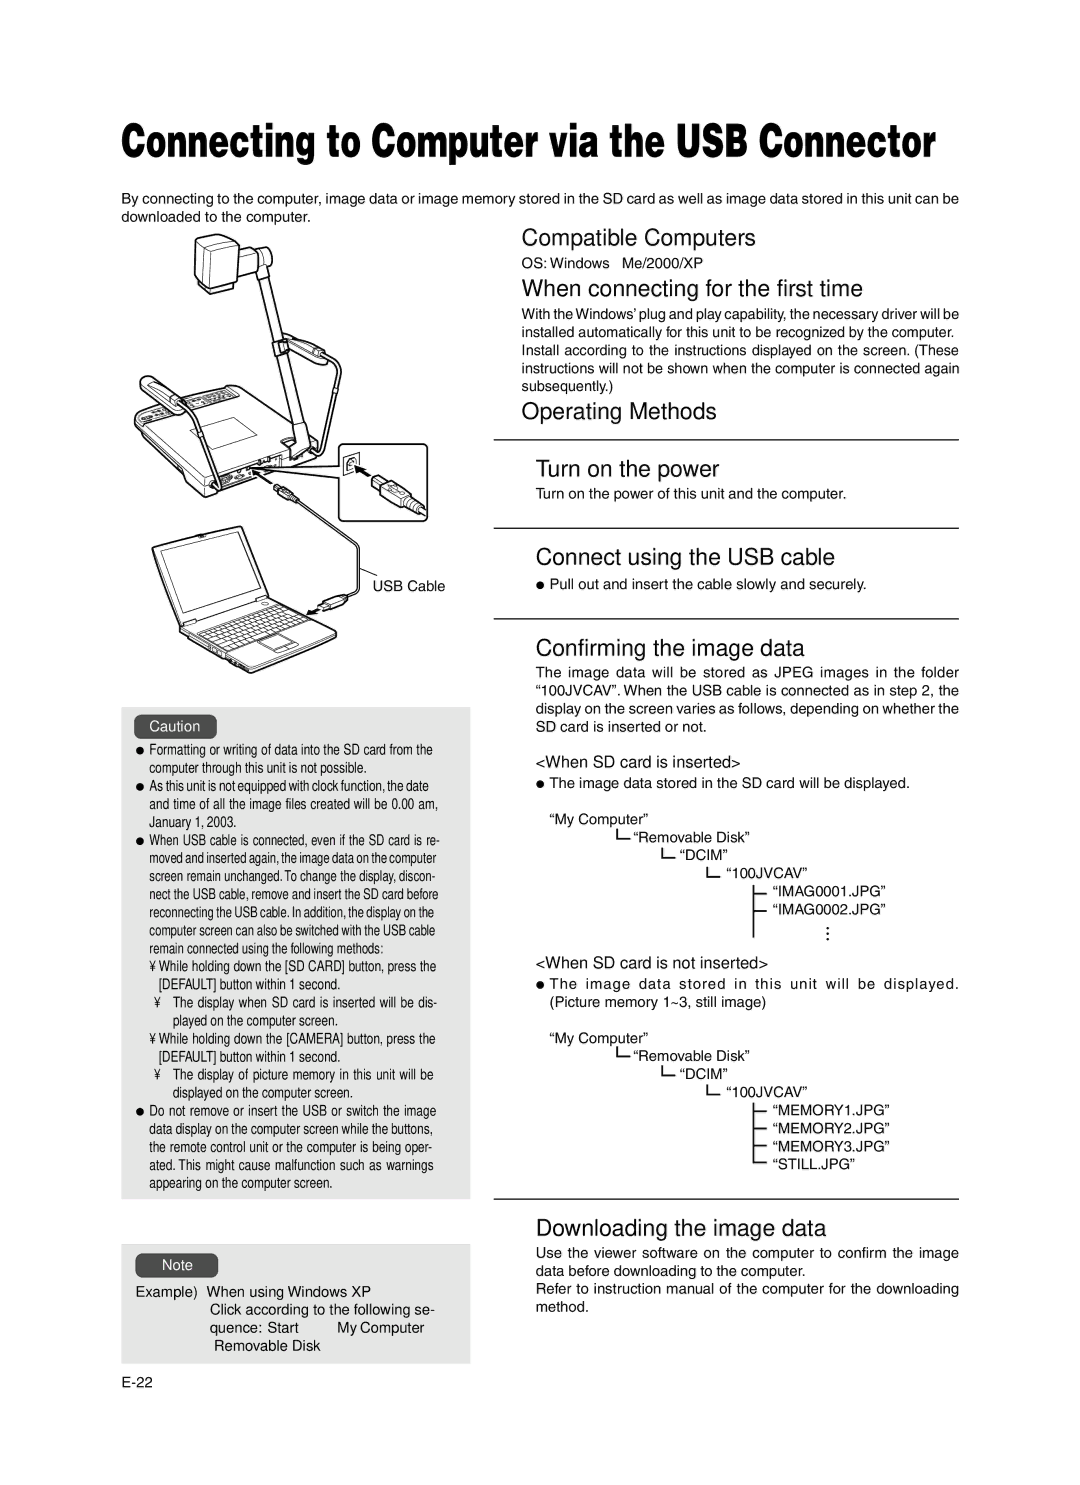
By connecting to the computer, image data or image memory stored in the SD card as well as image data stored in this unit can be downloaded to the computer.

USB Cable

Caution

Formatting or writing of data into the SD card from the computer through this unit is not possible.

As this unit is not equipped with clock function, the date and time of all the image files created will be 0.00 am, January 1, 2003.

When USB cable is connected, even if the SD card is re- moved and inserted again, the image data on the computer screen remain unchanged. To change the display, discon- nect the USB cable, remove and insert the SD card before reconnecting the USB cable. In addition, the display on the computer screen can also be switched with the USB cable remain connected using the following methods:

While holding down the [SD CARD] button, press the [DEFAULT] button within 1 second.

¥The display when SD card is inserted will be dis- played on the computer screen.

While holding down the [CAMERA] button, press the [DEFAULT] button within 1 second.

¥The display of picture memory in this unit will be displayed on the computer screen.

Do not remove or insert the USB or switch the image data display on the computer screen while the buttons, the remote control unit or the computer is being oper- ated. This might cause malfunction such as warnings appearing on the computer screen.

Compatible Computers

OS: Windows Me/2000/XP

When connecting for the first time

With the Windows’ plug and play capability, the necessary driver will be installed automatically for this unit to be recognized by the computer. Install according to the instructions displayed on the screen. (These instructions will not be shown when the computer is connected again subsequently.)

Operating Methods

1. Turn on the power

Turn on the power of this unit and the computer.

2. Connect using the USB cable

Pull out and insert the cable slowly and securely.

3.Confirming the image data

The image data will be stored as JPEG images in the folder “100JVCAV”. When the USB cable is connected as in step 2, the display on the screen varies as follows, depending on whether the SD card is inserted or not.

<When SD card is inserted>

The image data stored in the SD card will be displayed. “My Computer”

“Removable Disk”

“DCIM” “100JVCAV”

“IMAG0001.JPG”

“IMAG0002.JPG”

···

<When SD card is not inserted>

The image data stored in this unit will be displayed. (Picture memory 1~3, still image)

“My Computer”

“Removable Disk”

“DCIM” “100JVCAV”

“MEMORY1.JPG”

“MEMORY2.JPG”

“MEMORY3.JPG”

“STILL.JPG”

Note

Example) When using Windows XP

Click according to the following se- quence:“Start” “My Computer”

“Removable Disk”

4. Downloading the image data

Use the viewer software on the computer to confirm the image data before downloading to the computer.

Refer to instruction manual of the computer for the downloading method.

E-22

Page 22
Image 22
JVC AV-P960E manual  Compatible Computers,  When connecting for the first time,  Operating Methods Turn on the power

AV-P960E specifications

The JVC AV-P960E is a distinguished component in the realm of professional video cassette recorders, especially appreciated for its advanced features, remarkable technologies, and robust characteristics that cater to both broadcast professionals and serious enthusiasts alike. Launched in an era when analog devices were poised for transition, the AV-P960E exemplifies JVC's commitment to innovation and high-quality performance.

At the core of the JVC AV-P960E lies its versatile playback and recording capabilities, supporting a variety of tape formats, including S-VHS and VHS. This versatility enables users to work seamlessly with a range of media, accommodating different production needs. The device is equipped with dual-mode recording, allowing for both standard and extended play, ensuring users can choose between quality and duration based on project requirements.

One of the standout features of the AV-P960E is its Super VHS functionality, which elevates video quality significantly compared to standard VHS. This technology utilizes improved resolution and a wider frequency response, which translates to sharper images and clearer audio. The inclusion of a high-quality decoder plays a crucial role in maintaining the fidelity of the original recording during playback, making the JVC AV-P960E an ideal choice for professionals seeking to archive high-quality footage.

Another notable characteristic of this model is its user-friendly interface, which includes a comprehensive set of controls and an intuitive menu system. This makes it accessible to users with varying levels of expertise, from newcomers to seasoned professionals. Furthermore, the device boasts features like frame-by-frame playback, which is essential for editing and reviewing footage with precision.

Connectivity options are extensive, with multiple input and output interfaces including composite video, S-Video, and audio connections. This makes it simple to integrate the AV-P960E into a wider video production setup. The robustness of this machine does not stop at its performance; it is built to withstand the rigors of professional use, ensuring reliability and longevity.

In summary, the JVC AV-P960E remains a noteworthy player in the field of video cassette recorders. Its combination of advanced recording features, superior playback quality, user-centric design, and rugged construction makes it a valuable asset for anyone involved in video production. Whether for archiving precious memories or for serious broadcast work, the AV-P960E stands out as a testament to JVC's engineering excellence.