56

Playback

Index Writing and Index Search

Indexes are used to locate the beginning of specific positions when in the Playback mode. (Index search)
Viewing of index information (index no. and counter data) and index search can be performed on the INDEX MANAGER screen.

Writing Index

Chapter points registered during the Recording mode are used as index values.
When recording is executed with the INDEX CREATION item on the RECORDER MENU (2/2) screen set to AUTO, record start
points and recording pause points will be used as indexes.
Additionally, indexes can also be written to any position when in the Playback mode. Indexes can only be written for unfinalized
discs.
1.
Play back an unfinalized disc.
2.
Select a position and press the REC button accordingly.
Index will be written to the disc. When doing so, an "INDEX WRITE" message will be displayed on the panel of the main unit
as well as onscreen for approximately 3 seconds.

Performing Index Search and Erasing Indexes

Index search and erasing of indexes can be performed upon starting up the INDEX MANAGER screen.
1.
Starting up the INDEX MANAGER screen.
Press the SET UP button on the front panel when in the Playback mode (PLAY or STILL mode).
The INDEX MANAGER screen will be displayed on the monitor.
*The INDEX MANAGER screen will not be displayed if the Top Menu or Menu of a finalized disc is currently displayed.
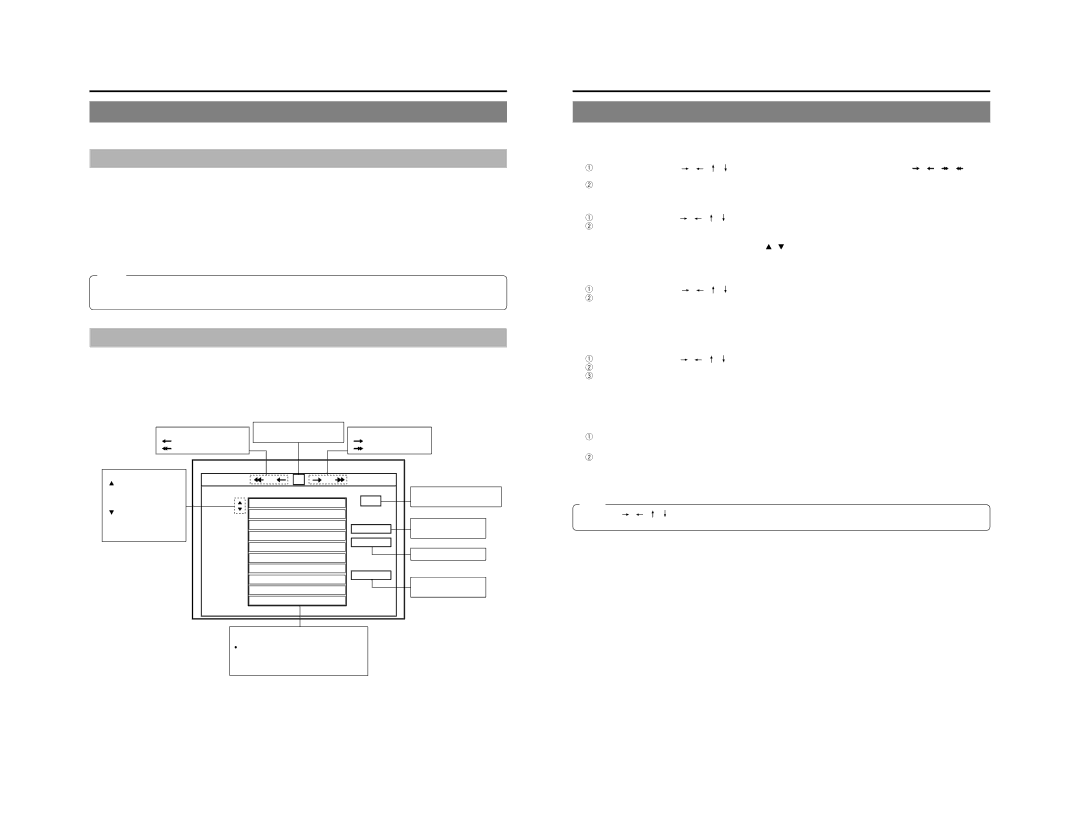
Title No
INDEX MANAGER
Index No Counter Data
PLAY
ALL ERS
ERASE
0001: 0001
01
00:05:00:00
0002: 00:05:00:01
0003: 00:05:00:02
0004: 00:05:00:03
0005: 00:05:00:04
0006: 00:05:00:05
0007: 00:05:00:06
0008: 00:05:00:07
0009: 00:05:00:08
0010: 00:05:00:09
Title Selection Buttons
: Move to the previous title
: Move 10 titles backwards
Title Selection Buttons
: Move to the next title
: Move 10 titles forward
Index No. Display Area
Displays the selected index no..
For searching and playing
back a selected index.
For erasing all indexes in
a selected title.
For erasing a selected index.
Title No. Display Area
Displays the selected title no..
INDEX LIST Scroll Buttons
For scrolling the index
no. at the topmost part of
the INDEX LIST in the
des-cending direction.
For scrolling the index
no. at the bottommost
part of the INDEX LIST in
the ascending direction.
INDEX LIST
Displays indexes of a selected title.
When the PLAYBACK&232C TYPE item on
the SYSTEM MENU (1/2) screen is set to
VTR, an index value as accumulated from Title
1 will be displayed. (
Page 63)
6:
7:
Notes
Up to 99 indexes can be written for each title.
When the FOOT SW2 item on the REMOTE menu screen is set to any mode other than OFF, indexes can be written via
operation of the switch that is connected to the FOOT SW2 terminal of this unit.

57

Index Writing and Index Search (continued)

2.
Selecting an index to search or erase.
Upon starting up the INDEX MANAGER screen, the title and index of the point for which its screen is called up will be selected.
When selecting a title no.
qPress the cursor buttons ( / / / ) on the main unit to highlight the title selection buttons ( / / / ) on the
INDEX MANAGER screen.
wPress the SET button on the main unit to select the title no.. The title no. changes each time the SET button is pressed. The
selected title no. will be displayed on the Title No. Display Area.
When selecting an index no.
qPress the cursor buttons ( / //) on the main unit to move within the INDEX LIST and highlight a specific index no..
wPress the SET button on the main unit and the highlighted index no. will be selected.
The selected index no. will be displayed on the Index No. Display Area.
*To scroll the INDEX LIST automatically, highlight the 6 / 7 buttons on the INDEX MANAGER screen, followed by pressing
the SET button on the main unit.
3.
Performing index search
qPress the cursor buttons ( / / / ) on the main unit to highlight the PLAY button on the INDEX MANAGER screen.
wPress the SET button on the main unit to execute index search.
The unit will automatically search for the index position and play back accordingly.
The INDEX MANAGER screen disappears.
4.
Erasing indexes
Select an index according to the procedure in 2. above.
qPress the cursor buttons ( / //) on the main unit to highlight the ERASE button on the INDEX MANAGER screen.
wPress the SET button on the main unit to display the confirmation dialog box.
eOnce erase is executed via the confirmation dialog box, the selected index will be deleted.
When doing so, an "INDEX ERASE" message will be displayed on the panel of the main unit as well as onscreen for
approximately 3 seconds.
INDEX LIST on the INDEX MANAGER screen will be sorted.
When erasing all indexes in a title,
there is no need to select the indexes.
qSelect the ALL ERS button on the INDEX MANAGER screen, followed by pressing the SET button on the main unit.
A confirmation dialog box will be displayed.
wOnce erase is executed via the confirmation dialog box, all indexes of the selected titles will be deleted.
5.
Quitting the INDEX MANAGER screen
Press the SET UP button on the main unit.
Note
Arrow keys ( / //) and the Enter key on the keyboard can also be used as a substitute to the cursor and SET buttons
on the main unit respectively.