CA-MD9R specifications
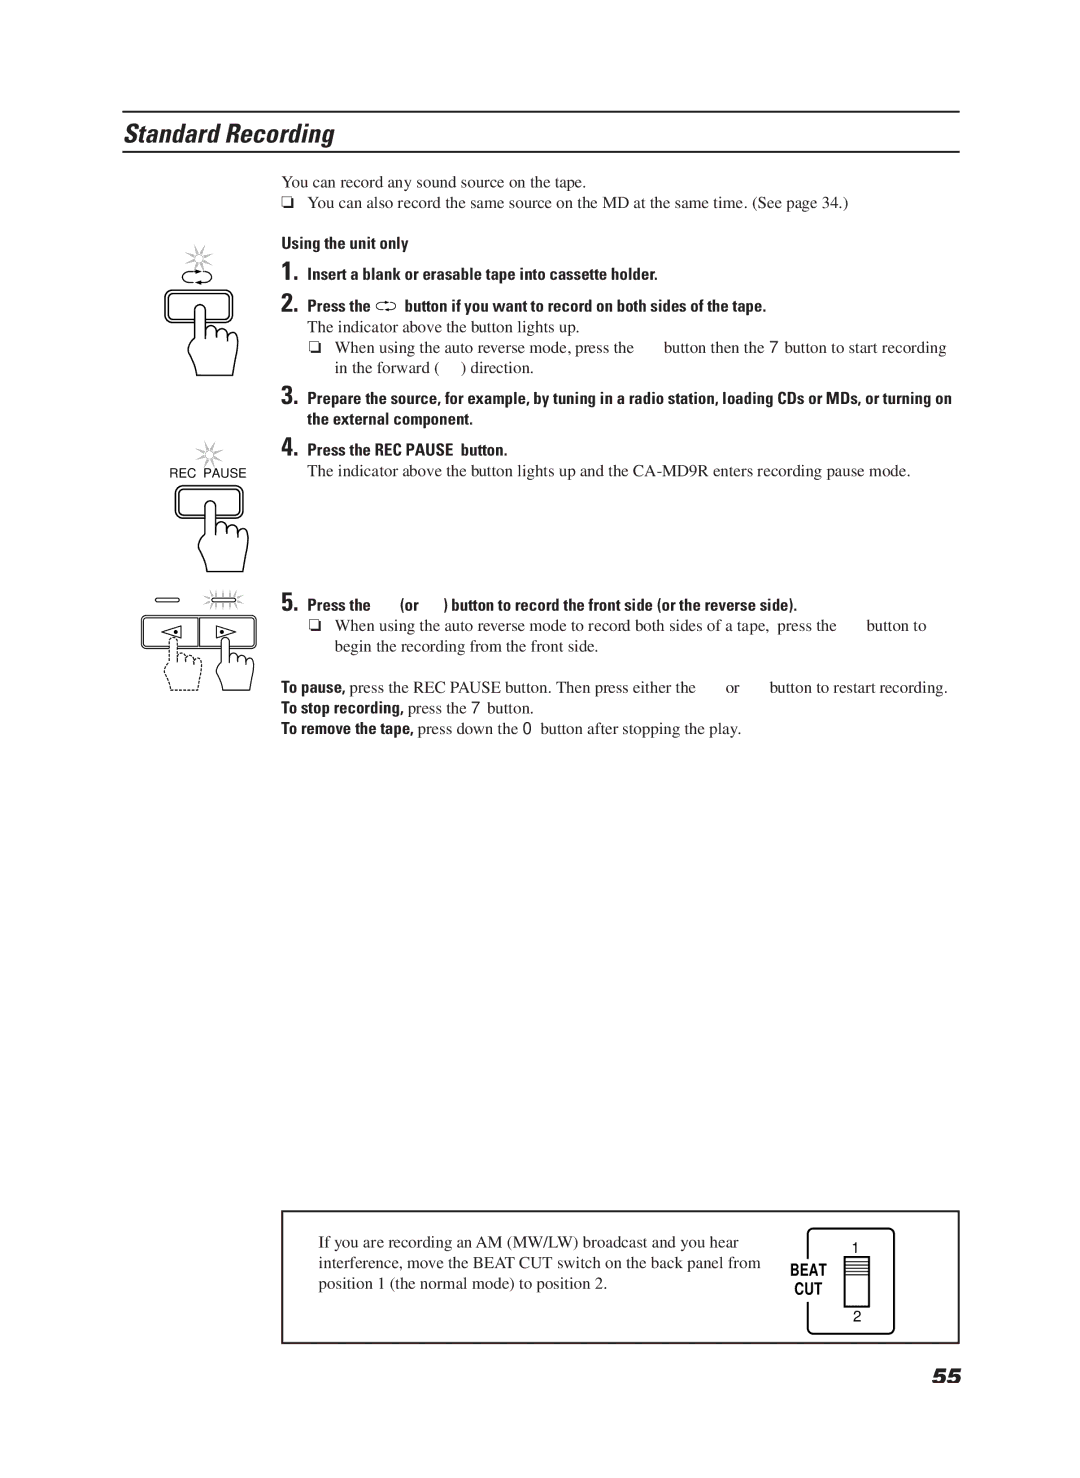
The JVC CA-MD9R is a versatile and compact hi-fi mini-system that has gained popularity among music enthusiasts for its blend of modern technology and user-friendly features. This mini-system is designed to deliver high-quality audio performance while maintaining a sleek and aesthetically pleasing design.One of the standout features of the JVC CA-MD9R is its MD (MiniDisc) playback capability, allowing users to enjoy their favorite music with exceptional sound quality. The integrated MD player supports both playback and recording, making it an excellent choice for those who wish to create personalized mixes or preserve live recordings.
Additionally, the CA-MD9R includes a built-in CD player, supporting various formats, including CD-R and CD-RW. This feature makes it versatile for users who have a collection of CDs or prefer to burn their playlists onto discs for playback. The system also supports AM and FM radio, providing a broad range of listening options with a built-in tuner for added convenience.
The audio performance of the JVC CA-MD9R is reinforced by its powerful amplifier, delivering impressive sound output that fills the room. The system features high-quality speakers designed to produce rich bass and clear treble, ensuring an enjoyable listening experience no matter the genre of music.
For those who prioritize connectivity, the JVC CA-MD9R is equipped with several input options, allowing users to connect external devices such as smartphones or MP3 players. The auxiliary line-in port enables straightforward access to personal music libraries, enhancing the versatility of the system.
Another notable characteristic of the CA-MD9R is its remote control, which provides convenience in navigating through various functions from a distance. This feature allows users to adjust the volume, change tracks, and switch between different audio sources without needing to get up from their seats.
In summary, the JVC CA-MD9R is a highly functional mini-system that caters to a variety of audio needs. With its MD and CD playback capabilities, powerful sound performance, and flexible connectivity options, it stands out in the market for those seeking an all-in-one solution for their music listening preferences. Elegant in design and rich in features, the CA-MD9R is an ideal companion for any music lover looking to enhance their audio experience.

