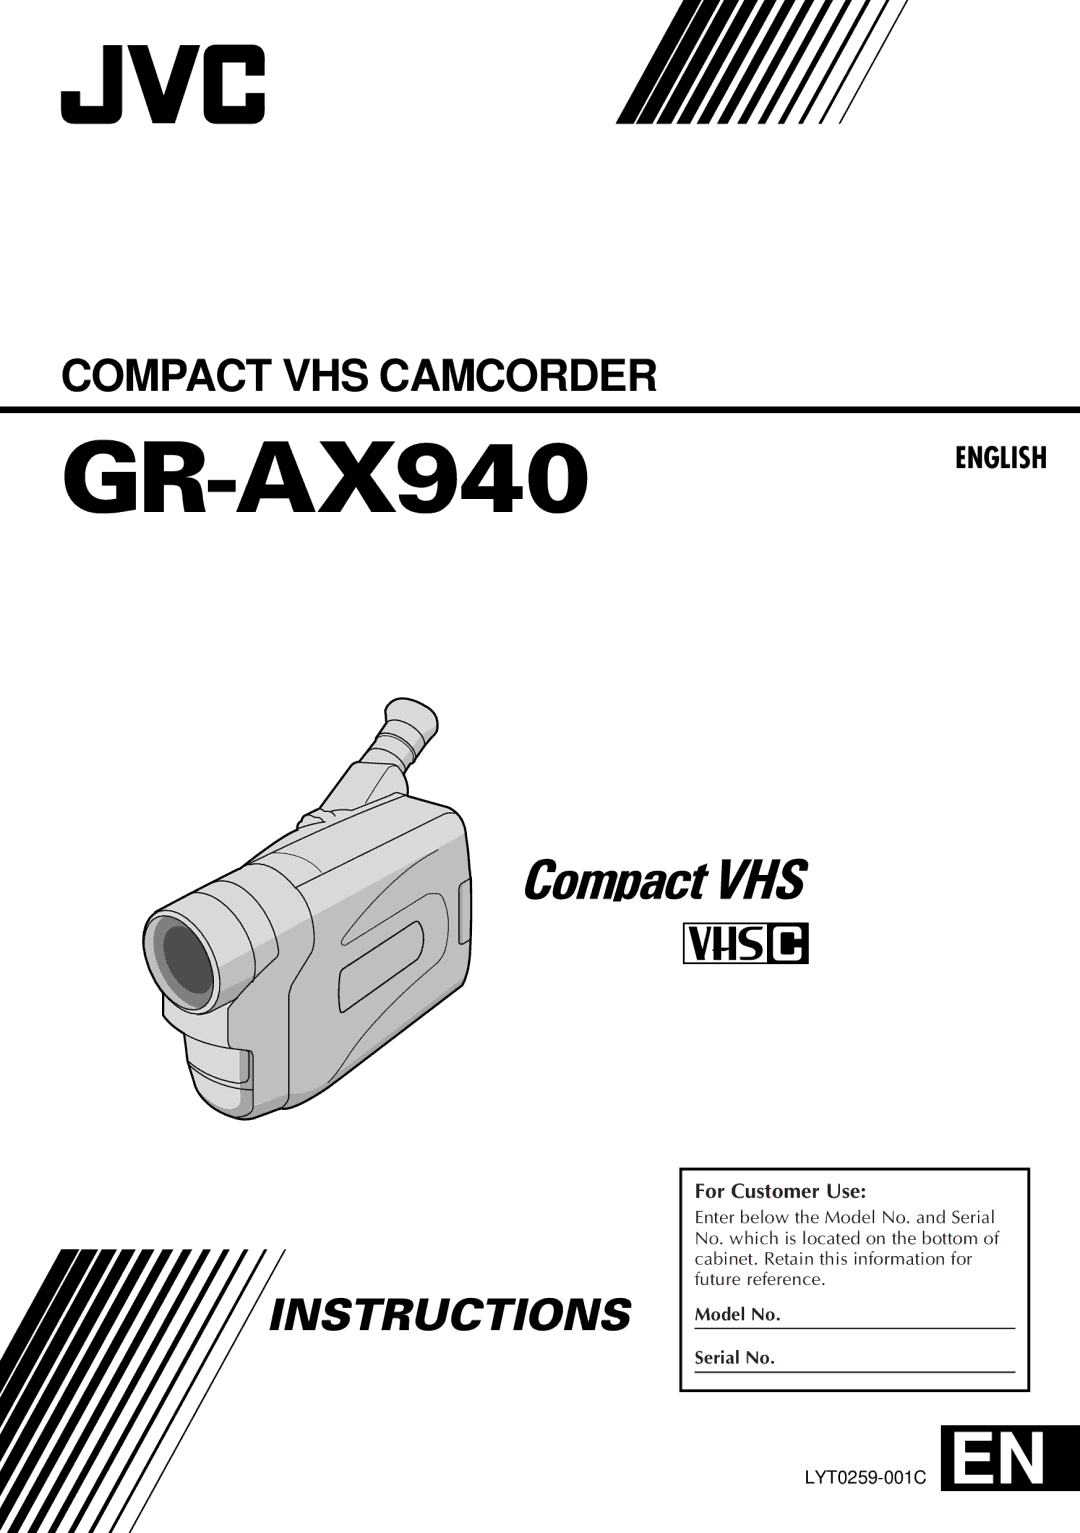
COMPACT VHS CAMCORDER
GR-AX940
ENGLISH
INSTRUCTIONS
For Customer Use:
Enter below the Model No. and Serial No. which is located on the bottom of cabinet. Retain this information for future reference.
Model No.
Serial No.
COMPACT VHS CAMCORDER
ENGLISH
Enter below the Model No. and Serial No. which is located on the bottom of cabinet. Retain this information for future reference.
Model No.
Serial No.