JVC GR-AXM10, GR-AXM20 manual Animation, Time-Lapse

Models: GR-AXM10 GR-AXM20

1 60
Download 60 pages 23.21 Kb
Page 31
Image 31

Animation

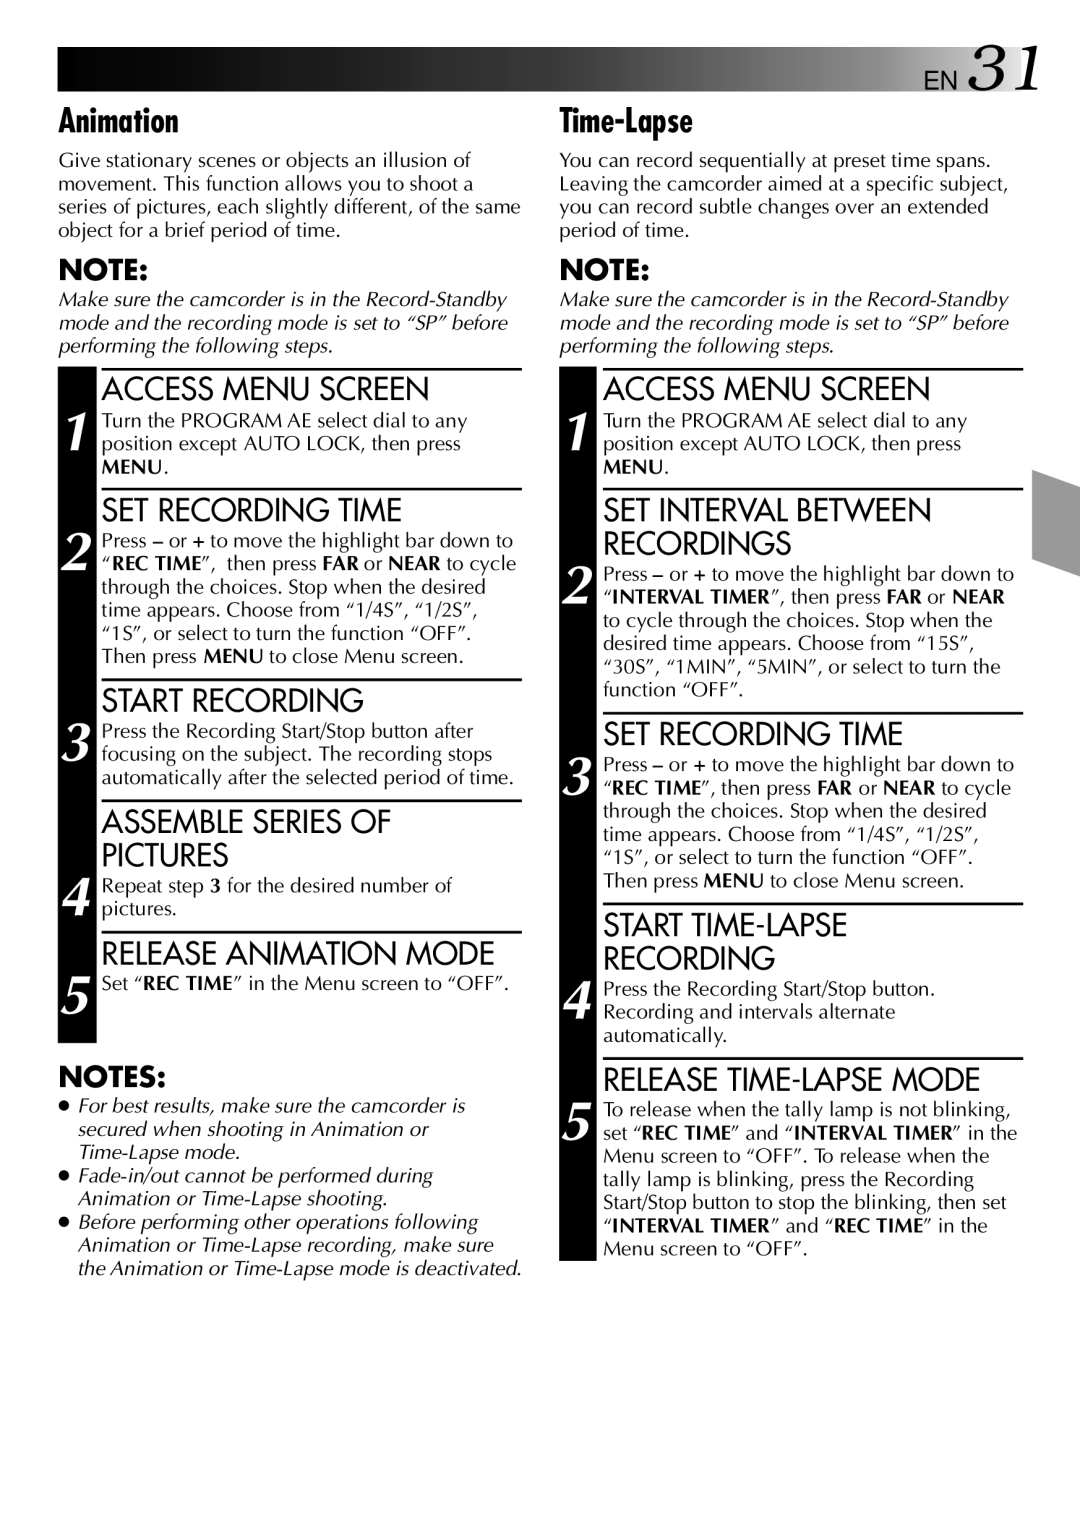
Give stationary scenes or objects an illusion of movement. This function allows you to shoot a series of pictures, each slightly different, of the same object for a brief period of time.

NOTE:

Make sure the camcorder is in the Record-Standby mode and the recording mode is set to “SP” before performing the following steps.

ACCESS MENU SCREEN

1 Turn the PROGRAM AE select dial to any position except AUTO LOCK, then press MENU.

SET RECORDING TIME

2 Press or + to move the highlight bar down to “REC TIME”, then press FAR or NEAR to cycle through the choices. Stop when the desired time appears. Choose from “1/4S”, “1/2S”, “1S”, or select to turn the function “OFF”. Then press MENU to close Menu screen.

START RECORDING

3 Press the Recording Start/Stop button after focusing on the subject. The recording stops automatically after the selected period of time.

ASSEMBLE SERIES OF

PICTURES

4 Repeat step 3 for the desired number of pictures.

RELEASE ANIMATION MODE

5 Set “REC TIME” in the Menu screen to “OFF”.

NOTES:

For best results, make sure the camcorder is secured when shooting in Animation or Time-Lapse mode.

Fade-in/out cannot be performed during Animation or Time-Lapse shooting.

Before performing other operations following Animation or Time-Lapse recording, make sure the Animation or Time-Lapse mode is deactivated.

EN 31

Time-Lapse

You can record sequentially at preset time spans. Leaving the camcorder aimed at a specific subject, you can record subtle changes over an extended period of time.

NOTE:

Make sure the camcorder is in the Record-Standby mode and the recording mode is set to “SP” before performing the following steps.

ACCESS MENU SCREEN

1 Turn the PROGRAM AE select dial to any position except AUTO LOCK, then press MENU.

SET INTERVAL BETWEEN

RECORDINGS

2 Press or + to move the highlight bar down to “INTERVAL TIMER”, then press FAR or NEAR to cycle through the choices. Stop when the desired time appears. Choose from “15S”, “30S”, “1MIN”, “5MIN”, or select to turn the function “OFF”.

SET RECORDING TIME

3 Press or + to move the highlight bar down to “REC TIME”, then press FAR or NEAR to cycle through the choices. Stop when the desired time appears. Choose from “1/4S”, “1/2S”, “1S”, or select to turn the function “OFF”. Then press MENU to close Menu screen.

START TIME-LAPSE

RECORDING

4 Press the Recording Start/Stop button. Recording and intervals alternate automatically.

RELEASE TIME-LAPSE MODE

5 To release when the tally lamp is not blinking, set “REC TIME” and “INTERVAL TIMER” in the Menu screen to “OFF”. To release when the tally lamp is blinking, press the Recording Start/Stop button to stop the blinking, then set “INTERVAL TIMER” and “REC TIME” in the Menu screen to “OFF”.

Page 31
Image 31
JVC GR-AXM10, GR-AXM20 manual Animation, Time-Lapse

GR-AXM10, GR-AXM20 specifications

The JVC GR-AXM20 and GR-AXM10 are compact camcorders that made waves in the late 1990s and early 2000s thanks to their innovative features and user-friendly design. Targeting both amateur and semi-professional videographers, these models are known for their reliability and versatility. The JVC GR-AXM20, the more advanced of the two, boasts several high-tech features that appeal to a range of users, from families capturing moments to video enthusiasts.

One of the standout characteristics of the GR-AXM20 is its 20x optical zoom lens, which allows users to capture distant subjects with clarity. This feature is complemented by a digital zoom capability, extending up to 700x, enabling even greater reach when necessary. The GR-AXM10, while slightly less powerful with a 10x optical zoom, still delivers impressive performance for everyday video recording needs.

Both models incorporate JVC's Super Sensing technology, which enhances low-light performance, making them well-suited for indoor or dimly lit environments. The built-in image stabilizer is another hallmark feature, reducing shakiness and delivering smoother video playback, particularly beneficial for handheld shooting.

In terms of audio quality, the GR-AXM20 and GR-AXM10 feature built-in stereo microphones, ensuring clear sound capture to complement the visual element. This combination of video and audio quality positioned these camcorders as practical options for family events, travel videos, and more.

The user interface is designed with simplicity in mind, featuring an LCD screen that rotates for easy viewing from various angles. This flexibility facilitates creative shooting angles and adds to the overall user experience. Additionally, both camcorders support a variety of recording modes, including standard and long-play, maximizing recording time and offering users options depending on their needs.

In summary, the JVC GR-AXM20 and GR-AXM10 stand out for their optical zoom capabilities, low-light performance, and user-friendly design. Their combination of features makes these camcorders ideal choices for those looking to capture life's moments without compromising on quality. Whether for home videos or more artistic endeavors, both models have left a lasting impression in the realm of consumer camcorders.