GR-DVL109, GR-DVL309, GR-DVL308, GR-DVL108 specifications
The JVC GR-DVL series, including the GR-DVL308, GR-DVL309, GR-DVL108, and GR-DVL109, are notable products in the realm of compact digital camcorders, designed to cater to both amateur filmmakers and seasoned videographers. These models were released with a range of features that prioritize ease of use, excellent video quality, and robust functionality.At the heart of the GR-DVL series is JVC's advanced digital imaging technology. Each model features a 1/6-inch CCD sensor that delivers impressive video quality with accurate color reproduction and clarity. The GR-DVL308 and GR-DVL309 come equipped with a 20x optical zoom, allowing users to capture distant subjects with remarkable detail. Meanwhile, the GR-DVL108 and GR-DVL109 offer a slightly lower zoom capability but still provide sufficient range for typical shooting scenarios.
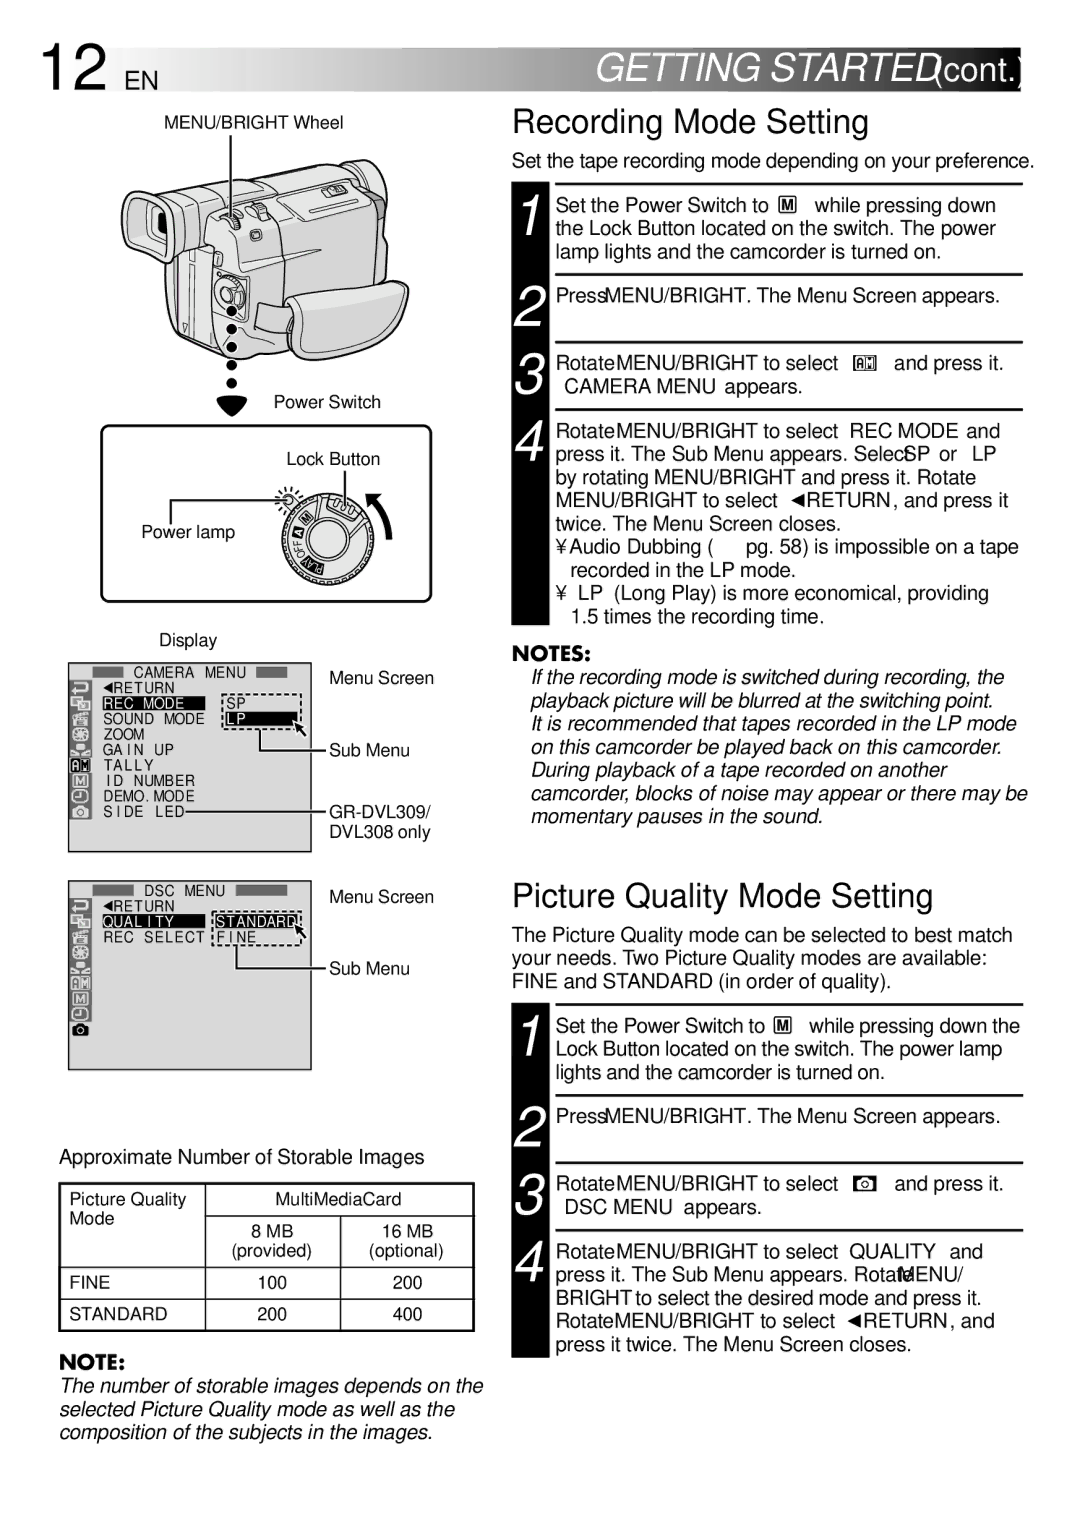
One standout characteristic of these models is their ability to record in multiple formats, including VHS-C compatibility, which adds versatility to media management. Users can easily transition from digital to analog formats and vice versa, ensuring their recordings are easily accessible. The GR-DVL309 further enhances usability with a built-in digital still camera function, allowing for the capture of high-resolution still images alongside video recordings.
In terms of design, the JVC GR-DVL series is compact and lightweight, making it ideal for on-the-go shooting. The camcorders are user-friendly, featuring an intuitive interface and a rotating LCD screen that allows for flexible viewing angles. This ensures that users can comfortably compose their shots from various perspectives.
The series also incorporates JVC's image stabilization technology, which significantly minimizes shaking and enhances overall image smoothness during movement. This is particularly beneficial for handheld shooting, allowing for more professional-looking videos without the need for additional stabilization equipment.
Connectivity options are robust, with the inclusion of USB and FireWire (IEEE 1394) ports for easy data transfer to PCs and editing software. This compatibility streamlines the editing process, allowing for quick uploads to various platforms.
In conclusion, the JVC GR-DVL308, GR-DVL309, GR-DVL108, and GR-DVL109 are well-rounded camcorders that deliver impressive performance for their class. Combining advanced imaging technology, versatile recording options, and user-friendly features, these models are suitable for a wide range of users looking to create high-quality video content. Whether filming family events, travel adventures, or creative projects, the GR-DVL series has the capabilities to meet diverse videography needs.

