| EN21 |
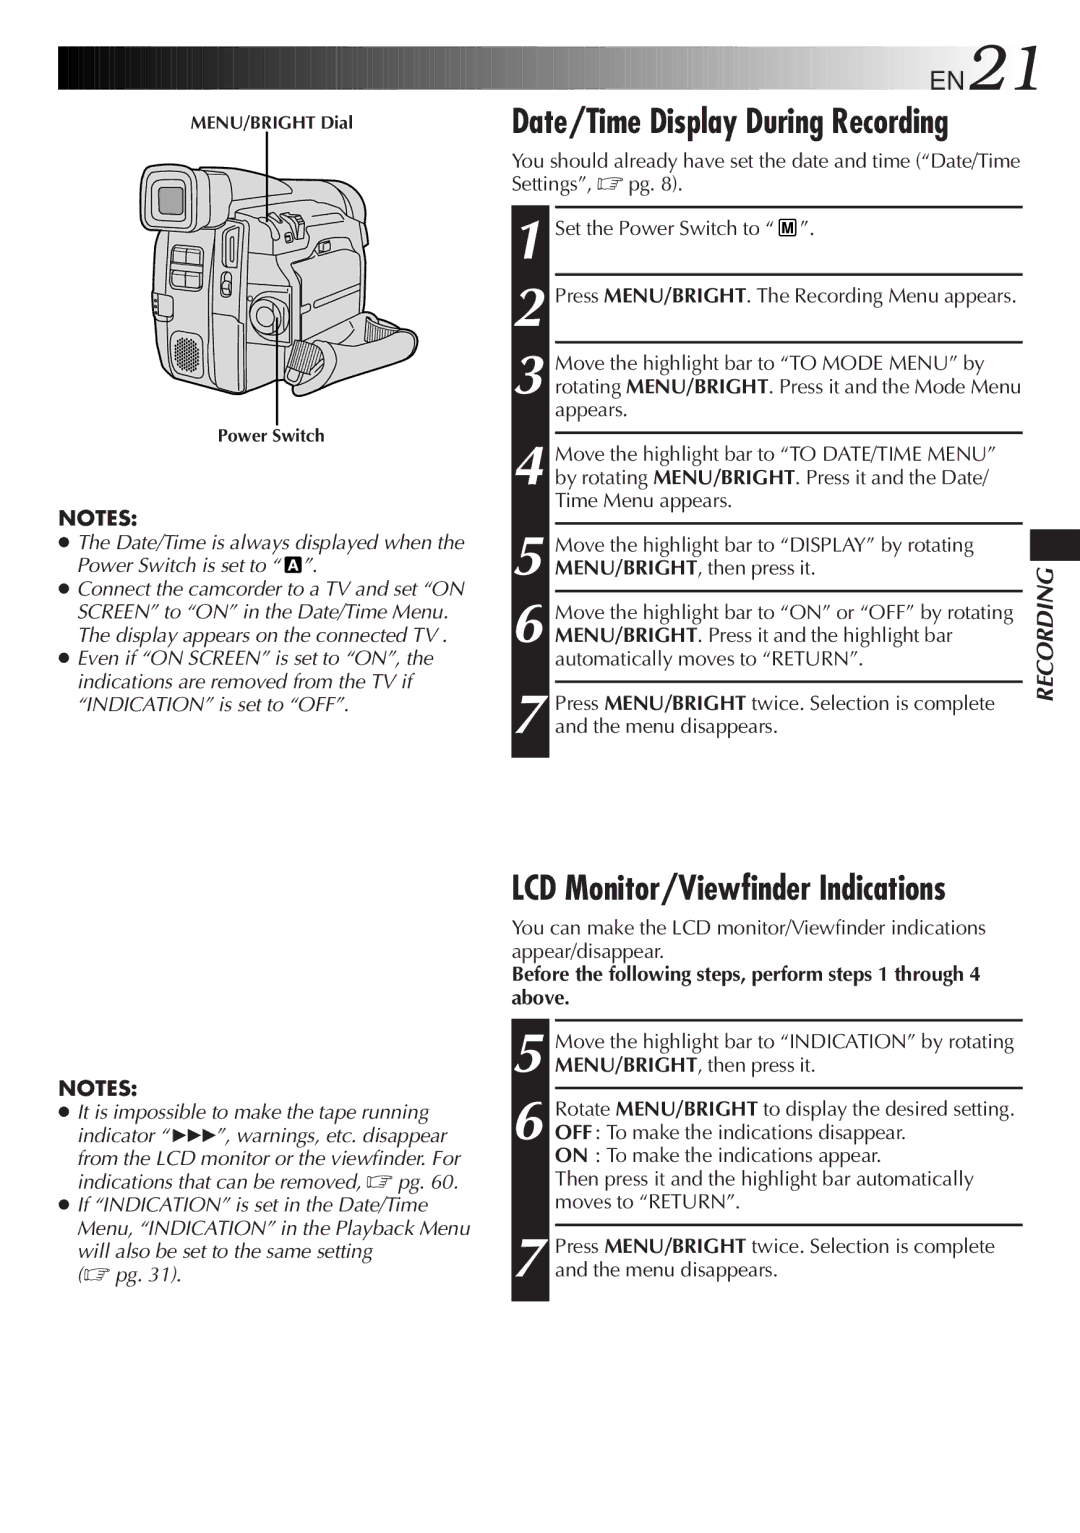
MENU/BRIGHT Dial | Date/Time Display During Recording |
Power Switch
NOTES:
●The Date/Time is always displayed when the Power Switch is set to “![]() ”.
”.
●Connect the camcorder to a TV and set “ON SCREEN” to “ON” in the Date/Time Menu. The display appears on the connected TV .
●Even if “ON SCREEN” is set to “ON”, the indications are removed from the TV if “INDICATION” is set to “OFF”.
You should already have set the date and time (“Date/Time Settings”, ☞ pg. 8).
1 Set the Power Switch to “ ![]() ”.
”.
2 Press MENU/BRIGHT. The Recording Menu appears.
3 Move the highlight bar to “TO MODE MENU” by rotating MENU/BRIGHT. Press it and the Mode Menu appears.
4 Move the highlight bar to “TO DATE/TIME MENU” by rotating MENU/BRIGHT. Press it and the Date/ Time Menu appears.
5 Move the highlight bar to “DISPLAY” by rotating MENU/BRIGHT, then press it.
6 Move the highlight bar to “ON” or “OFF” by rotating MENU/BRIGHT. Press it and the highlight bar automatically moves to “RETURN”.
7 Press MENU/BRIGHT twice. Selection is complete and the menu disappears.
RECORDING
NOTES:
●It is impossible to make the tape running indicator “444”, warnings, etc. disappear
from the LCD monitor or the viewfinder. For indications that can be removed, ☞ pg. 60.
●If “INDICATION” is set in the Date/Time Menu, “INDICATION” in the Playback Menu
will also be set to the same setting (☞ pg. 31).
LCD Monitor/Viewfinder Indications
You can make the LCD monitor/Viewfinder indications appear/disappear.
Before the following steps, perform steps 1 through 4 above.
5
6 Rotate MENU/BRIGHT to display the desired setting. OFF : To make the indications disappear.
ON : To make the indications appear.
Then press it and the highlight bar automatically moves to “RETURN”.
7 Press MENU/BRIGHT twice. Selection is complete and the menu disappears.
