GR-DVL9000 specifications
The JVC GR-DVL9000 is a standout product in the realm of digital camcorders, showcasing a blend of advanced technology and user-friendly features. Released as part of JVC's line of DV camcorders, it quickly gained popularity among consumers seeking high-quality video recording without compromising on style and functionality.At the heart of the GR-DVL9000 is its impressive 1/4-inch CCD sensor, which delivers a resolution of 800,000 pixels. This sensor ensures that the camcorder captures vibrant colors and sharp details, allowing users to record their precious moments in stunning clarity. Its capability to offer a 16:9 aspect ratio enhances the cinematic experience, making it particularly appealing for filmmakers and enthusiasts looking to achieve a more professional look in their videos.
The GR-DVL9000 employs JVC's advanced DV format, which offers superior video quality compared to traditional analog formats. This digital advantage is further amplified with the incorporation of 3D Digital Noise Reduction technology, ensuring clean and smooth playback, even in low-light conditions. The camcorder also supports a range of recording modes, allowing flexibility for various shooting environments, whether indoors or outdoors.
One of the key characteristics of the GR-DVL9000 is its user-centric design. The camcorder features an easy-to-navigate menu system and an ergonomic grip that enhances comfort during prolonged use. The large 3.5-inch LCD screen provides real-time feedback, making it easy to frame shots accurately and review recordings without straining the eyes.
Additionally, the GR-DVL9000 includes a 20x optical zoom lens, enabling users to get close to the action without sacrificing image quality. This is particularly useful for nature documentaries, sports events, or any scenario where capturing distant subjects is vital.
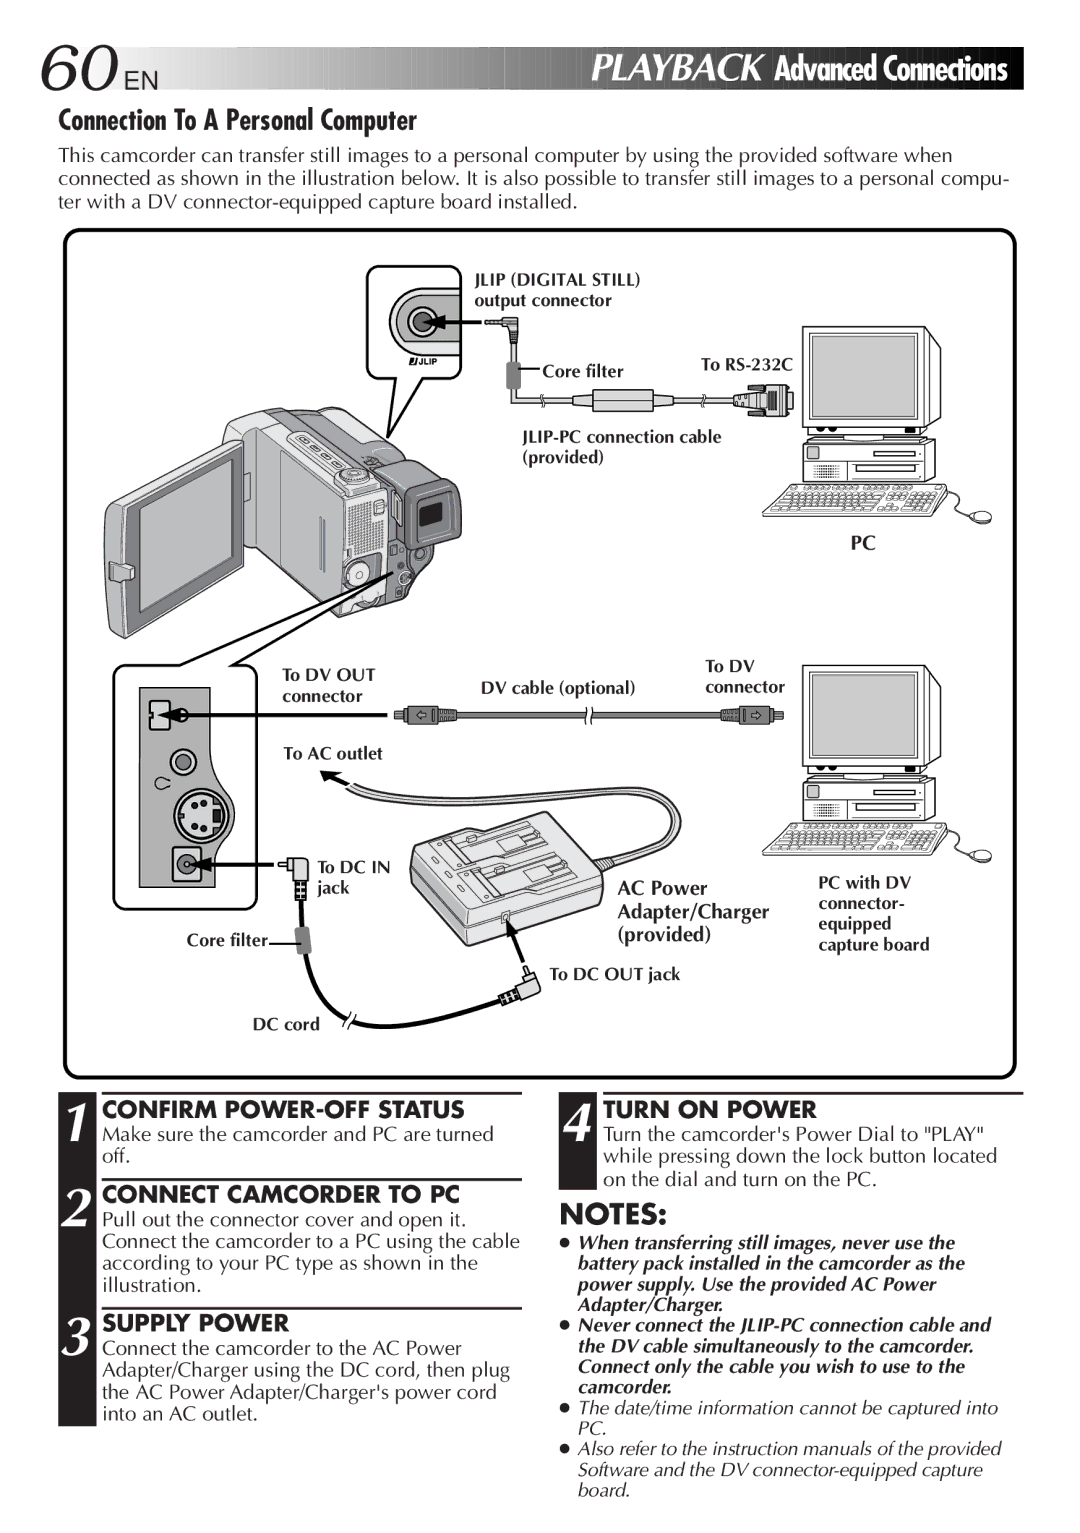
Connectivity options are also a highlight of this device. The camcorder includes both FireWire (IEEE 1394) and USB ports, allowing for seamless transfer of videos to computers for editing and archiving. This ease of connectivity underscores the GR-DVL9000’s suitability for both casual users and those who take their videography seriously.
In conclusion, the JVC GR-DVL9000 stands out with its combination of a strong CCD sensor, advanced digital recording capabilities, user-friendly design, and robust connectivity options. Whether for personal use or professional projects, it remains a compelling choice among digital camcorders, epitomizing JVC's commitment to quality and innovation in videography.

