●Since the AC Adapter processes electricity internally, it becomes warm during use. Be sure to use it only in
●The following operation stops charging:
•Set the Power Switch 8 to “ ![]() ”, “
”, “ ![]() ” or “
” or “ ![]() ”.
”.
•Disconnect the AC Adapter from the camcorder.
•Unplug the AC Adapter from the AC outlet.
•Detach the battery from the camcorder.
●This camcorder will be automatically turned off if its power is supplied from the AC adapter and about 5 minutes pass since it has entered into the recording standby mode with a cassette inserted. If, under those conditions, the battery is attached to the camcorder, its charging will start.
●Using the optional
●To avoid interference with reception, do not use the AC Adapter near a radio.
●Perform charging where the temperature is between 10°C and 35°C. 20°C to 25°C is the ideal temperature range for charging. If the environment is too cold, charging may be incomplete.
●Charging time varies according to the ambient temperature and the status of the battery pack.
About Batteries
DANGER! Do not attempt to take the batteries apart, or expose them to flame or excessive heat, as it may cause a fire or explosion.
WARNING! Do not allow the battery or its terminals to come in contact with metals, as this can result in a short circuit and possibly start a fire.
The Benefits Of
(If you’re using a heating pad, make sure the battery pack does not come in direct contact with it.)
Lithium-ion is vulnerable in colder temperatures.
EN
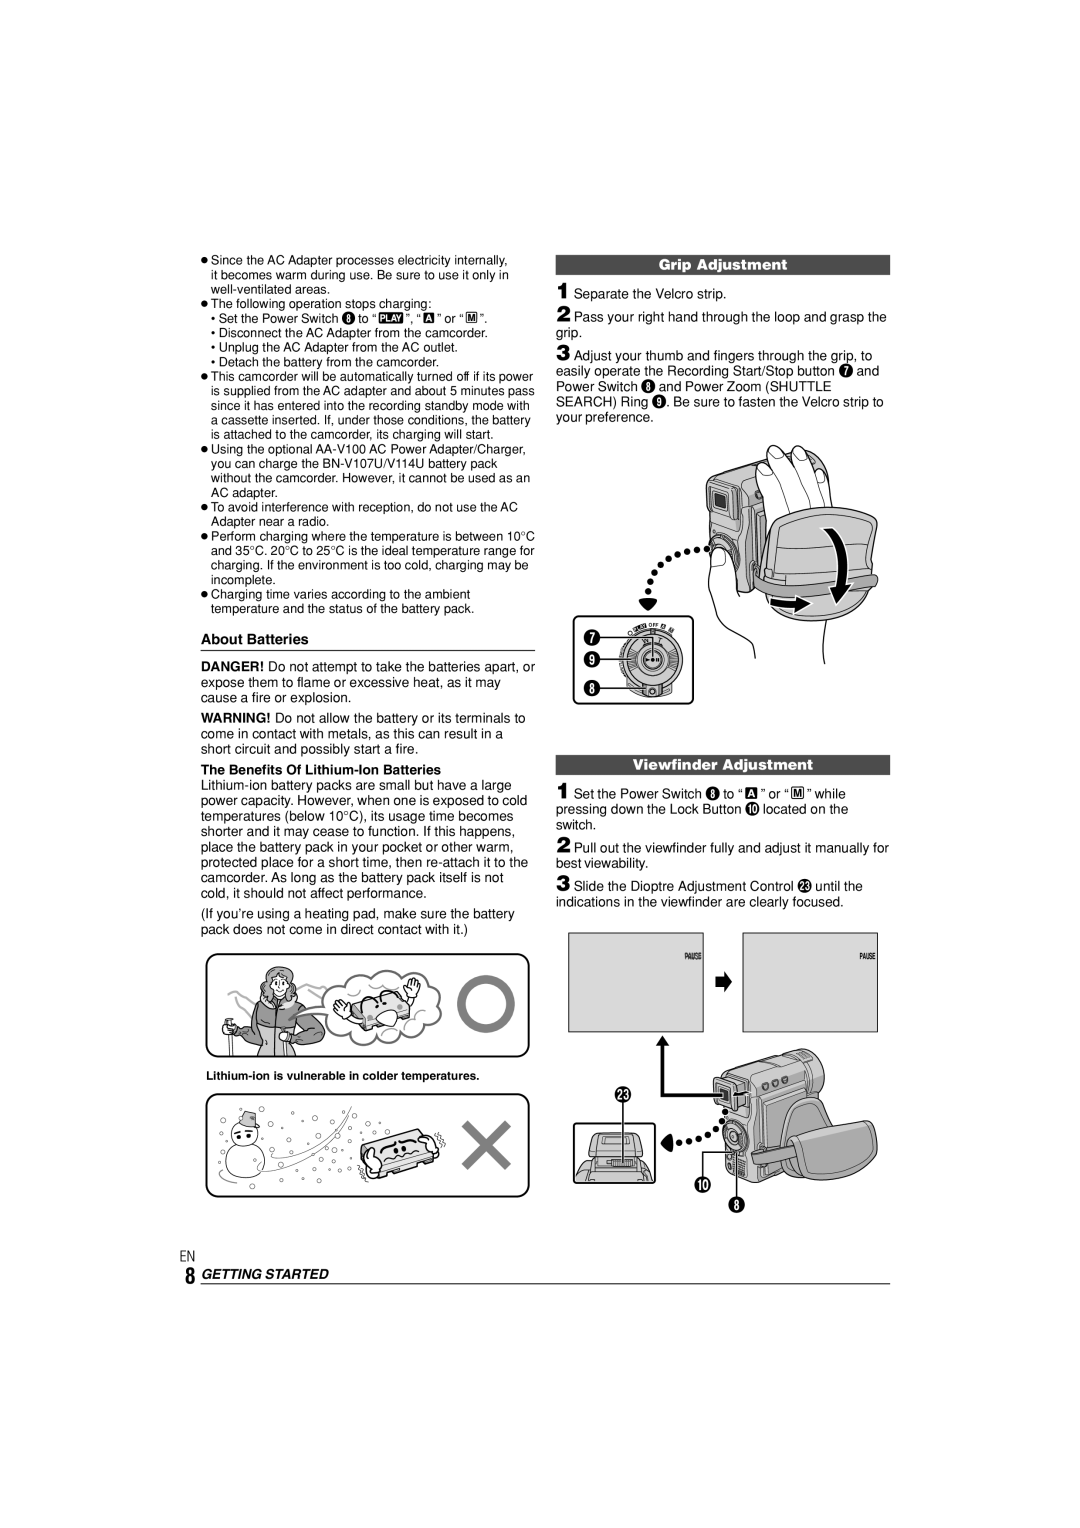
Grip Adjustment
1 Separate the Velcro strip.
2 Pass your right hand through the loop and grasp the grip.
3 Adjust your thumb and fingers through the grip, to easily operate the Recording Start/Stop button 7 and Power Switch 8 and Power Zoom (SHUTTLE SEARCH) Ring 9. Be sure to fasten the Velcro strip to your preference.
|
| F |
|
|
| Y O F | A |
| |
7 | LA |
| M | |
P |
|
| ||
CH |
|
|
| |
9 |
|
|
| |
S |
|
|
| |
| AR |
|
|
|
| E |
|
|
|
| S |
|
|
|
| E |
|
|
|
| L |
|
|
|
| T |
|
|
|
| T |
|
|
|
| U |
|
|
|
| H |
|
|
|
8 |
|
|
|
|
Viewfinder Adjustment
1 Set the Power Switch 8 to “ ” or “ ![]() ” while pressing down the Lock Button 0 located on the switch.
” while pressing down the Lock Button 0 located on the switch.
2 Pull out the viewfinder fully and adjust it manually for best viewability.
3 Slide the Dioptre Adjustment Control e until the indications in the viewfinder are clearly focused.
PAUSE
e
0
8
