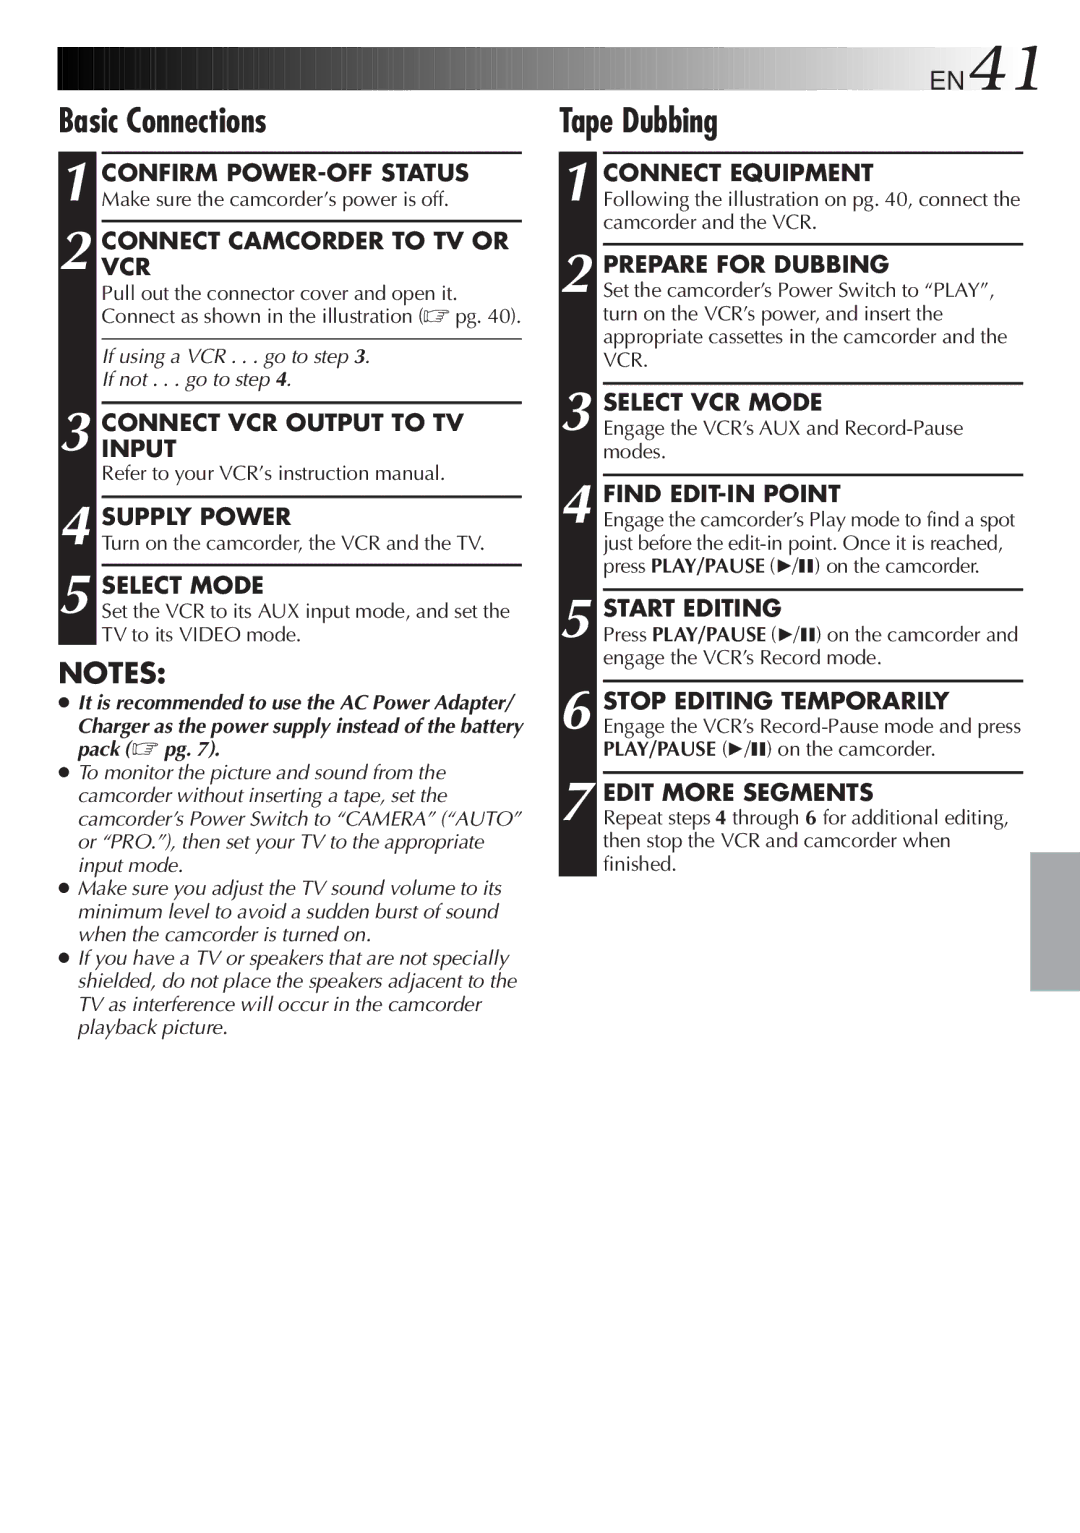
Basic Connections
1 CONFIRM
2 CONNECTVCR CAMCORDER TO TV OR
Pull out the connector cover and open it. Connect as shown in the illustration (☞ pg. 40).
If using a VCR . . . go to step 3.
If not . . . go to step 4.
3 CONNECTINPUT VCR OUTPUT TO TV
Refer to your VCR’s instruction manual.
4 SUPPLY POWER
Turn on the camcorder, the VCR and the TV.
5 SELECT MODE
Set the VCR to its AUX input mode, and set the TV to its VIDEO mode.
NOTES:
●It is recommended to use the AC Power Adapter/
Charger as the power supply instead of the battery pack (☞ pg. 7).
●To monitor the picture and sound from the camcorder without inserting a tape, set the camcorder’s Power Switch to “CAMERA” (“AUTO” or “PRO.”), then set your TV to the appropriate input mode.
●Make sure you adjust the TV sound volume to its minimum level to avoid a sudden burst of sound when the camcorder is turned on.
●If you have a TV or speakers that are not specially shielded, do not place the speakers adjacent to the TV as interference will occur in the camcorder playback picture.
![]()
![]()
![]()
![]()
![]()
![]()
![]()
![]()
![]()
![]()
![]()
![]()
![]()
![]()
![]()
![]()
![]()
![]()
![]()
![]()
![]()
![]()
![]()
![]()
![]()
![]()
![]()
![]()
![]()
![]()
![]()
![]()
![]()
![]()
![]()
![]()
![]()
![]()
![]()
![]()
![]()
![]()
![]()
![]()
![]()
![]()
![]()
![]()
![]()
![]()
![]()
![]() EN41
EN41![]()
![]()
Tape Dubbing
1 CONNECT EQUIPMENT
Following the illustration on pg. 40, connect the camcorder and the VCR.
2 PREPARE FOR DUBBING
Set the camcorder’s Power Switch to “PLAY”, turn on the VCR’s power, and insert the appropriate cassettes in the camcorder and the VCR.
3 SELECT VCR MODE
Engage the VCR’s AUX and
4 FIND EDIT-IN POINT
Engage the camcorder’s Play mode to find a spot just before the
5 START EDITING
Press PLAY/PAUSE (4/6) on the camcorder and engage the VCR’s Record mode.
6 STOP EDITING TEMPORARILY Engage the VCR’s
7 EDIT MORE SEGMENTS
Repeat steps 4 through 6 for additional editing, then stop the VCR and camcorder when finished.
