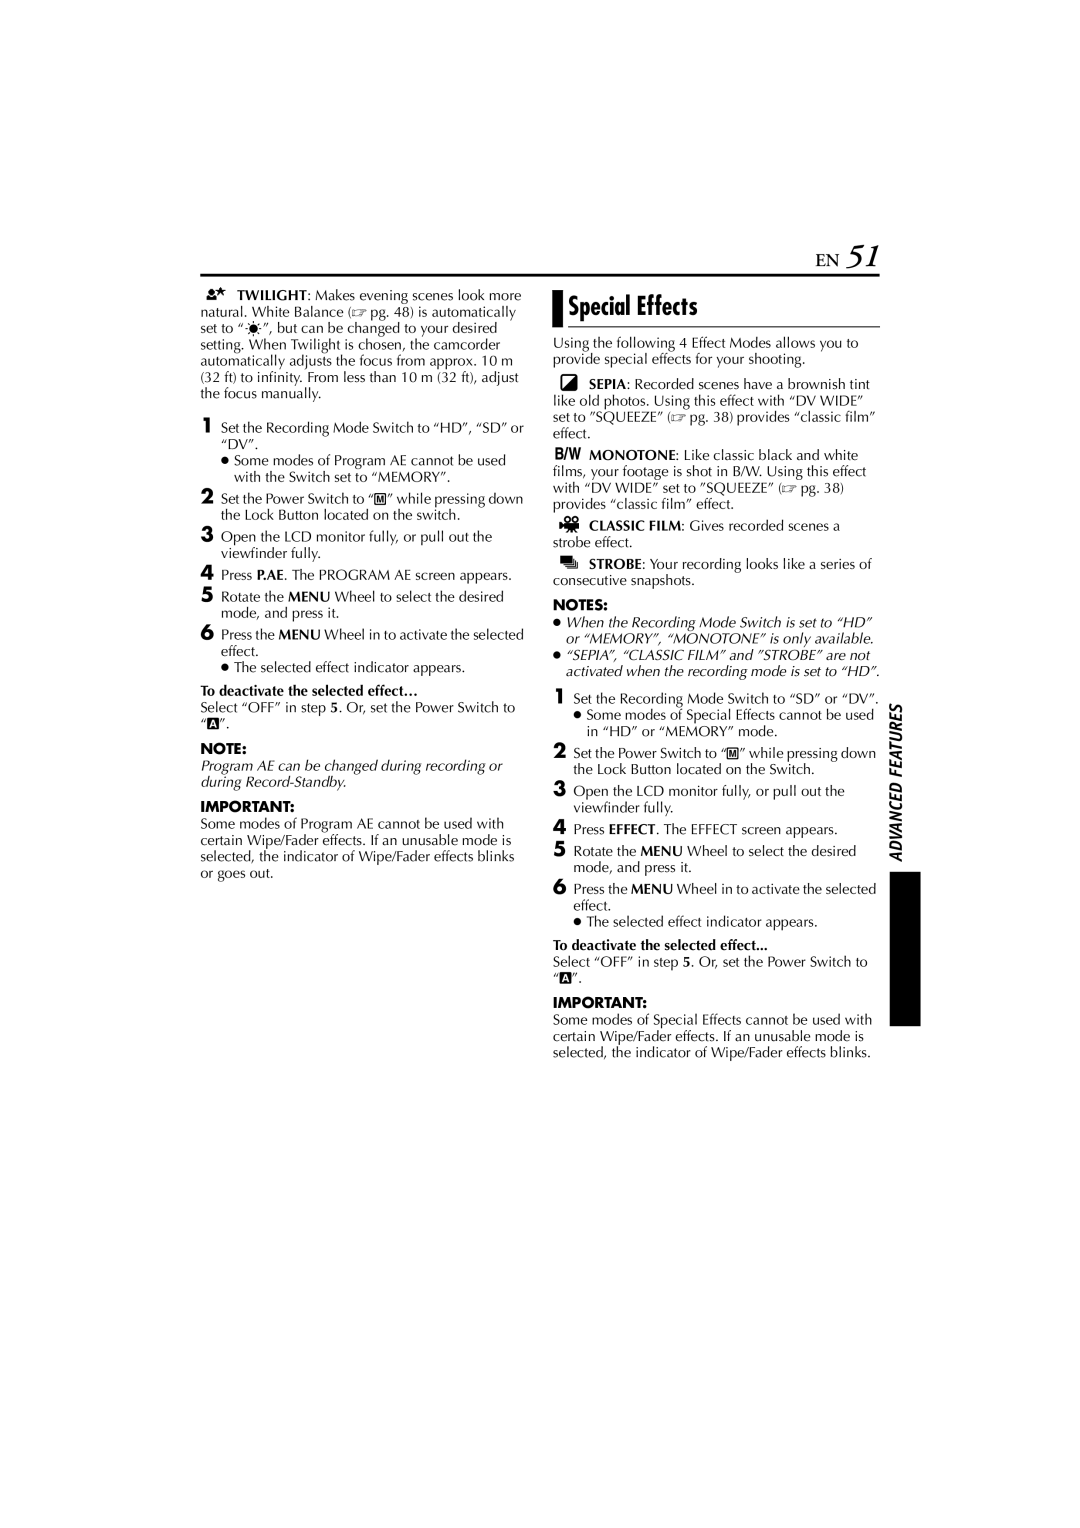
GR-HD1, 0503-FO-ID-VP, LYT1154-001C specifications
The JVC LYT1154-001C,0503-FO-ID-VP,GR-HD1 is an advanced high-definition camcorder that embodies cutting-edge technology and feature-rich design, catering to both professional videographers and hobbyists. Designed with a focus on versatility and performance, this model is part of JVC's strive towards delivering high-quality imagery and enhanced user experience.One of the standout features of the GR-HD1 is its ability to record in HD resolutions, pushing the boundaries of video quality. It uses an advanced sensor that captures vibrant colors and intricate details, making it suitable for various shooting conditions, from bright daylight to low-light environments. The camcorder supports multiple recording formats, allowing users to choose the best one for their project needs.
In terms of connectivity, the LYT1154-001C boasts an array of options that make it easier to transfer footage to other devices, streamlining the editing process. It comes equipped with USB ports, FireWire outputs, and HDMI connectivity, ensuring compatibility with a wide range of computers, displays, and editing software. This versatility in connectivity plays a crucial role in modern video production workflows.
The ergonomic design of the GR-HD1 enhances usability, with an intuitive interface that facilitates quick access to settings and functions. The adjustable LCD screen allows for easy framing and playback, enabling users to capture the perfect shot from various angles. The user-friendly controls are thoughtfully placed for convenient operation, making it suitable for both novice and experienced users.
Another notable characteristic of the JVC LYT1154-001C,0503-FO-ID-VP,GR-HD1 is its image stabilization technology, which minimizes the effects of camera shake, providing smooth and professional-quality video. This feature is especially beneficial during handheld shooting or when navigating uneven terrain.
In summary, the JVC LYT1154-001C,0503-FO-ID-VP,GR-HD1 is a powerful and versatile camcorder that brings together high-definition recording, comprehensive connectivity, ergonomic design, and advanced stabilization technologies. Whether for professional projects or everyday filming, this camcorder promises to deliver an exceptional recording experience, making it a valuable tool for anyone looking to elevate their video production capabilities.

