EN
Auto Set Up – referring to the display panel
The Auto Set Up function sets the tuner channels, clock, Guide Program numbers and video channel*
automatically. | * Useful for RF connection users. |
BEFORE YOU START PLEASE MAKE SURE THAT:
■The TV aerial cable is connected to the ANT.IN jack on the rear panel of the video recorder.
■The video recorder's mains power cord is connected to a mains outlet.
■The video recorder is turned off.
■Load batteries into the remote control.
HR-J712/J713EU
1 Press |
|
| (recorder/remote). | |
|
| |||
| ||||
|
| |||
|
|
|
|
|
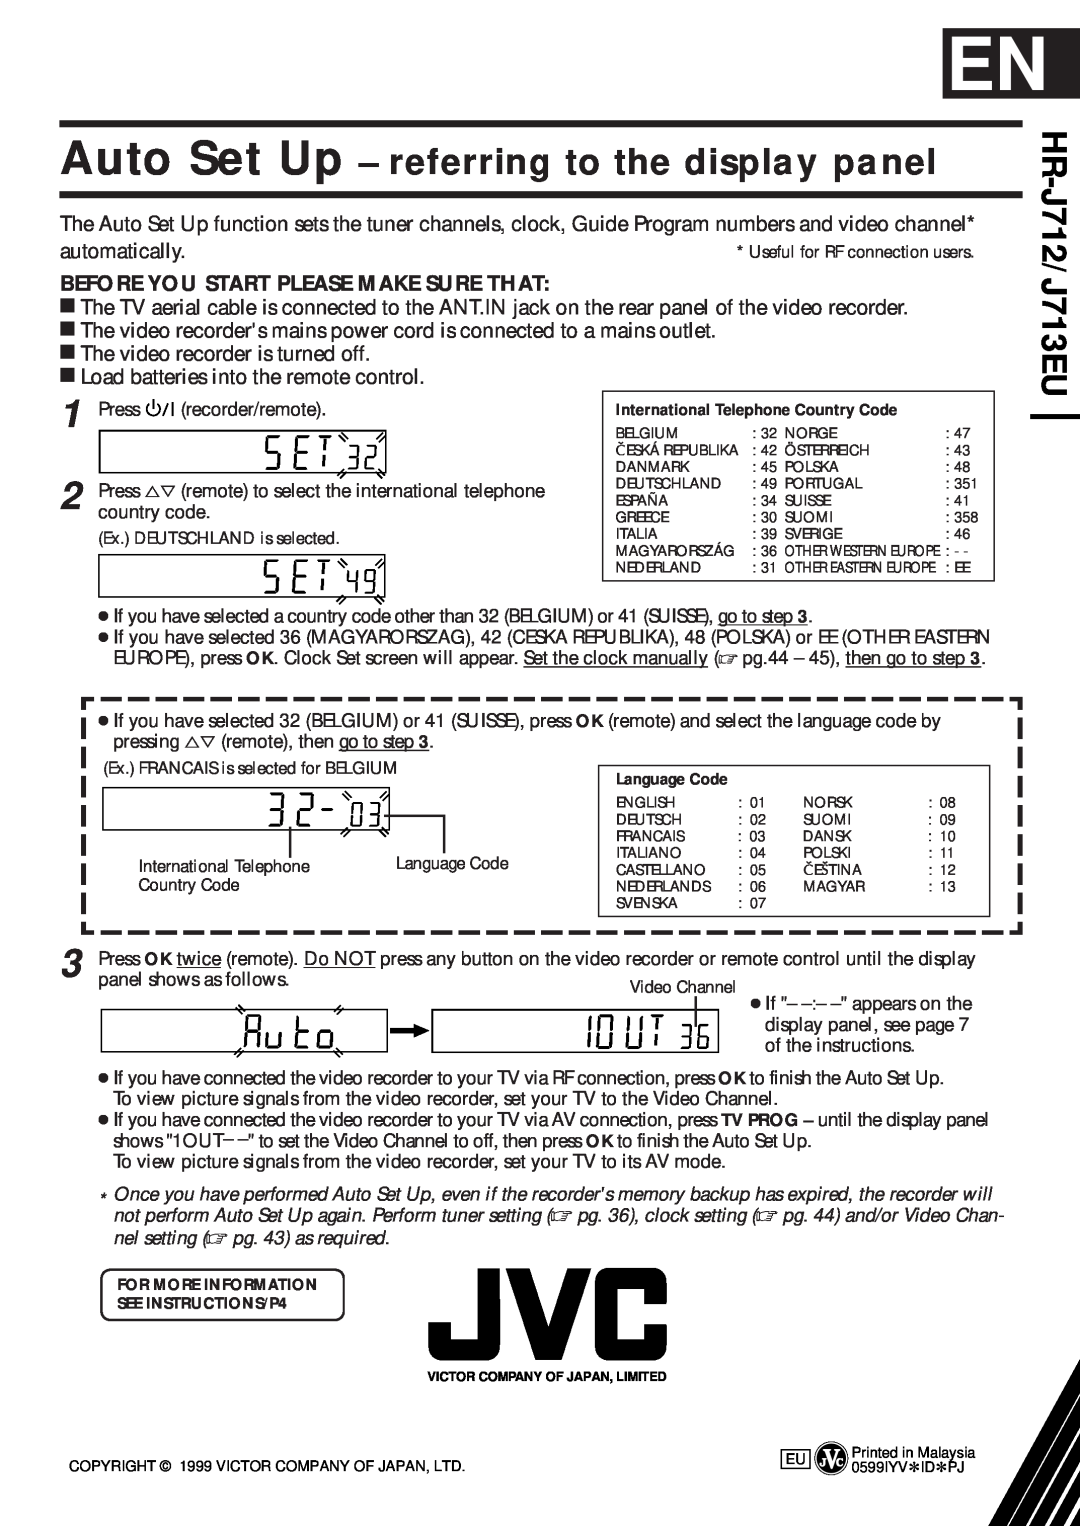
2 Press %Þ (remote) to select the international telephone country code.
(Ex.) DEUTSCHLAND is selected.
International Telephone Country Code
BELGIUM | : 32 NORGE | : 47 | |
ESKÁ REPUBLIKA | : 42 ÖSTERREICH | : 43 | |
DANMARK | : 45 POLSKA | : 48 | |
DEUTSCHLAND | : 49 PORTUGAL | : 351 | |
ESPAÑA | : 34 SUISSE | : 41 | |
GREECE | : 30 | SUOMI | : 358 |
ITALIA | : 39 | SVERIGE | : 46 |
MAGYARORSZÁG | : 36 | OTHER WESTERN EUROPE : - - | |
NEDERLAND | : 31 | OTHER EASTERN EUROPE | : EE |
●If you have selected a country code other than 32 (BELGIUM) or 41 (SUISSE), go to step 3.
●If you have selected 36 (MAGYARORSZAG), 42 (CESKA REPUBLIKA), 48 (POLSKA) or EE (OTHER EASTERN EUROPE), press OK. Clock Set screen will appear. Set the clock manually (☞ pg.44 – 45), then go to step 3.
●If you have selected 32 (BELGIUM) or 41 (SUISSE), press OK (remote) and select the language code by pressing %Þ (remote), then go to step 3.
(Ex.) FRANCAIS is selected for BELGIUM
|
|
|
|
|
|
|
|
|
|
|
|
|
|
|
International Telephone |
|
| Language Code | |
Country Code |
|
| ||
Language Code
ENGLISH | : 01 | NORSK | : 08 |
DEUTSCH | : 02 | SUOMI | : 09 |
FRANCAIS | : 03 | DANSK | : 10 |
ITALIANO | : 04 | POLSKI | : 11 |
CASTELLANO | : 05 | E TINA | : 12 |
NEDERLANDS | : 06 | MAGYAR | : 13 |
SVENSKA | : 07 |
|
|
3 Press OK twice (remote). Do NOT press any button on the video recorder or remote control until the display panel shows as follows.
● If "–
●If you have connected the video recorder to your TV via RF connection, press OK to finish the Auto Set Up. To view picture signals from the video recorder, set your TV to the Video Channel.
●If you have connected the video recorder to your TV via AV connection, press TV PROG – until the display panel shows "1OUT–
To view picture signals from the video recorder, set your TV to its AV mode.
*Once you have performed Auto Set Up, even if the recorder's memory backup has expired, the recorder will not perform Auto Set Up again. Perform tuner setting (☞ pg. 36), clock setting (☞ pg. 44) and/or Video Chan- nel setting (☞ pg. 43) as required.
FOR MORE INFORMATION
SEE INSTRUCTIONS/P4
VICTOR COMPANY OF JAPAN, LIMITED
COPYRIGHT © 1999 VICTOR COMPANY OF JAPAN, LTD.
EU | Printed in Malaysia | |
0599IYV*ID*PJ | ||
|