16

 EN
EN


 PLAYBACK
 (cont.)


Repeat Playback
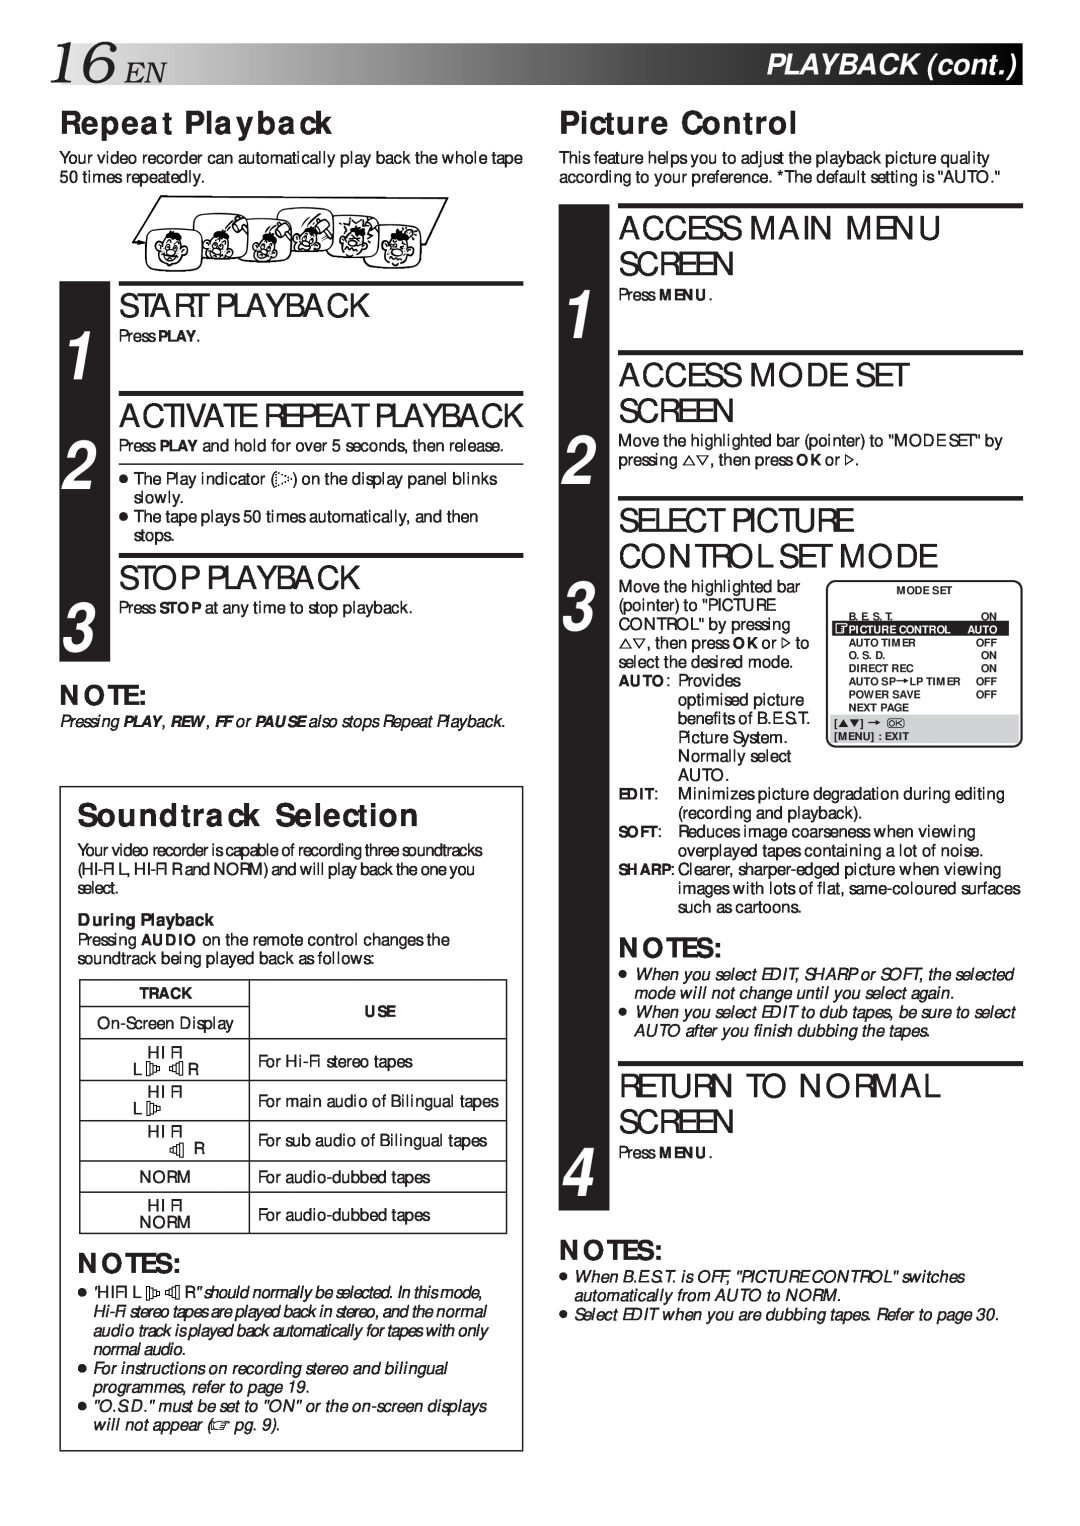
Your video recorder can automatically play back the whole tape 50 times repeatedly.
Picture Control
This feature helps you to adjust the playback picture quality according to your preference. *The default setting is "AUTO."
1 |
| START PLAYBACK |
Press PLAY. | ||
2 |
| ACTIVATE REPEAT PLAYBACK |
Press PLAY and hold for over 5 seconds, then release. | ||
| ● The Play indicator ( ) on the display panel blinks | |
|
| |
|
| slowly. |
|
| ● The tape plays 50 times automatically, and then |
|
| stops. |
|
|
|
3 |
| STOP PLAYBACK |
Press STOP at any time to stop playback. | ||
NOTE:
Pressing PLAY, REW, FF or PAUSE also stops Repeat Playback.
Soundtrack Selection
Your video recorder is capable of recording three soundtracks
During Playback
Pressing AUDIO on the remote control changes the soundtrack being played back as follows:
TRACK | USE | |||||
| ||||||
|
|
|
|
|
| |
| HI FI | For | ||||
L |
|
|
| R | ||
|
|
|
|
|
| |
L | HI FI | For main audio of Bilingual tapes | ||||
|
|
|
| |||
|
|
|
|
| ||
| HI FI | For sub audio of Bilingual tapes | ||||
|
|
|
| R |
| |
|
|
|
|
|
| |
NORM | For | |||||
|
|
| ||||
| HI FI | For | ||||
NORM | ||||||
| ||||||
NOTES:
●"HIFI L ![]()
![]()
![]()
![]()
![]()
![]() R" should normally be selected. In this mode,
R" should normally be selected. In this mode,
●For instructions on recording stereo and bilingual programmes, refer to page 19.
●"O.S.D." must be set to "ON" or the
| ACCESS MAIN MENU |
|
|
| |
| SCREEN |
|
|
|
|
1 Press MENU. |
|
|
|
| |
| ACCESS MODE SET |
|
|
| |
| SCREEN |
|
|
|
|
Move the highlighted bar (pointer) to "MODE SET" by | |||||
2 pressing %Þ, then press OK or #. |
|
|
| ||
| SELECT PICTURE |
|
|
| |
| CONTROL SET MODE |
|
|
| |
| Move the highlighted bar | MODE SET |
|
|
|
| (pointer) to "PICTURE | B. E. S. T. | ON | ||
| CONTROL" by pressing | ||||
| PICTURE CONTROL | AUTO |
| ||
3 %Þ, then press OK or #to | AUTO TIMER | OFF |
| ||
| select the desired mode. | O. S. D. | ON | ||
| DIRECT REC | ON | |||
| AUTO: Provides | AUTO SP=LP TIMER | OFF | ||
| optimised picture | POWER SAVE | OFF | ||
| NEXT PAGE |
|
|
| |
| benefits of B.E.S.T. |
|
|
| |
| [5°] = |
|
|
| |
| Picture System. | [MENU] : EXIT |
|
|
|
| Normally select |
|
|
|
|
| AUTO. |
|
|
|
|
| EDIT: Minimizes picture degradation during editing | ||||
| (recording and playback). |
|
|
| |
| SOFT: Reduces image coarseness when viewing | ||||
| overplayed tapes containing a lot of noise. | ||||
| SHARP: Clearer, | ||||
| images with lots of flat, | ||||
| such as cartoons. |
|
|
|
|
NOTES:
●When you select EDIT, SHARP or SOFT, the selected mode will not change until you select again.
●When you select EDIT to dub tapes, be sure to select AUTO after you finish dubbing the tapes.
RETURN TO NORMAL
SCREEN
4 Press MENU.
NOTES:
●When B.E.S.T. is OFF, "PICTURE CONTROL" switches automatically from AUTO to NORM.
●Select EDIT when you are dubbing tapes. Refer to page 30.