– Initial Settings –
Auto Set Up
The Auto Set Up function simplifies installation by guiding you through the procedures of setting the language, clock and tuner channels — simply follow the
●Turn on the recorder and the TV, and set your TV to its AV mode or video channel.
ASelect language
Press PR r/t to place the pointer next to your desired language
Language Setting
AAccess Main Menu screen, then
Initial Set screen
Press MENU on the remote control. Press PR r/t to place the pointer next to “INITIAL SET”, then press OK or e.
BAccess Language Select screen
MAIN MENU
FUNCTION SET TUNER SET ![]() INITIAL SET
INITIAL SET
[ ![]() /
/![]() ]
] ![]()
![]() [MENU] : EXIT
[MENU] : EXIT
(English, Russian or Arabic), then press OK or e.
●The Clock Set screen appears.
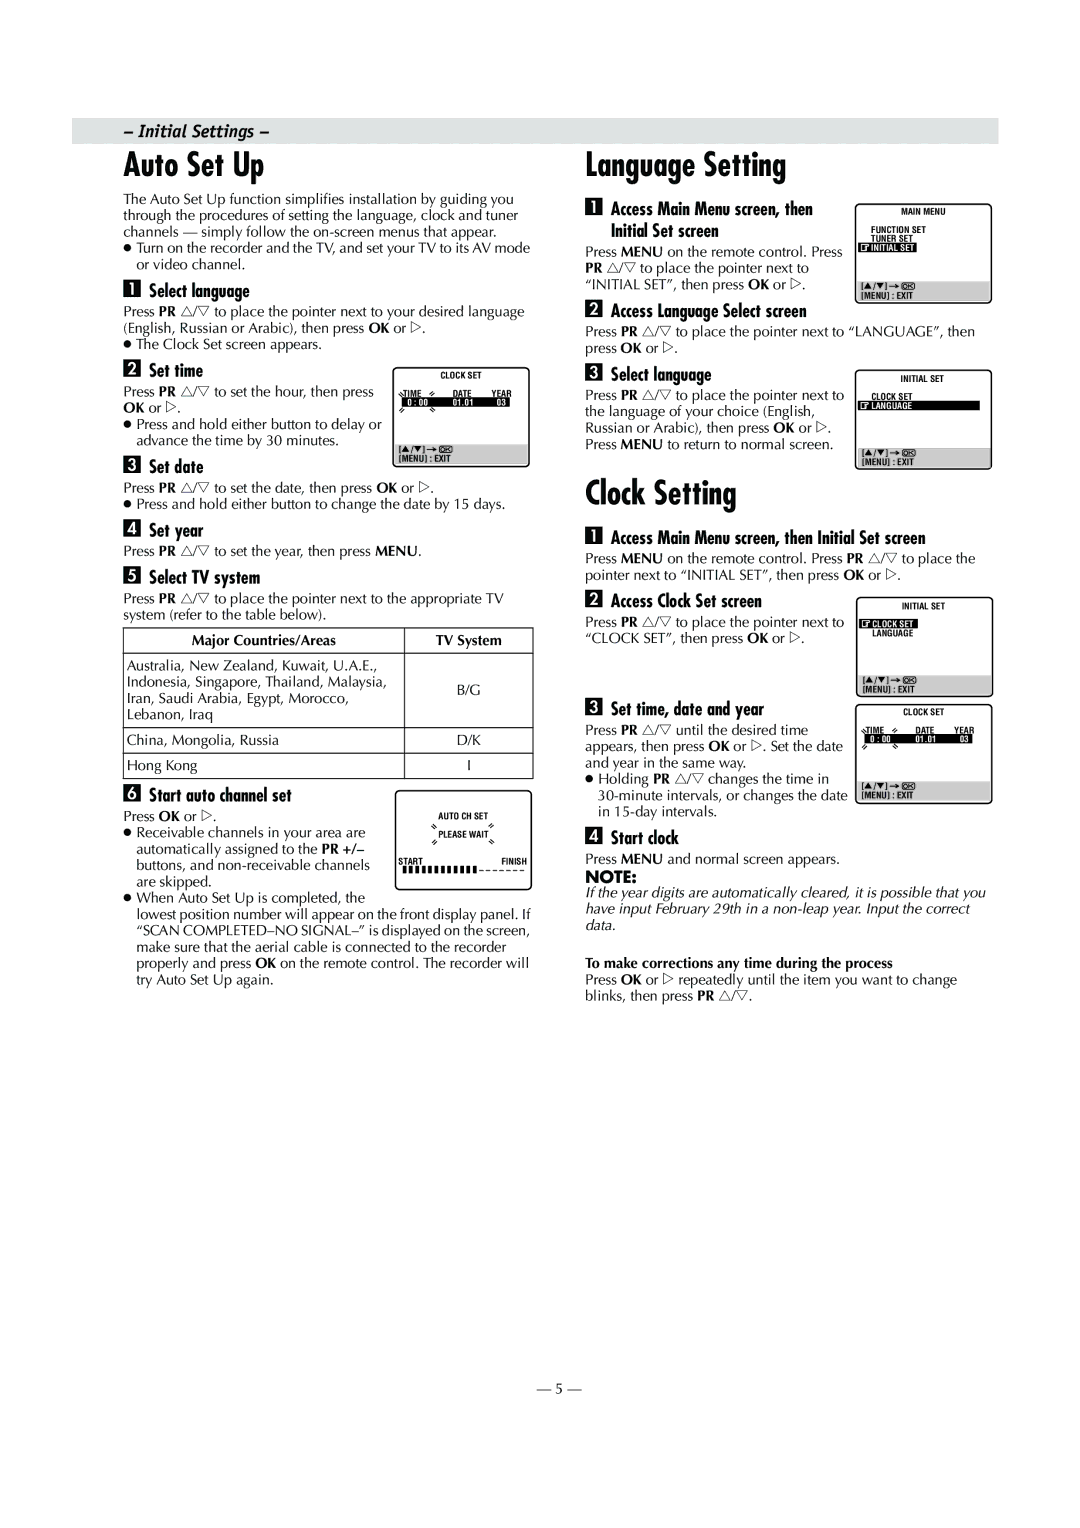
B Set time |
|
| CLOCK SET |
|
|
Press PR r/t to set the hour, then press | TIME | DATE | YEAR | ||
OK or e. | 0 : 00 | 01.01 | 03 |
| |
|
|
|
|
| |
● Press and hold either button to delay or |
|
|
|
|
|
advance the time by 30 minutes. |
|
|
|
|
|
[ | / ] |
|
|
|
|
|
|
|
| ||
C Set date | [MENU] : EXIT |
|
Press PR r/t to set the date, then press OK or e.
●Press and hold either button to change the date by 15 days.
DSet year
Press PR r/t to set the year, then press MENU.
ESelect TV system
Press PR r/t to place the pointer next to the appropriate TV system (refer to the table below).
Major Countries/Areas
Australia, New Zealand, Kuwait, U.A.E.,
Indonesia, Singapore, Thailand, Malaysia,
Iran, Saudi Arabia, Egypt, Morocco,
Lebanon, Iraq
China, Mongolia, Russia
Hong Kong
FStart auto channel set
Press OK or e.
● Receivable channels in your area are automatically assigned to the PR +/–
buttons, and
■ ■ ■ ■ ■ ■ ■ ■ ■ ■ ■ ■ – – – – – – –
are skipped.
●When Auto Set Up is completed, the
lowest position number will appear on the front display panel. If “SCAN
Press PR r/t to place the pointer next to “LANGUAGE”, then press OK or e.
C Select language |
|
| INITIAL SET |
Press PR r/t to place the pointer next to | CLOCK SET | ||
the language of your choice (English, | LANGUAGE | ||
|
|
| |
Russian or Arabic), then press OK or e. |
|
|
|
Press MENU to return to normal screen. |
|
|
|
[ | / ] |
|
|
[MENU] : EXIT
Clock Setting
AAccess Main Menu screen, then Initial Set screen
Press MENU on the remote control. Press PR r/t to place the pointer next to “INITIAL SET”, then press OK or e.
B Access Clock Set screen |
|
|
|
| INITIAL SET |
| ||
Press PR r/t to place the pointer next to |
| CLOCK SET |
|
| ||||
“CLOCK SET”, then press OK or e. |
| LANGUAGE |
|
| ||||
|
|
|
|
|
|
| ||
|
| [ | / | ] |
|
|
|
|
|
| [MENU] : EXIT |
|
| ||||
C Set time, date and year |
|
|
|
| CLOCK SET |
| ||
Press PR / | until the desired time |
| TIME |
|
|
| DATE | YEAR |
r t |
|
|
|
|
| |||
appears, then press OK or e. Set the date |
| 0 : 00 |
|
| 01.01 | 03 | ||
|
|
|
|
|
|
| ||
and year in the same way. |
|
|
|
|
|
|
| |
● Holding PR r/t changes the time in |
|
|
|
|
|
|
| |
[ | / | ] |
|
|
|
| ||
[MENU] : EXIT |
|
| ||||||
in
DStart clock
Press MENU and normal screen appears.
NOTE:
If the year digits are automatically cleared, it is possible that you have input February 29th in a
To make corrections any time during the process
Press OK or e repeatedly until the item you want to change blinks, then press PR r/t.
— 5 —