Using the Cassette Deck (Recording)

Standard Recording

This is the basic method for recording any source. The System also has special ways for recording CD to tape, and tape to tape, which save you time and effort, as well as give you some special effects. However, when you need to add a selection to a tape you have made, or are combining selections from several sources on one tape, use the method described below; just substitute the source you want into this procedure, such as a tape in Deck A, a CD, or the Tuner. You can also record from an external equipment with this procedure.

To Record Any Sound Source to Tape

Follow these steps to record from any sound source onto a tape in Deck B.

1 Insert a blank or erasable tape into the Deck B and wind past the tape leader.

2 Insert a blank or erasable tape into the Deck B and wind past the tape leader.

3 Press the CD REC START button on the Unit.

“CD REC” appears on the display and the “REC” indicator lights up. Then, the System begins CD Synchro Recording and the tracks on the CD are recorded on the tape.

When recording of the tracks of all CDs is finished, “CD REC FINISHED” scrolls on the display and the CD Player and Cas- sette Deck stop.

(Recording start) (When finished)

CD REC

START

If the tab of the cassette tape on the Deck B is removed to prevent erasure or recording, "NO REC" will appear on the display.

After the CD Player has played the entire CD or all the pro- grammed tracks, the tape automatically stops.

To stop at any time during the recording process, press the REC START/STOP button on the Unit or the 7 button. “CD REC FINISHED” scrolls on the display and the CD Player and Cassette Deck stop.

Tape travelling direction

2 Prepare the source, by, for example, tuning in a radio station, loading CDs, or turning on connected equipment.

For CD recording, see “CD Synchro Recording” mentioned below.

For dubbing, see “Tape to Tape Recording (Dubbing)” described below.

3 Press the REC START/STOP button on the Unit.

The “REC” indicator lights up and the System begins record- ing.

The Tape indicator (3) blinks on the display.

If the tab of the cassette tape on the Deck B is removed to prevent erasure or recording, "NO REC" will appear on the display.

To stop during recording, press the REC START/STOP but- ton on the Unit, or press the 7 button.

Recording an AM Station to Tape (Beat Cut)

When recording an AM broadcast, beats may be produced which are not heard when listening to the broadcast. If this happens, press the PROGRAM button on the Unit to eliminate the beats.

1 Set to AM station and start recording.

2 Press the PROGRAM button on the Unit to eliminate the beats.

Each time you press the button, the display changes as shown below:

CUT 1= CUT 2= CUT 3=CUT 4=(back to the beginning)

When making SLEEP timer settings while doing CD Syn- chro recording, set enough time to allow for the CD to fin- ish playing, otherwise the power will go off before recording is completed.

Tape to Tape Recording (DUB- BING)

Recording from one tape to another is called dubbing. You can dub tapes simply, with just a single button.

1 Press the TAPE3 button, and then press the

7button.

2 Insert the source cassette you want to copy from into Deck A for playback.

3 Insert a blank or erasable cassette you want to copy onto into Deck B for recording.

4 Press the DUBBING button on the Unit.

Deck A and Deck B will start simultaneously and the “REC” indicator lights up.

During dubbing, the Deck indicators “A” and “B” light up al- ternately.

If no tape is inserted into Deck A, “NO TAPE” will appear on the display.

If no tape is inserted into Deck B, “NO TAPE” will appear on the display.

To stop dubbing, press the REC START/STOP button on the Unit or the 7 button.

CD Synchro Recording

Everything on the CD goes onto the tape in the order it is on the CD, or according to the order you have set in a program.

1 Prepare CDs. (See page 15.)

Press the CD1-3 button (that you want to make recording), and then press the 7 button.

If you want to record specific tracks only, you need to pro- gram the tracks beforehand. (See page 17.)

If you want to record one CD only, you need to load one CD only.

During dubbing, you can hear sound effects through the speakers or headphones. However, the sound is dubbed without sound effects.

21

Page 24
Image 24
JVC LVT1014-003A, CA-MXKA6, 0303NYMCREBETEN manual Standard Recording, Tape to Tape Recording DUB- Bing, CD Synchro Recording

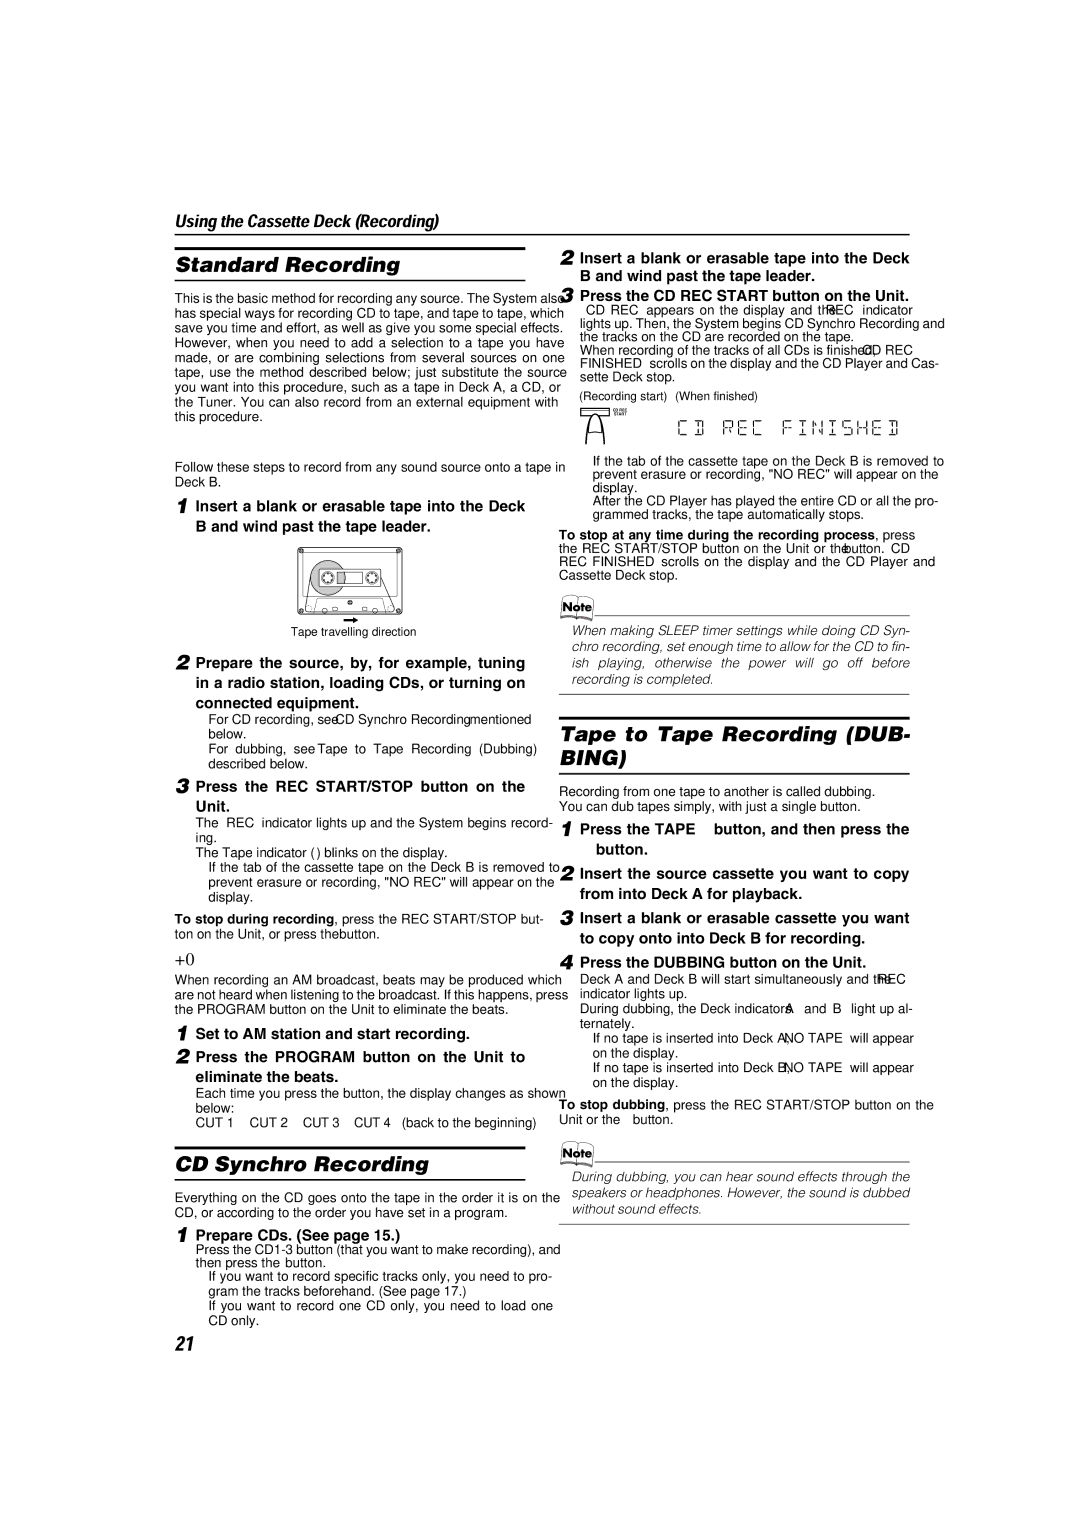
0303NYMCREBETEN, CA-MXKA6, LVT1014-003A specifications

JVC has long been recognized for its commitment to delivering high-quality audio and video equipment. Among its latest offerings are the models 0303NYMCREBETEN, LVT1014-003A, and CA-MXKA6, which cater to a variety of consumer needs with modern features and technologies.

The JVC 0303NYMCREBETEN is designed for versatility and performance. This model focuses on delivering powerful sound output, suitable for both casual listeners and audio enthusiasts. It incorporates advanced audio processing technologies to enhance music playback, ensuring that every note is clear and well-defined. The 0303NYMCREBETEN also boasts various connection options, including Bluetooth and USB, allowing users to easily access their music libraries from multiple sources. Its compact design makes it easy to fit in any space, without sacrificing audio quality.

Meanwhile, the LVT1014-003A serves as a remote control unit that complements JVC's audio-visual products. Designed for ease of use, this remote features a sleek and intuitive layout, allowing users to control functions effortlessly. With programmable keys and an ergonomic design, the LVT1014-003A enhances the overall user experience, making it simple to adjust settings, switch inputs, and navigate menus from the comfort of your couch. Its compatibility with various JVC devices ensures that users can conveniently manage their home entertainment systems.

The CA-MXKA6 is another excellent addition to JVC’s lineup, providing a powerful mini audio system that fits perfectly into smaller living spaces. It features dual speakers that deliver rich sound, along with a built-in CD player, radio tuner, and Bluetooth connectivity. This model excels in providing multiple playback options, making it a versatile choice for any music lover. The CA-MXKA6 also includes customizable equalizer settings, enabling users to tailor the sound to their preferences. Its modern design and LED display make it an attractive piece of equipment for any room.

In conclusion, JVC’s 0303NYMCREBETEN, LVT1014-003A, and CA-MXKA6 represent a blend of innovation and practicality. These products are ideal for consumers seeking high-quality audio performance, ease of use, and versatile features. Whether you are listening to your favorite tunes, controlling your media devices, or setting up an audio system, JVC provides solutions that meet a variety of needs while ensuring top-notch performance.