Audio Dubbing
PAUSE
6
q
![]()
![]()
![]()
![]()
![]()
![]()
![]()
![]()
![]()
![]()
![]()
![]()
![]()
![]()
![]()
![]()
![]()
![]()
![]()
![]()
![]()
![]()
![]()
![]()
![]()
![]()
![]()
![]()
![]()
![]()
![]()
![]()
![]()
![]()
![]()
![]()
![]()
![]()
![]()
![]()
![]()
![]()
![]()
![]()
![]()
![]()
![]()
![]()
![]()
![]()
![]() 49
49![]()
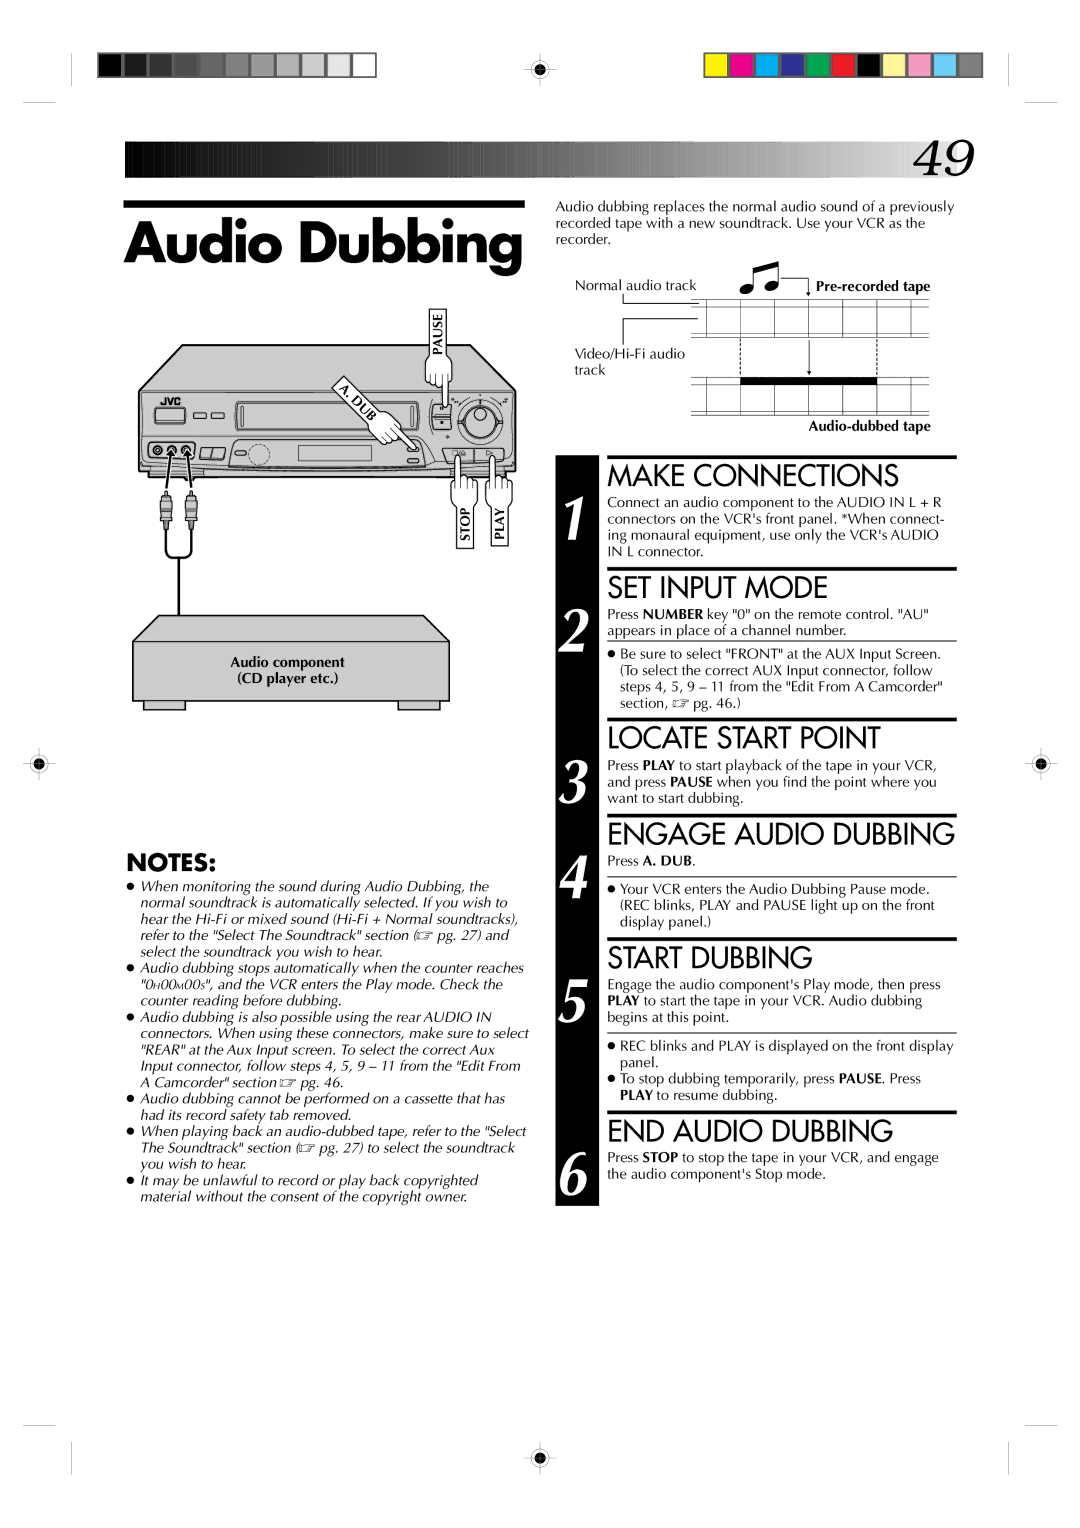
Audio dubbing replaces the normal audio sound of a previously recorded tape with a new soundtrack. Use your VCR as the recorder.
Normal audio track |
|
|
|
| |||||||
|
|
|
|
|
|
|
|
|
|
|
|
|
|
|
|
|
|
|
|
|
|
|
|
|
|
|
|
|
|
|
|
|
|
|
|
|
|
|
|
|
|
|
|
|
|
|
|
|
|
|
|
|
|
|
|
|
|
|
|
Audio-dubbed tape
STOP | PLAY |
Audio component (CD player etc.)
NOTES:
●When monitoring the sound during Audio Dubbing, the normal soundtrack is automatically selected. If you wish to hear the
●Audio dubbing stops automatically when the counter reaches "0H00M00S", and the VCR enters the Play mode. Check the counter reading before dubbing.
●Audio dubbing is also possible using the rear AUDIO IN connectors. When using these connectors, make sure to select "REAR" at the Aux Input screen. To select the correct Aux Input connector, follow steps 4, 5, 9 – 11 from the "Edit From A Camcorder" section ☞ pg. 46.
●Audio dubbing cannot be performed on a cassette that has had its record safety tab removed.
●When playing back an
●It may be unlawful to record or play back copyrighted material without the consent of the copyright owner.
1
2
3
4
5
6
MAKE CONNECTIONS
Connect an audio component to the AUDIO IN L + R connectors on the VCR's front panel. *When connect- ing monaural equipment, use only the VCR's AUDIO IN L connector.
SET INPUT MODE
Press NUMBER key "0" on the remote control. "AU" appears in place of a channel number.
●Be sure to select "FRONT" at the AUX Input Screen. (To select the correct AUX Input connector, follow steps 4, 5, 9 – 11 from the "Edit From A Camcorder" section, ☞ pg. 46.)
LOCATE START POINT
Press PLAY to start playback of the tape in your VCR, and press PAUSE when you find the point where you want to start dubbing.
ENGAGE AUDIO DUBBING
Press A. DUB.
●Your VCR enters the Audio Dubbing Pause mode. (REC blinks, PLAY and PAUSE light up on the front display panel.)
START DUBBING
Engage the audio component's Play mode, then press PLAY to start the tape in your VCR. Audio dubbing begins at this point.
●REC blinks and PLAY is displayed on the front display panel.
●To stop dubbing temporarily, press PAUSE. Press PLAY to resume dubbing.
END AUDIO DUBBING
Press STOP to stop the tape in your VCR, and engage the audio component's Stop mode.