Using the Timers
On the Unit
You can set the time in the same way as for setting the Daily Tim- er.
1 Insert a blank or erasable tape into the Deck B and wind past the tape leader.
2 Press the CLOCK/TIMER button until “ON TIME” immediately after “REC” appears on the display.
Each time you press the button, the display changes as follows: DAILY =ON TIME =REC =ON TIME* =Clock setting display = Canceled = (back to the beginning)
*: This item should be selected for the REC Timer setting.
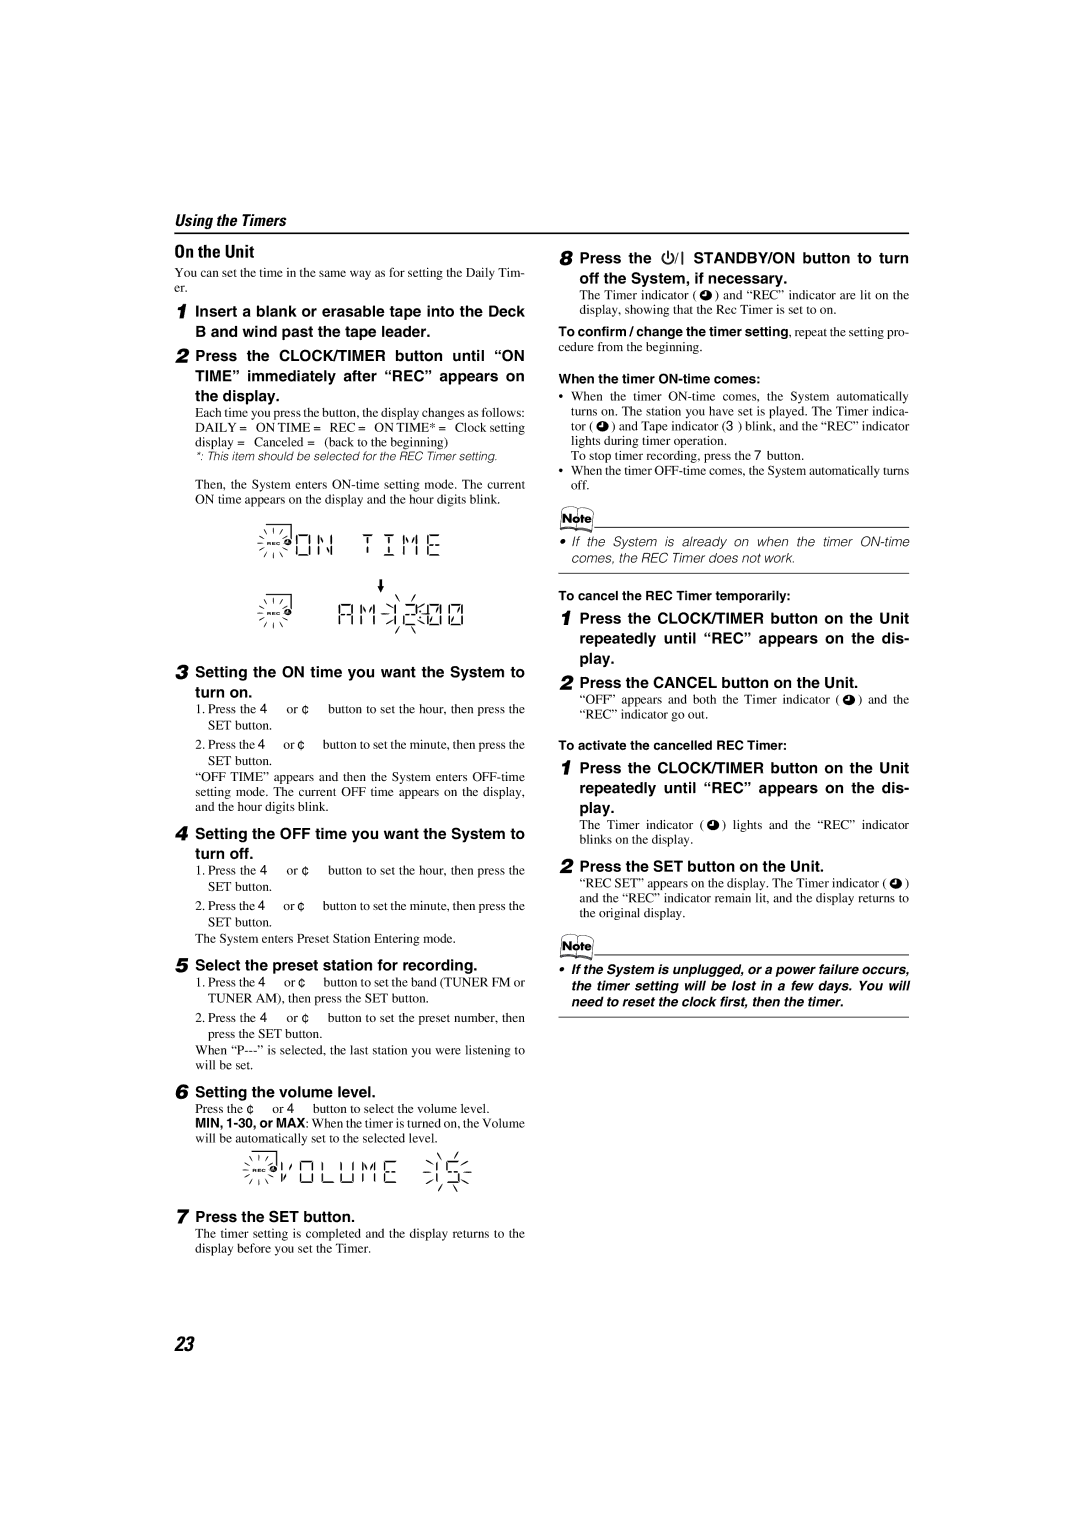
Then, the System enters
3 Setting the ON time you want the System to turn on.
1.Press the 4 or ¢ button to set the hour, then press the SET button.
2.Press the 4or ¢button to set the minute, then press the SET button.
“OFF TIME” appears and then the System enters
4 Setting the OFF time you want the System to turn off.
1.Press the 4 or ¢ button to set the hour, then press the SET button.
2.Press the 4or ¢button to set the minute, then press the
SET button.
The System enters Preset Station Entering mode.
5 Select the preset station for recording.
1.Press the 4or ¢button to set the band (TUNER FM or TUNER AM), then press the SET button.
2.Press the 4 or ¢ button to set the preset number, then
press the SET button.
When
6 Setting the volume level.
Press the ¢ or 4 button to select the volume level.
MIN,
7 Press the SET button.
The timer setting is completed and the display returns to the display before you set the Timer.
8 Press the ![]() STANDBY/ON button to turn off the System, if necessary.
STANDBY/ON button to turn off the System, if necessary.
The Timer indicator ( ![]() ) and “REC” indicator are lit on the display, showing that the Rec Timer is set to on.
) and “REC” indicator are lit on the display, showing that the Rec Timer is set to on.
To confirm / change the timer setting, repeat the setting pro-
cedure from the beginning.
When the timer
•When the timer
turns on. The station you have set is played. The Timer indica- tor ( ![]() ) and Tape indicator (3) blink, and the “REC” indicator
) and Tape indicator (3) blink, and the “REC” indicator
lights during timer operation.
To stop timer recording, press the 7 button.
•When the timer
•If the System is already on when the timer
To cancel the REC Timer temporarily:
1 Press the CLOCK/TIMER button on the Unit repeatedly until “REC” appears on the dis- play.
2 Press the CANCEL button on the Unit.
“OFF” appears and both the Timer indicator ( ![]() ) and the “REC” indicator go out.
) and the “REC” indicator go out.
To activate the cancelled REC Timer:
1 Press the CLOCK/TIMER button on the Unit repeatedly until “REC” appears on the dis- play.
The Timer indicator ( ![]() ) lights and the “REC” indicator blinks on the display.
) lights and the “REC” indicator blinks on the display.
2 Press the SET button on the Unit.
“REC SET” appears on the display. The Timer indicator ( ![]() ) and the “REC” indicator remain lit, and the display returns to the original display.
) and the “REC” indicator remain lit, and the display returns to the original display.
•If the System is unplugged, or a power failure occurs, the timer setting will be lost in a few days. You will need to reset the clock first, then the timer.
23