
 Adjusting Sound
You can make sound adjustment to your preference after completing basic setting.
Basic Adjustment Items | Basic Procedure |
English
On the following pages, you can adjust the items listed below:
•You can adjust only the items applicable to the current sound mode.
•If Analog Direct is in use, you cannot make any sound adjustments.
Items | To do | See page | |
EQ 63Hz | Adjust equalizer pattern at 63 Hz. |
| 28 |
|
|
|
|
EQ250Hz | Adjust equalizer pattern at 250 Hz. |
| 28 |
|
|
|
|
EQ 1kHz | Adjust equalizer pattern at 1 kHz. |
| 28 |
|
|
|
|
EQ 4kHz | Adjust equalizer pattern at 4 kHz. |
| 28 |
|
|
|
|
EQ16kHz | Adjust equalizer pattern at 16 kHz. |
| 28 |
|
|
|
|
SUBWFR LVL | Adjust the subwoofer output level. |
| 28 |
|
|
|
|
FRNT L LVL | Adjust the left front speaker output |
|
|
| level. |
| 28 |
|
|
| |
FRNT R LVL | Adjust the right front speaker output level. | 28 | |
|
|
| |
CENTER LVL | Adjust the center speaker output level. | 28 | |
|
|
| |
SURR L LVL | Adjust the left surround speaker output |
| |
| level. |
| 28 |
|
|
| |
SURR R LVL | Adjust the right surround speaker output |
| |
| level. |
| 28 |
|
|
|
|
SBACK LVL | Adjust the surround back speaker(s) |
|
|
| output level. |
| 28 |
|
|
|
|
EFFECT*1 | Adjust the effect level. |
| 29 |
ROOMSIZE*1 | Select the room size for your virtual |
|
|
| listening room. |
| 29 |
|
|
|
|
LIVENESS*1 | Select the liveness level for your |
|
|
| virtual listening room. |
| 29 |
|
|
|
|
CTR TONE | Make the center tone soft or sharp. |
| 29 |
|
|
|
|
PNRM CNTRL*2 | Add “wraparound” sound effect with |
|
|
|
| 29 | |
|
|
| |
CNTR WIDTH*2 | Adjust the center channel localization |
| |
| between the center speaker and the |
|
|
| left/right front speakers. |
| 29 |
|
|
|
|
DIMENSION*2 | Adjust sound localization position. |
| 29 |
CNTR GAIN*3 | Adjust sound localization of the |
|
|
| center channel. |
| 29 |
|
|
|
|
Notes:
*1 Adjustable when one of the DAP modes or Mono Film (see pages 34 and 35) is in use.
*2 Adjustable when Pro Logic II Music (see page 31) is in use. *3 Adjustable when Neo:6 Music (see page 31) is in use.
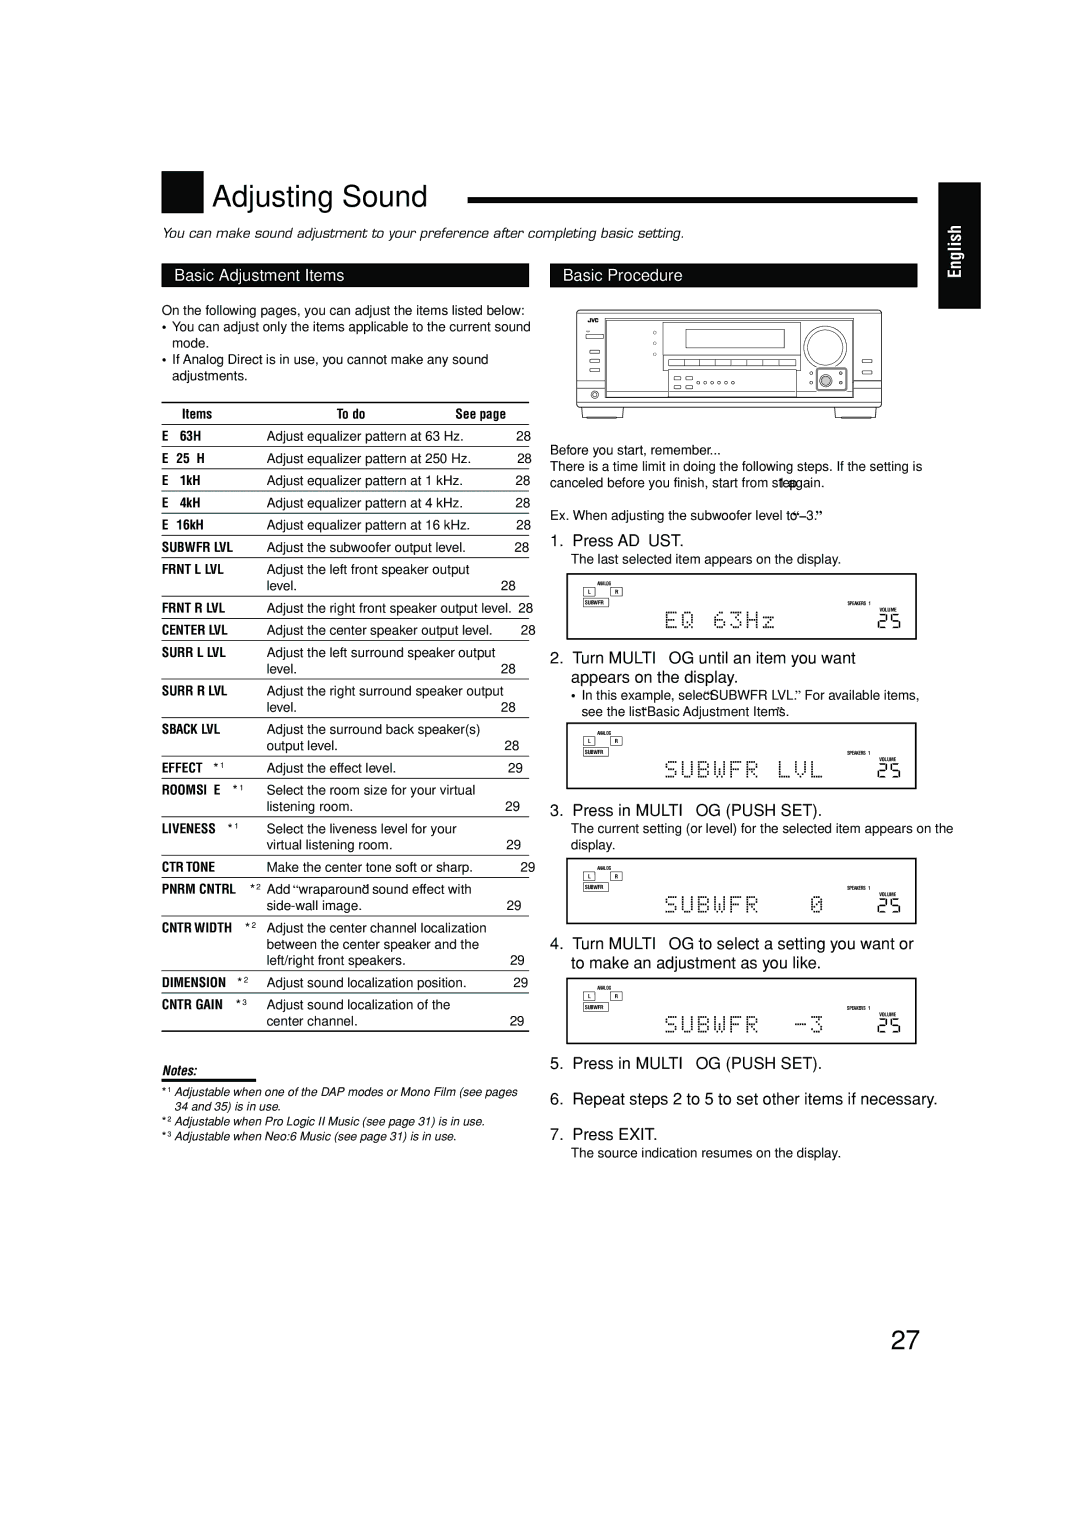
Before you start, remember...
There is a time limit in doing the following steps. If the setting is canceled before you finish, start from step 1 again.
Ex. When adjusting the subwoofer level to “–3.”
1. Press ADJUST.
The last selected item appears on the display.
| ANALOG |
|
L | R | LINEAR PCM |
SUBWFR | SPEAKERS 1 | |
VOLUME
2.Turn MULTI JOG until an item you want appears on the display.
•In this example, select “SUBWFR LVL.” For available items, see the list “Basic Adjustment Items.”
| ANALOG |
|
L | R | LINEAR PCM |
SUBWFR | SPEAKERS 1 | |
VOLUME
3. Press in MULTI JOG (PUSH SET).
The current setting (or level) for the selected item appears on the display.
| ANALOG |
|
L | R | LINEAR PCM |
SUBWFR | SPEAKERS 1 | |
VOLUME
4.Turn MULTI JOG to select a setting you want or to make an adjustment as you like.
| ANALOG |
|
L | R | LINEAR PCM |
SUBWFR | SPEAKERS 1 | |
VOLUME
5.Press in MULTI JOG (PUSH SET).
6.Repeat steps 2 to 5 to set other items if necessary.
7.Press EXIT.
The source indication resumes on the display.
27
