Receiving radio broadcasts

5Repeat steps 1 to 4 until you store all the sta- tions you want.

To erase a stored preset station

Storing a new station on a used number erases the previously stored one.

Note:

The preset stations will be erased in a few days, if the sys- tem is unplugged or power failure occurs.

To tune in a preset station

From the remote control only:


STANDBY/ON

1


TV/CATV/DBS

AUDIO


VCR


AUX

FM/AM

DVD


TITLE

SUBTITLE

DECODE

AUDIO


ZOOM

DIGEST

TIME

DISPLAY


RETURN

ANGLE

CHOICE

SOUND


CONTROL

SUBWOOFER

EFFECT


VCR


CENTER

TEST


TV


2


REAR-L


SLEEP


REAR-R


SETTING


TV RETURN

FM MODE

100+

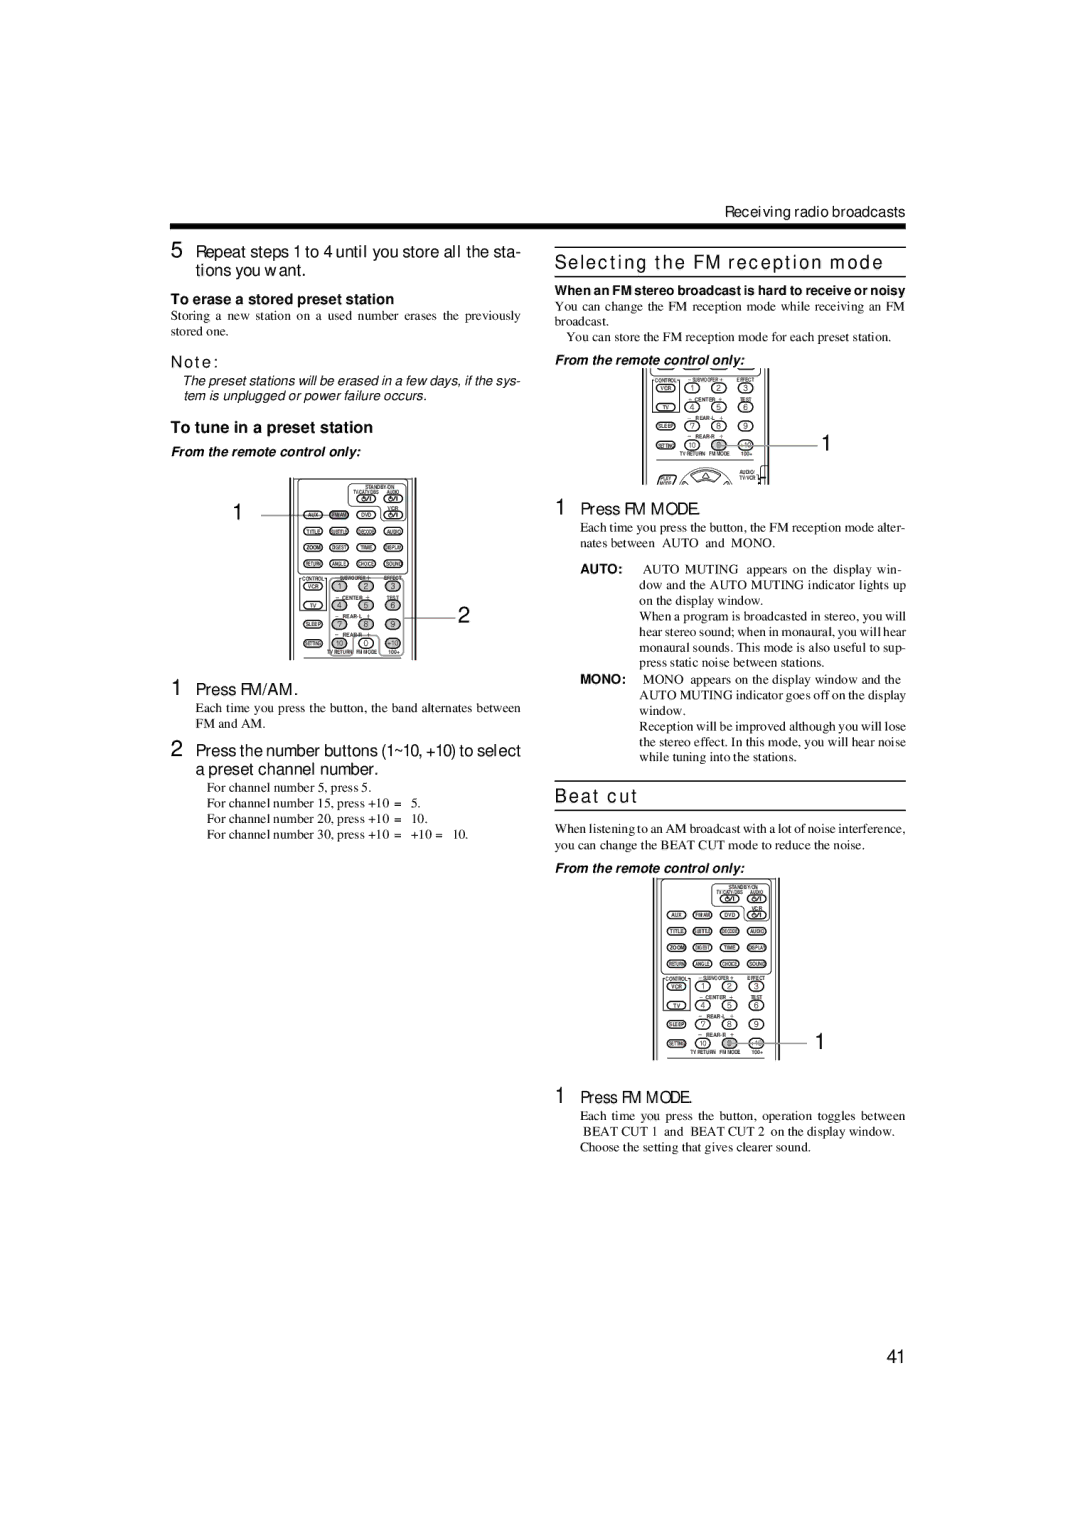
1Press FM/AM.

Each time you press the button, the band alternates between FM and AM.

2Press the number buttons (1~10, +10) to select a preset channel number.

For channel number 5, press 5.

For channel number 15, press +10 = 5.

For channel number 20, press +10 = 10.

For channel number 30, press +10 = +10 = 10.

Selecting the FM reception mode

When an FM stereo broadcast is hard to receive or noisy You can change the FM reception mode while receiving an FM broadcast.

• You can store the FM reception mode for each preset station.

From the remote control only:

CONTROL

SUBWOOFER

EFFECT


VCR


CENTER

TEST


TV


REAR-L


SLEEP


1


REAR-R


SETTING


TV RETURN FM MODE

100+

AUDIO/

PLAYTV/VCR

MODE

1Press FM MODE.

Each time you press the button, the FM reception mode alter- nates between “AUTO” and “MONO.”

AUTO: “AUTO MUTING” appears on the display win- dow and the AUTO MUTING indicator lights up on the display window.

When a program is broadcasted in stereo, you will hear stereo sound; when in monaural, you will hear monaural sounds. This mode is also useful to sup- press static noise between stations.

MONO: “MONO” appears on the display window and the AUTO MUTING indicator goes off on the display window.

Reception will be improved although you will lose the stereo effect. In this mode, you will hear noise while tuning into the stations.

Beat cut

When listening to an AM broadcast with a lot of noise interference, you can change the BEAT CUT mode to reduce the noise.

From the remote control only:


STANDBY/ON


TV/CATV/DBS

AUDIO


VCR


AUX

FM/AM

DVD


TITLE

SUBTITLE

DECODE

AUDIO


ZOOM

DIGEST

TIME

DISPLAY


RETURN

ANGLE

CHOICE

SOUND


CONTROL

SUBWOOFER

EFFECT


VCR


CENTER

TEST


TV


REAR-L


SLEEP


1


REAR-R


SETTING


TV RETURN

FM MODE

100+

English

English

English

English

English

English

1Press FM MODE.

Each time you press the button, operation toggles between “BEAT CUT 1” and “BEAT CUT 2” on the display window. Choose the setting that gives clearer sound.

English

41

Page 43
Image 43
JVC TH-A9 manual Selecting the FM reception mode, Beat cut, Press FM/AM, Press FM Mode, To tune in a preset station

TH-A9 specifications

The JVC TH-A9 is an advanced home theater system designed to deliver an immersive audio-visual experience. This powerful system combines cutting-edge technology with user-friendly features, making it a popular choice among home entertainment enthusiasts.

At the heart of the JVC TH-A9 is its 5.1-channel surround sound configuration. The system includes five satellite speakers and a dedicated subwoofer, designed to create a three-dimensional soundstage that immerses viewers in their favorite movies, music, and games. The satellite speakers feature a compact design, making them easy to place around your room without overwhelming your space. The subwoofer delivers deep, rich bass, ensuring that every explosion and musical note resonates with intensity.

One of the standout features of the TH-A9 is its Dolby Digital and DTS decoding capabilities. These technologies provide high-quality audio reproduction, allowing users to enjoy cinematic sound experiences. Whether it's an intense action scene or a subtle dialogue, the system ensures clarity and precision in sound delivery.

Connectivity is another area where the JVC TH-A9 excels. The system is equipped with multiple input options, including HDMI and optical audio inputs, allowing users to connect their Blu-ray players, gaming consoles, and streaming devices easily. Additionally, the system features Bluetooth connectivity, enabling users to stream audio directly from their smartphones or tablets, adding to its versatility.

For ease of use, the JVC TH-A9 comes with a user-friendly remote control, allowing users to adjust settings, switch inputs, and control volume without the need to leave their seat. The system also features an on-screen display, providing intuitive navigation through the various audio settings and preferences.

In summary, the JVC TH-A9 is a robust home theater system that combines powerful sound with modern connectivity options. With its 5.1-channel surround sound configuration, Dolby Digital and DTS support, and user-friendly design features, it offers an excellent solution for anyone looking to enhance their home entertainment experience. The combination of performance and convenience makes the JVC TH-A9 a worthy investment for both casual viewers and dedicated audiophiles.